75
75
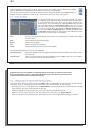
22.3 Recording Procedure
22.3 Recording
Procedure
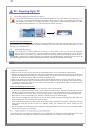
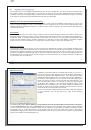
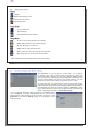
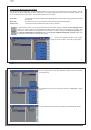
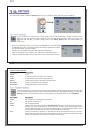
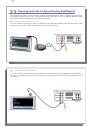
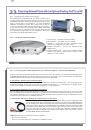
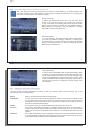
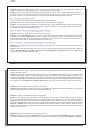
Before the actual audio recording begins, there is a pre-recording screen which will allow you to adjust your
recording settings.
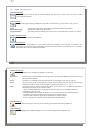
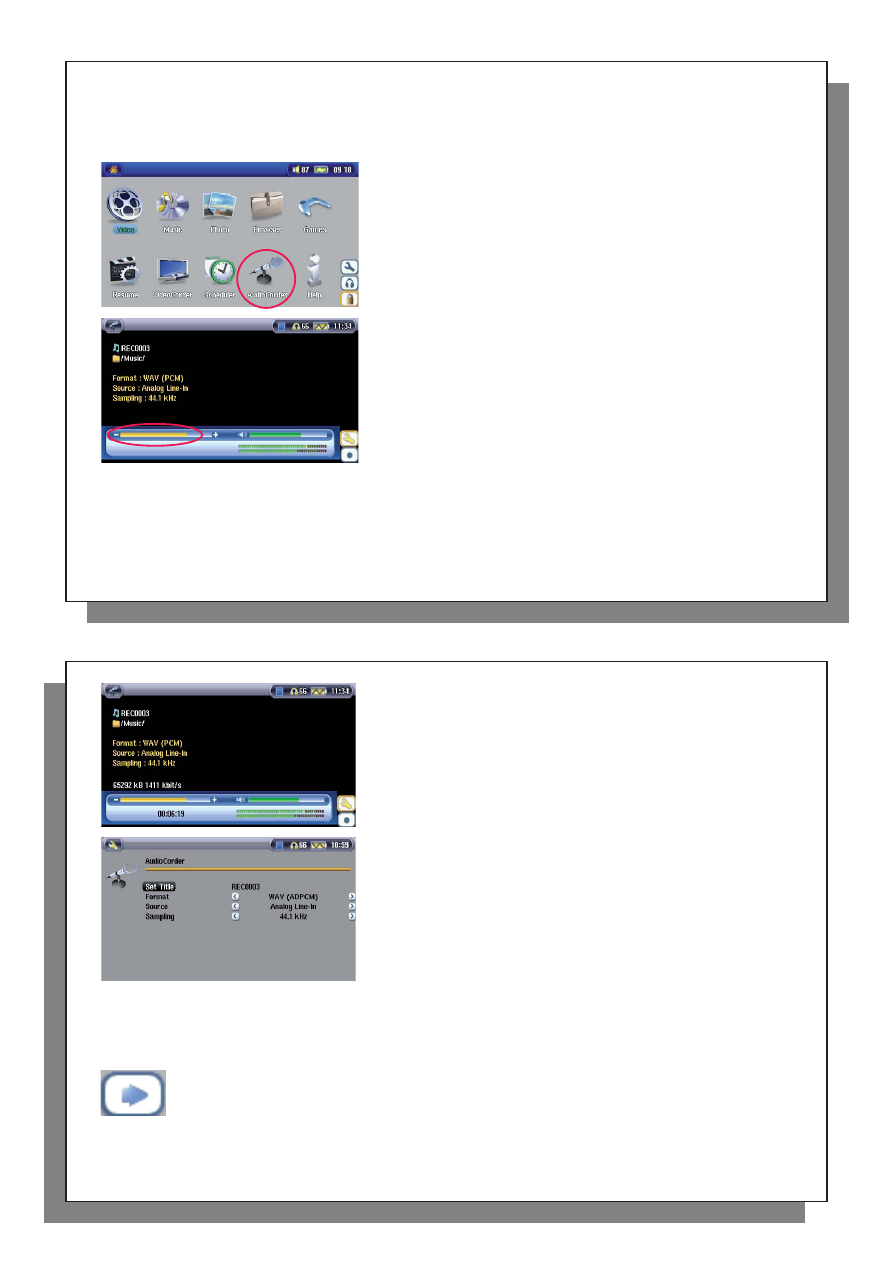
1. On the main screen, select AudioCorder then click on ENTER.
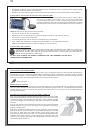
2. In the pre-recording screen, adjust the recording level* by clicking
on the LEFT and RIGHT buttons. Click on the record action icon (or
Enter button) to start recording. Attention, the fi rst time recording you
should adjust your Settings .
* You should try some test recordings before deciding on which recording level gives the best sound quality.
Don’t be tricked by the volume of the headphones which can be adjusted independently with the UP and DOWN
buttons.
76
76
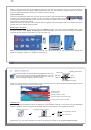
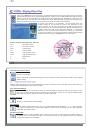
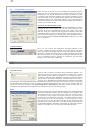
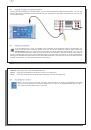
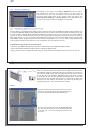
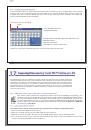
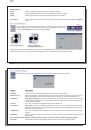
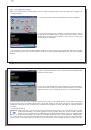
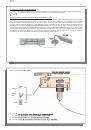
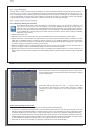
3. Click on the Settings action icon to reveal the recording parameters
screen as shown above.
4. Once you have clicked on the Record action icon (or Enter button),
you can pause the recording by clicking the Pause action icon (or Enter
button) and then stop the recording by clicking on the STOP button.
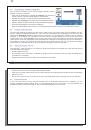
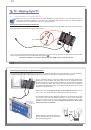
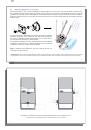
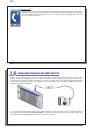
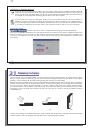
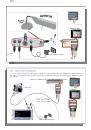
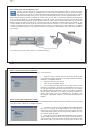
You can record from any line-level audio source to the AV 700 TV. Be careful that the source audio is supplying
a line level and not an amplifi ed signal (turning down the volume on the player will work if you are using the
headphone out signal of your audio device). A signal that is amplifi ed too much will make for a terribly distorted
recording.
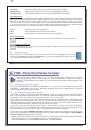
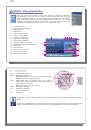
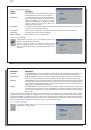
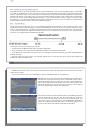
Incremental Recording
While recording, you will notice the incremental recording action icon. This allows you to create
incremental recordings. This means that the current recording stops and a new recording instantly
begins. The next recording has an additional number appended to its name. Thus if you create multiple
incremental recordings, you might, for example, have fi les names of REC0000_01, REC0000_02,
etc. This is good for recording old cassettes and old vinyl records. You can click on this icon during the blank
space between each song. That way, each song of the vinyl disk or audio cassette will be one single music fi le.