6901-170199 <05>
4
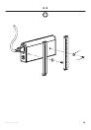
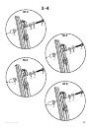
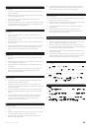
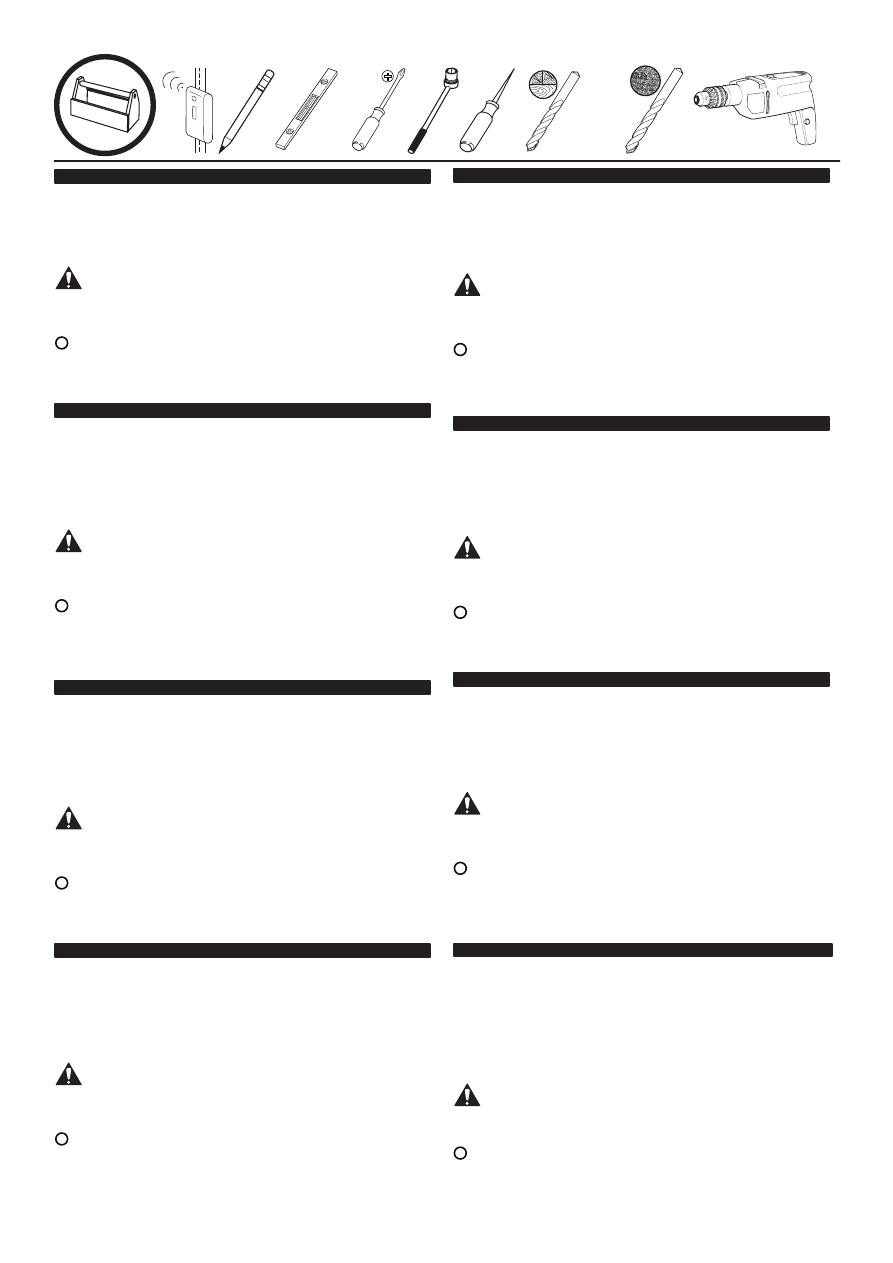
5mm
(3/16 in.)
EN
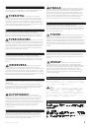
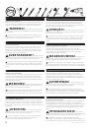
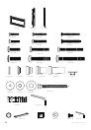
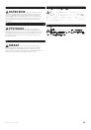
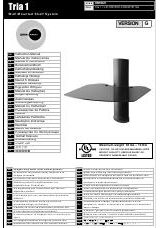
Supplied Parts and Hardware
Before starting assembly, verify all parts are included and undamaged. If
any parts are missing or damaged, do not return the item to your dealer;
contact Sanus Systems Customer Service. Never use damaged parts!
WARNING!
This product contains small items
that could be a choking hazard if swallowed. Keep these items away from
young children!
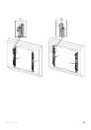
OPT
OPT
Hardware and procedures for multiple mounting configurations are
included. When you see this symbol, choose the correct configuration to
suit your needs. Not all hardware included will be used.
FR
Pièces et matériel fournis
Avant de commencer l’assemblage, assurez-vous que toutes les pièces
sont présentes et qu’elles ne sont pas endommagées. Si une pièce est
manquante ou endommagée, contactez le service Clientèle de Sanus
Systems. Ne retournez pas les pièces endommagées à votre revendeur.
N’utilisez jamais de pièces endommagées !
AVERTISSEMENT!
Ce produit contient
des composants de petite taille susceptibles de provoquer un étouffement
eu cas d’ingestion. Éloignez ces composants d’enfants en bas âge !
OPT
OPT
Ferramentas e procedimentos para várias configuração de montagem
incluídos. Quando ver este símbolo, escolha a configuração correcta que
corresponda com as suas necessidades. Nem todas as ferramentas serão
usadas.
DE
Gelieferte Teile und Beschläge
Überprüfen Sie, bevor Sie mit dem Zusammenbau beginnen, ob alle Teile
vorhanden und unbeschädigt sind. Falls Teile fehlen oder beschädigt
sind, geben Sie den Artikel nicht an Ihren Händler zurück; setzen Sie sich
vielmehr mit dem Sanus Systems-Kundendienst in Verbindung. Niemals
beschädigte Teile verwenden!
WARNUNG!
Dieses Produkt enthält kleine Teile,
die, wenn sie heruntergeschluckt würden, zum Ersticken führen könnten.
Diese Teile daher von kleinen Kindern fernhalten!
OPT
OPT
Beschläge und Anweisungen für Mehrfach- Montagekonfigurationen
sind beigefügt. Wenn Sie dieses Symbol sehen, wählen Sie die richtige
Konfiguration für Ihren Bedarf. Es werden nicht alle Beschläge verwendet.
ES
Piezas y Materiales Suministrados
Antes de iniciar el ensamblaje, comprobar que se encuentran incluidas y
en buenas condiciones todas las piezas. Si falta o está deteriorada alguna
pieza, no devuelva el artículo a su concesionario; póngase en contacto con
el servicio de atención al cliente de Sanus Systems. ¡No utilice nunca piezas
deterioradas!
¡ATENCIÓN!
Este producto contiene piezas
de pequeño tamaño que podrían significar un peligro al ser ingeridas.
Mantener fuera del alcance de los niños pequeños.
OPT
OPT
Se incluye el material y las instrucciones para el montaje múltiple.
Cuando vea este símbolo, elija la configuración adecuada a sus
necesidades. No habrá que utilizar todo el material.
PT
Partes e Ferramentas Fornecidas
Antes de iniciar a montagem, verifique se todas as partes foram incluídas
e se não são defeituosas. Caso faltarem peças ou haja peças defeituosas
não devolva a peça ao seu ponto de venda; contacte o Serviço de Apoio ao
Cliente da Sanus Systems. Nunca use peças defeituosas!
ATENÇÃO!
Este produto contém peças pequenas
que podem provocar asfixia no caso de ingestão. Mantenha estas peças fora
do alcance de crianças pequenas!
OPT
OPT
Ferramentas e procedimentos para várias configuração de montagem
incluídos. Quando ver este símbolo, escolha a configuração correcta que
corresponda com as suas necessidades. Nem todas as ferramentas serão
usadas.
NL
Bijgeleverde onderdelen en materialen
Voordat u begint met de montage dient u eerst te controleren of alle
onderdelen onbeschadigd zijn bijgeleverd. Wanneer er onderdelen
ontbreken of beschadigd zijn, stuur het artikel dan niet terug naar uw dealer;
neem contact op met de afdeling Customer service van Sanus Systems.
Gebruik nooit beschadigde onderdelen!
WAARSCHUWING!
Dit product bevat
kleine onderdelen die verstikkingsgevaar kunnen opleveren wanneer ze
worden ingeslikt. Houd ze daarom uit de buurt van kleine kinderen!
OPT
OPT
Materialen en aanwijzingen voor verschillende montagemogelijkheden
worden bijgeleverd. Wanneer u dit symbool ziet, kies dan de configuratie die
het meest geschikt is voor uw wensen. Niet alle materialen worden gebruikt.
IT
Parti ed elementi di montaggio in dotazione
Prima di procedere al montaggio verificare che siano presenti tutti i
componenti e che gli stessi non siano danneggiati. Qualora qualche pezzo
risultasse mancante o danneggiato, si invita l’utilizzatore a non restituire
l’unità al rivenditore ma a contattare il Servizio Clienti di Sanus Systems. Non
usare mai componenti danneggiati!
AVVERTENZA!
Questo prodotto contiene
piccoli elementi che, se ingeriti, potrebbero provocare soffocamento. Tenere
questi piccoli elementi fuori dalla portata dei bambini!
OPT
OPT
Gli elementi di montaggio, completi delle relative procedure per le
diverse configurazioni di montaggio, sono compresi. In presenza di questo
simbolo scegliere la corretta configurazione a seconda delle proprie esigenze.
Alcuni degli elementi di montaggio forniti non saranno utilizzati.
EL
Παρεχόμενα κομμάτια και υλικά
Πριν να ξεκινήσετε τη συναρμολόγηση, επιβεβαιώστε πως περιλαμβάνονται
όλα τα κομμάτια στη συσκευασία και πως δεν έχουν υποστεί ζημιά. Αν
κάποια κομμάτια λείπουν ή έχουν υποστεί ζημιά, μην επιστρέψετε τη μονάδα
στο κατάστημα αγοράς, αλλά επικοινωνήστε με την Εξυπηρέτηση πελατών
της Sanus Systems. Μη χρησιμοποιείτε ποτέ κομμάτια που έχουν υποστεί
ζημιά!
ΠΡΟΕΙΔΟΠΟΙΗΣΗ!
Αυτό το προϊόν
περιέχει μικρά αντικείμενα που μπορούν να προκαλέσουν πνιγμό από πιθανή
κατάποση. Κρατήστε αυτά τα αντικείμενα μακριά από μικρά παιδιά!
OPT
OPT
Περιλαμβάνονται υλικά και οδηγίες για πολλές διαμορφώσεις
τοποθέτησης. Όταν δείτε αυτό το σύμβολο, επιλέξτε τη σωστή διαμόρφωση
που ανταποκρίνεται στις ανάγκες σας. Δε θα χρησιμοποιηθούν όλα τα υλικά.
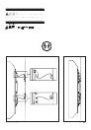
13mm
(1/2 in.)