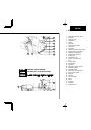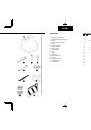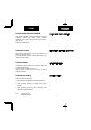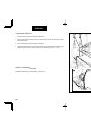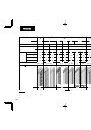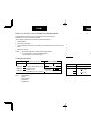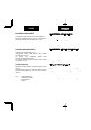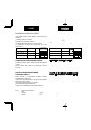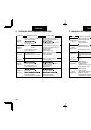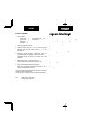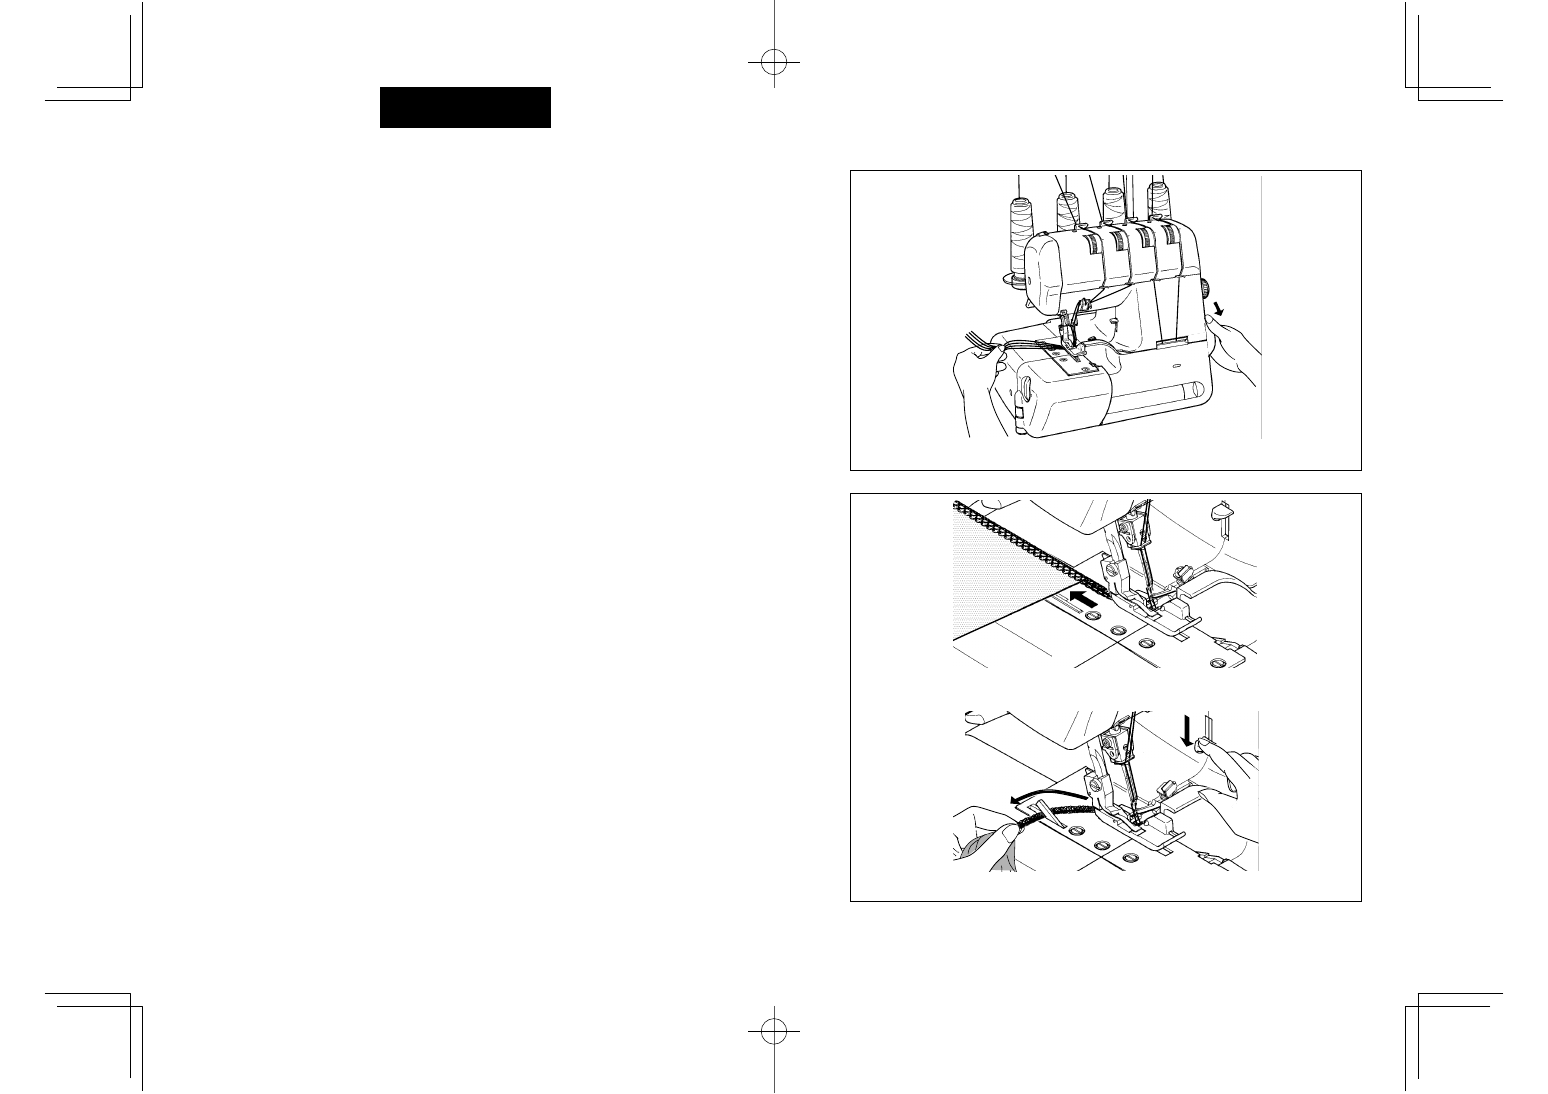
Fig. 2
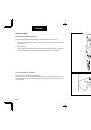
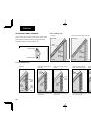
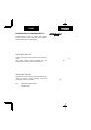
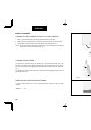
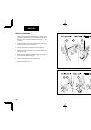
Fig. 3
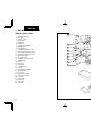
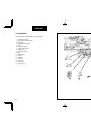
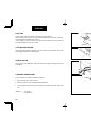
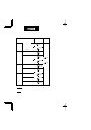
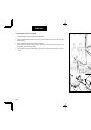
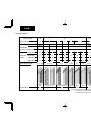
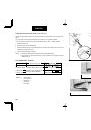
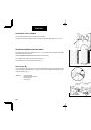
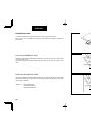
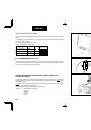
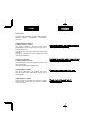
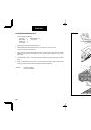
Fig. 1
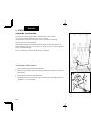
ENGLISH
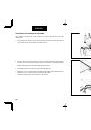
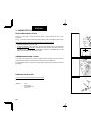
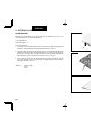
TESTING STITCH OVERLOCK STITCHES
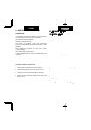
After threading is completed, use a scrap of fabric that you plan to sew and test to sew in the
following order.
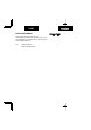
1. Gently pulling all the threads to the left, lower the presser foot. Rotate the hand wheel towards
you a few times to see if the lock stitches are properly formed.
2. Start the machine at low speed and feed in test fabric under the presser foot by slightly pushing
it forward. (This can be done with the presser foot down on most fabrics except bulky materials.)
Guide the fabric gently as machine automatically feeds the material.
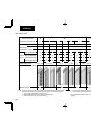
3. Check thread tensions by test sewing on spare fabric. (See page 36.)
4. At fabric end, carry on running machine at low speed, gently pulling the fabric towards the back,
until about 5 to 6 cm of extra lock stitches are produced without fabric.
Cut thread by pushing thread cutter lever down, or with scissors.
26