32
Operation and settings
4
Oper
ation and se
ttings
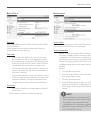
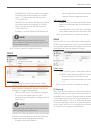
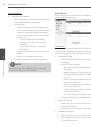
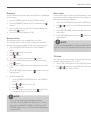
Firmware
› Upgrade
1. Click the [Browse] button.
2. Find and open the firmware file.
3. Click the [Upload] button.
4. Click the [Upgrade] button to update the firm-
ware.
NOTE
When you upgrade the system, it may take some
minutes to be done. Do not close the browser
while the upgrade is in progress. If you close the
browser, it may cause a malfunction.
› Initialize: The [Initialize] button should be used with
caution. Clicking it will return all of the IP device’s
settings to the factory default values. (Except for
the Network settings - DHCP, IP address, Gateway,
Subnet mask, Primary/Secondary DNS)
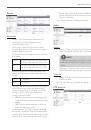
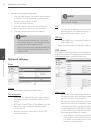
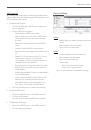
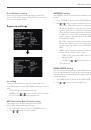
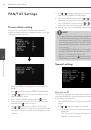
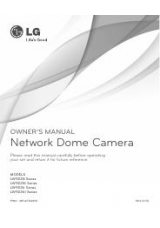
Log & Report
Log & Report status
The System log provides a summary of the status of the IP
device. The unit records the data of the software activity in
a file.
› View Log: Click this button to display the system
log information.
› View report: Click this button to display the report
of the system.
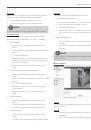
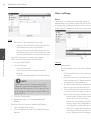
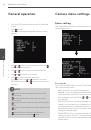
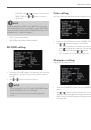
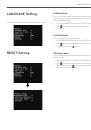
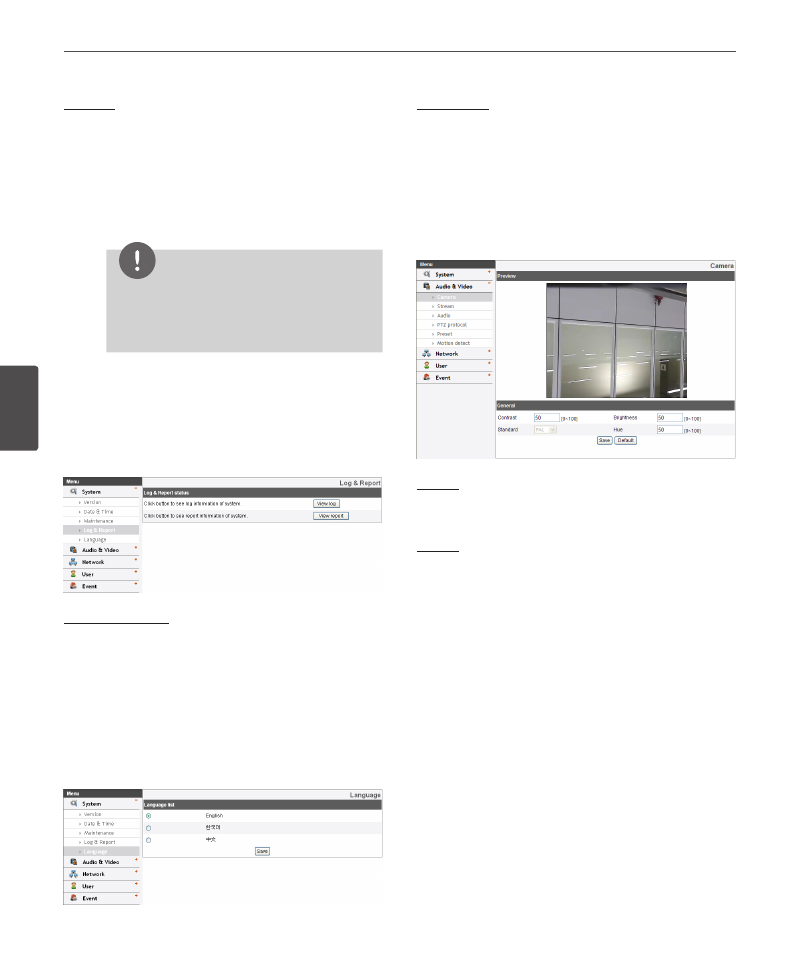
Language
Language list
Select a language for the LG Smart Web Viewer
configuration menu and information display.
• Save: Click this button to confirm the settings.
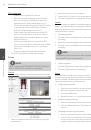
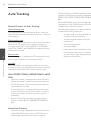
Audio & Video settings
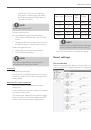
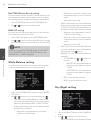
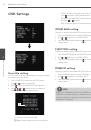
Camera
Preview
You can preview the camera image on the preview
window.
General
› Contrast: Edit the contrast value from 0 to 100.
Selecting 100 provides the image with the highest
contrast.
› Brightness: Edit the brightness of the camera. It
is brighter when a large value is selected and it is
darker when a small value is selected.
› Standard: Displays the video standard of the
camera.
› Hue: Edit the video Hue of the camera from 0 to
100.
• Save: Click this button to confirm the settings.
• Default: If you want to set the Contrast, Brightness and
Hue options to the default value, click the [Default]
button and then click the [Save] button to confirm it.