Operation and settings
35
4
Oper
ation and se
ttings
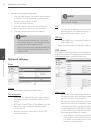
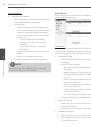
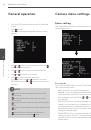
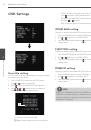
Preset tour
A preset tour is composed of a group of preset positions
that the operator can link together in a sequence.
1. Click the [Play] button to start the preset tour.
2. Click the [Stop] button to stop the preset tour.
NOTE
If you control the PTZ, the preset tour will be stopped.
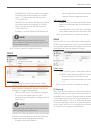
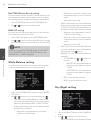
Preset group tour
You can create a group using preset positions that are
registered already. A maximum of 9 groups is available.
»
To set the group
1. Enter the group number in the [Group index]
option.
2. Enter the preset index number in the [Preset index]
option.
3. Click the [Add] button.
4. Repeat the steps 2 to 3 to add other preset index
number. You can set the preset index number up
to 8 for the one group.
5. Repeat the steps 1 to 4 to set the other group
index.
»
To remove the preset index from the group
1. Enter the group number in the [Group index]
option.
2. Enter the preset index number in the [Preset index]
option.
3. Click the [Remove] button.
4. Repeat the steps 2 to 3 to remove other preset
index number.
5. Repeat the stpes 1 to 4 to set the other group
index.
»
To tour the group
1. Enter the group number in the [Group index]
option.
2. Click the [Play] button to start the group tour.
3. Click the [Stop] button to stop the group tour.
»
To delete a group
1. Enter the group number in the [Group index]
option.
2. Click the [Clear] button. The group will be deleted.
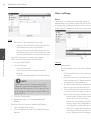
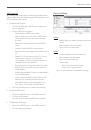
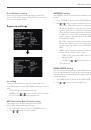
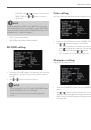
Auto pan
You can play the camera with auto pan function.
»
To set the Auto Pan position
1. Enter the index number you wish to register.
2. Move the camera to the desired point.
3. Click the [Add] button.
4. Repeat the steps 1 to 3 to add other index num-
ber. You can set the Auto pan index number up to
8.
»
To play the auto pan
1. Click the [Play] button to start the Auto Pan
function.
2. Click the [Stop] button to stop the Auto Pan
function.
NOTE
If you click the [CLEAR] button, all of Auto pan position
will be deleted.
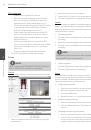
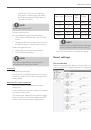
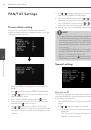
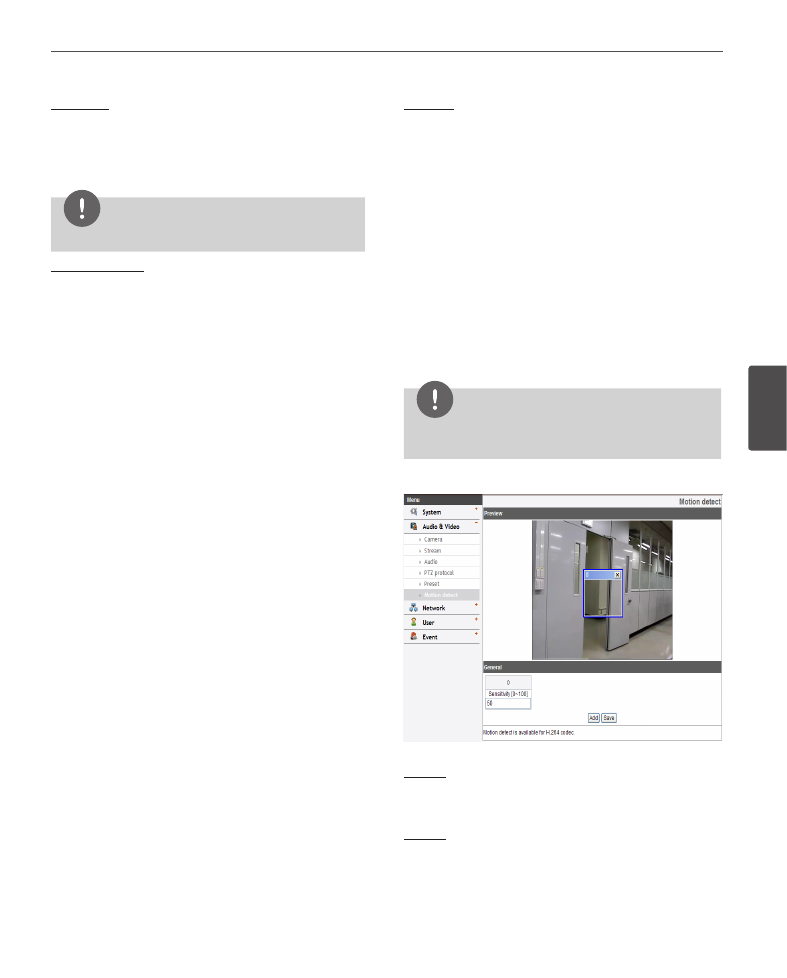
Motion detect
Preview
You can preview the motion detection window on the
preview window.
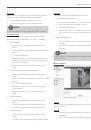
General
› Sensitivity: Enter the sensitivity to detect an object
in motion.
› Save: Click this button to confirm the settings.