Operation and settings
41
4
Oper
ation and se
ttings
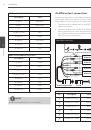
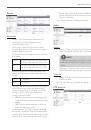
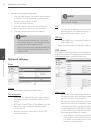
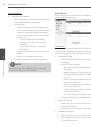
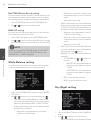
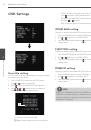
SMTP server list
By selecting the e-mail option, a still image of the event is
captured and an e-mail with the attached image file is sent
to the specified mail address.
»
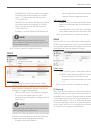
To add the SMTP server
1. Click the [Add] button. SMTP server setting win-
dow is displayed.
2. Set the SMTP server options.
-
Alias: Enter the SMTP server name.
-
User ID: Enter the user ID of the SMTP server.
This would be the one who owns the mail
account.
-
Password: Enter the password of the SMTP
server.
-
Address: Enter the SMTP server address.
-
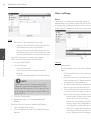
Port: Enter the port number. The default port is
25.
-
Enable SSL: Check when use the SSL (Secure
Socket Layer) protocol. SSL protocol is
cryptographic protocols that provide secure
communication on a network.
-
Receiving address: Type the recipients e-mail
address. You can specify only one recipient
e-mail address.
-
Administrator address: Type the e-mail address
of the administrator.
-
Subject: Enter the subject/title of the e-mail.
-
Message: This message can describe the
information of the acquired IP address, etc.
-
Test: Select [Test] to test the SMTP server.
3. Click the [Save] button to confirm the settings.
»
To edit the SMTP server
1. Choose the SMTP server in the SMTP server list.
2. Click the [Edit] button.
You can check or edit the SMTP server options.
»
To delete the SMTP server
1. Choose the SMTP server in the SMTP server list.
2. Click the [Remove] button.
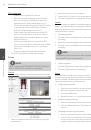
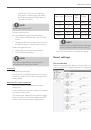
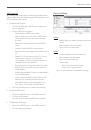
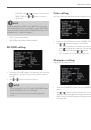
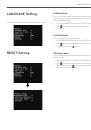
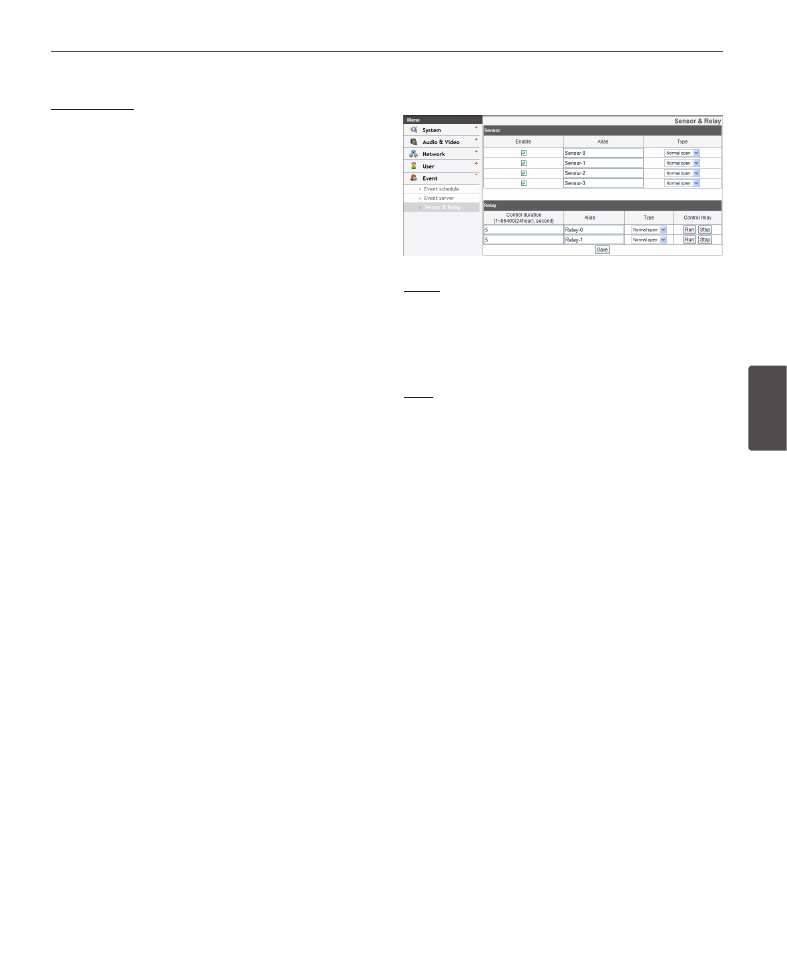
Sensor & Relay
Sensor
› Enable: Marks up when you want to activate the
sensor.
› Alias: Displays the sensor name.
› Type: Select the sensor type.
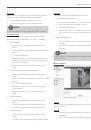
Relay
› Control duration: Enter the relay time.
› Alias: Displays the relay name.
› Type: Select the relay type.
› Control relay
- Run: Click to activate the relay.
- Stop: Click to stop the relay.
• Save: Click this button to confirm the settings.