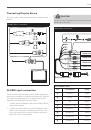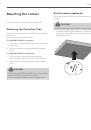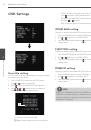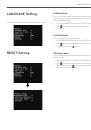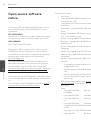
Operation and settings
33
4
Oper
ation and se
ttings
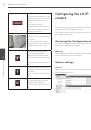
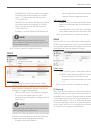
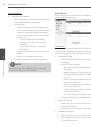
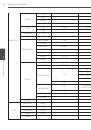
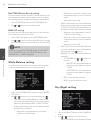
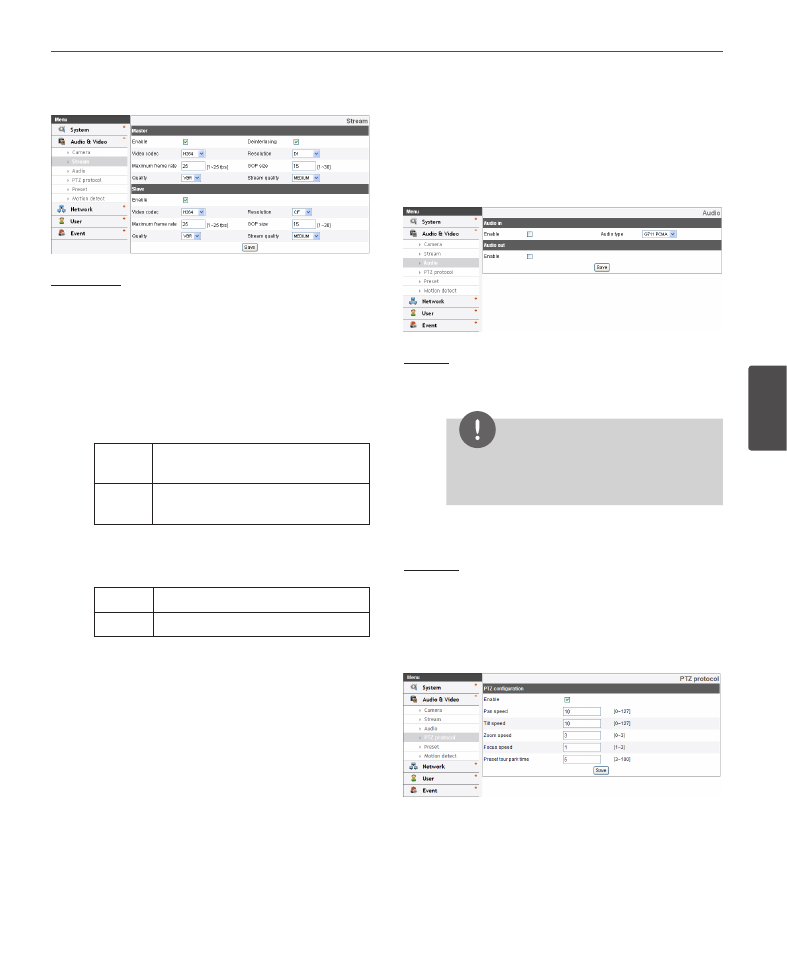
Stream
Master/Slave
› Enable: Click to activate the stream function.
› Deinterlacing: Click to enable the use of
deinterlacing function.
› Video codec: Select the video mode (Codec)
from the drop-down list. The viewer can choose
between MJPEG and H.264.
› Resolution: Select the image size to be sent from
the camera.
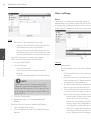
NTSC
D1 (704 x 480), HALF D1 (704 x 240),
CIF (352 x 240) and QCIF (176 x 112)
PAL
D1 (704 x 576), HALF D1 (704 x 288),
CIF (352 x 288) and QCIF (176 x 144)
› Maximum frame rate: Set the frame rate of the
image. Selectable values of the frame rates are as
follows.
NTSC
1 to 30 (fps)
PAL
1 to 25 (fps)
› GOP size: It means “Group of Pictures”. The higher
the GOP, the better is the video quality of the
camera. Edit the value of GOP from 1 to 30. This
setting is valid for H.264 video format only.
› Quality: Select the Quality.
-
VBR: The bit rate may vary depending on the
complexity of the video to meet the selected
quality.
-
CBR: The video quality may vary in order to
preserve a constant bit rate.
› Stream quality: If the [Quality] option set to VBR,
this option is displayed. Select the stream quality
from the drop down box, the camera supports five
types (Highest, High, Medium, Low and Lowest)
› Bit rate: If the [Quality] option set to CBR, this
option is displayed. Edit the bit rate value from 256
kbps to 10 240 kbps.
• Save: Click this button to confirm the settings.
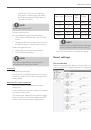
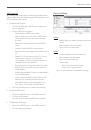
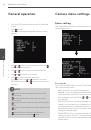
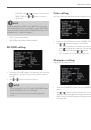
Audio
Audio In
› Enable: Click the check box if you want to send the
audio from the microphone input connector.
NOTE
The Clients connected to the IP device remain
unaffected with additional changes made in the
setting.
› Audio type: Select the codec when you send the
audio from the microphone input connector.
Audio Out
› Enable: Click the check box to output the audio
from the speaker.
• Save: Click this button to confirm the settings.
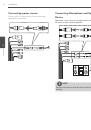
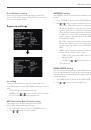
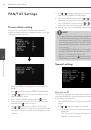
PTZ protocol