Benq DC 3310 User’s Manual
9
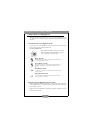
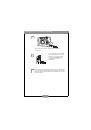
3.3. Taking Photos
Make sure the mode selection dial has been turned to the position
or
.
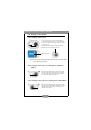
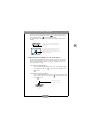
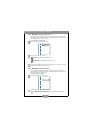
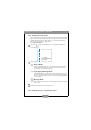
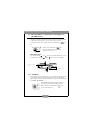
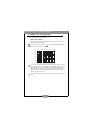
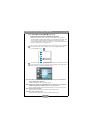
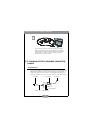
3.3.1. To take photos using the viewfinder
Point the camera to the object and make the object appear on the
center of the viewfinder behind the focus mark.
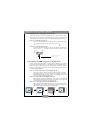
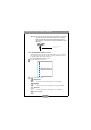
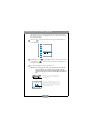
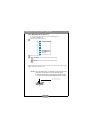
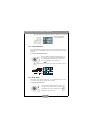
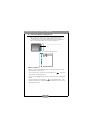
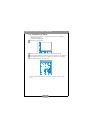
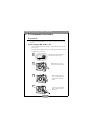
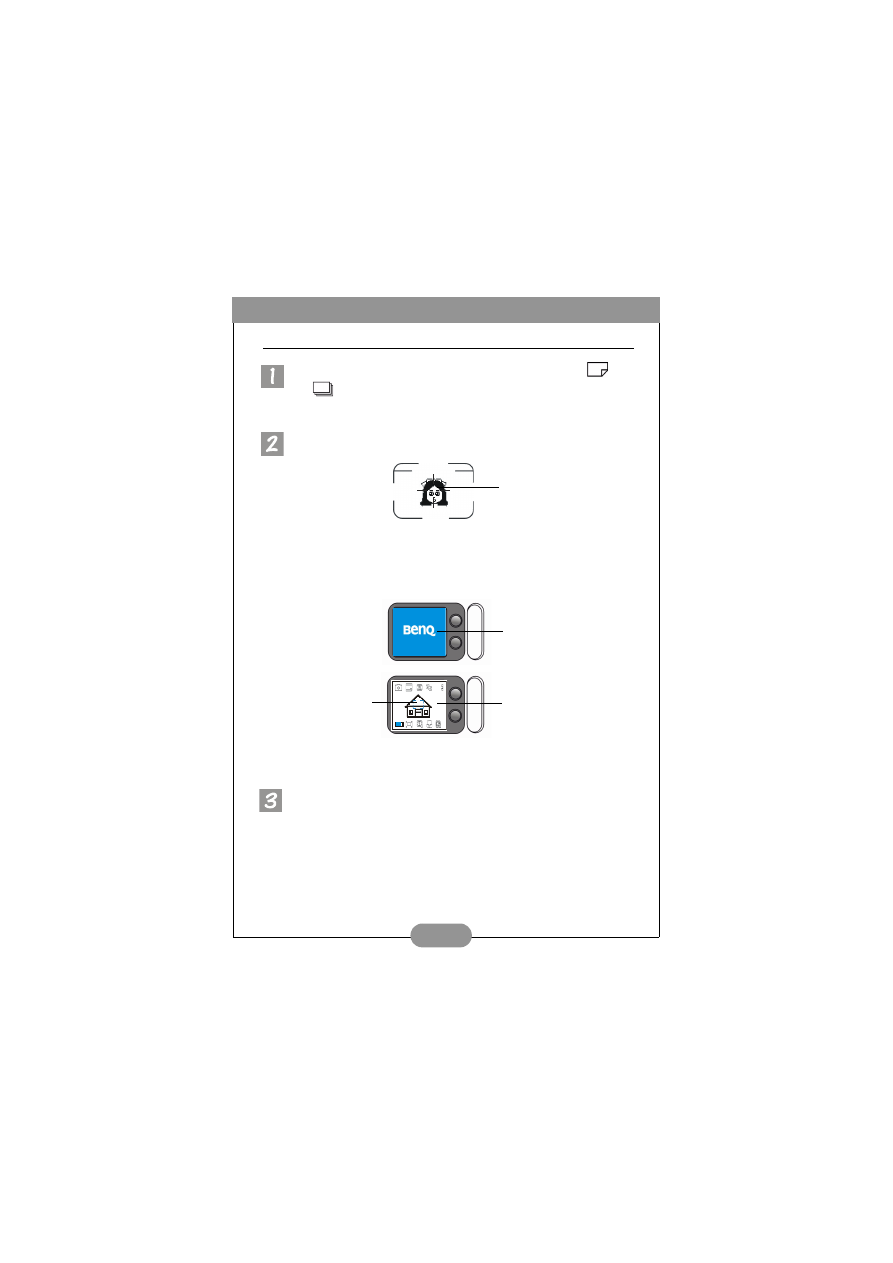
3.3.2. To take photos using the LCD monitor
When the camera power is turned on, the LCD monitor will be turned on at the
same time. You will see the LCD screen show a frame of Benq logo. After the Benq
logo disappears, you can take photos by using the LCD monitor.
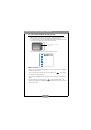
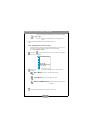
The image will appear on the LCD monitor and you will see a blue auto-focus mark
in the center of the LCD monitor. Move the camera until the image on the LCD
monitor is on the desired position.
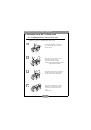
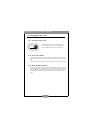
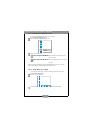
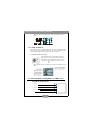
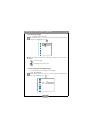
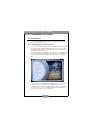
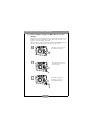
Press the shutter release button halfway. The auto-focus function will operate as
follow steps show:
1. Before auto-focus operates:
The AF indicator on the viewfinder is off and
the AF mark on the LCD monotor is blue.
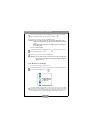
2. When auto-focus operates:
The AF indicator on the viewfinder blinks and
the AF mark on the LCD monotor is still blue.
3. After auto-focus finishes:
The AF indicator on the viewfinder becomes steady
green and the AF mark on the LCD monotor turns purple.
focus mark
Benq logo frame
The images will appear
on the LCD monitor.
Auto-focus mark