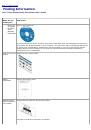
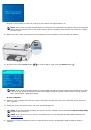
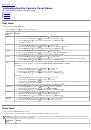
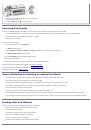
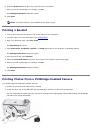
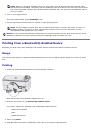
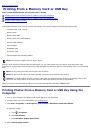
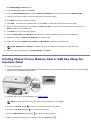
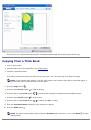
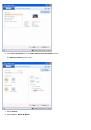
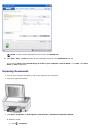
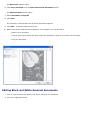
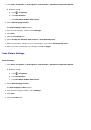
6. From the
Browse Pictures
dialog, load pictures from
Recent Folders
,
Printer Card Slots
, or
Get Pictures
.
7. Click the pictures you want to print to move them to the picture tray.
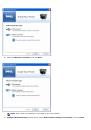
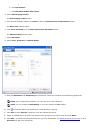
8. Click
Next
to go to the enhance window.
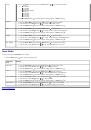
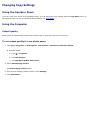
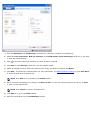
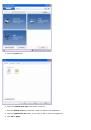
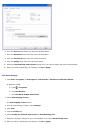
9. Click
Edit...
to enhance the selected photo or click
Add...
to add more photos to the picture tray.
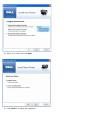
10. When you finish customizing your settings, click either
Save to File...
to save the enhanced picture to a new file or
Save
to save it to the selected file.
NOTE:
Click
Cancel
to undo the changes made.
11. Click
Next >
to go to the Finish window.
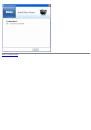
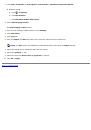
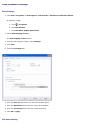
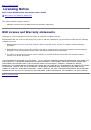
12. From the
Paper size
and
Print size
drop-down lists, select the paper size and print size respectively.
13. Select the number of
Copies per pictures
you want to print.
14. Select the checkbox
Optimize for cutting
and
Borderless
, based on your preference.
NOTE:
Optimize for cutting is available only when the paper size is bigger than print size.
15. When you finish customizing your
Print settings
, click
.
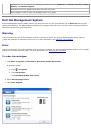
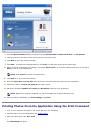
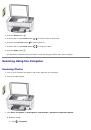
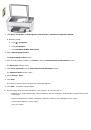
Printing Photos From the Application Using the Print Command
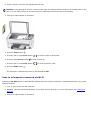
1. Turn on your computer and printer, and ensure that they are connected.
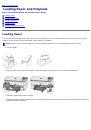
2. Load the paper. For more information, see
.
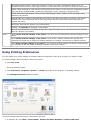
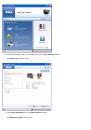
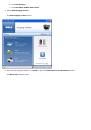
3. With your photo open, click
File
®
.
The
Print dialog
box opens.
 1
1
 2
2
 3
3
 4
4
 5
5
 6
6
 7
7
 8
8
 9
9
 10
10
 11
11
 12
12
 13
13
 14
14
 15
15
 16
16
 17
17
 18
18
 19
19
 20
20
 21
21
 22
22
 23
23
 24
24
 25
25
 26
26
 27
27
 28
28
 29
29
 30
30
 31
31
 32
32
 33
33
 34
34
 35
35
 36
36
 37
37
 38
38
 39
39
 40
40
 41
41
 42
42
 43
43
 44
44
 45
45
 46
46
 47
47
 48
48
 49
49
 50
50
 51
51
 52
52
 53
53
 54
54
 55
55
 56
56
 57
57
 58
58
 59
59
 60
60
 61
61
 62
62
 63
63
 64
64
 65
65
 66
66
 67
67
 68
68
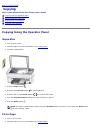 69
69
 70
70
 71
71
 72
72
 73
73
 74
74
 75
75
 76
76
 77
77
 78
78
 79
79
 80
80
 81
81
 82
82
 83
83
 84
84
 85
85
 86
86
 87
87
 88
88
 89
89
 90
90
 91
91
 92
92
 93
93
 94
94
 95
95
 96
96
 97
97
 98
98
 99
99
 100
100
 101
101
 102
102
 103
103
 104
104
 105
105
Инструкции и руководства похожие на DELL P703w