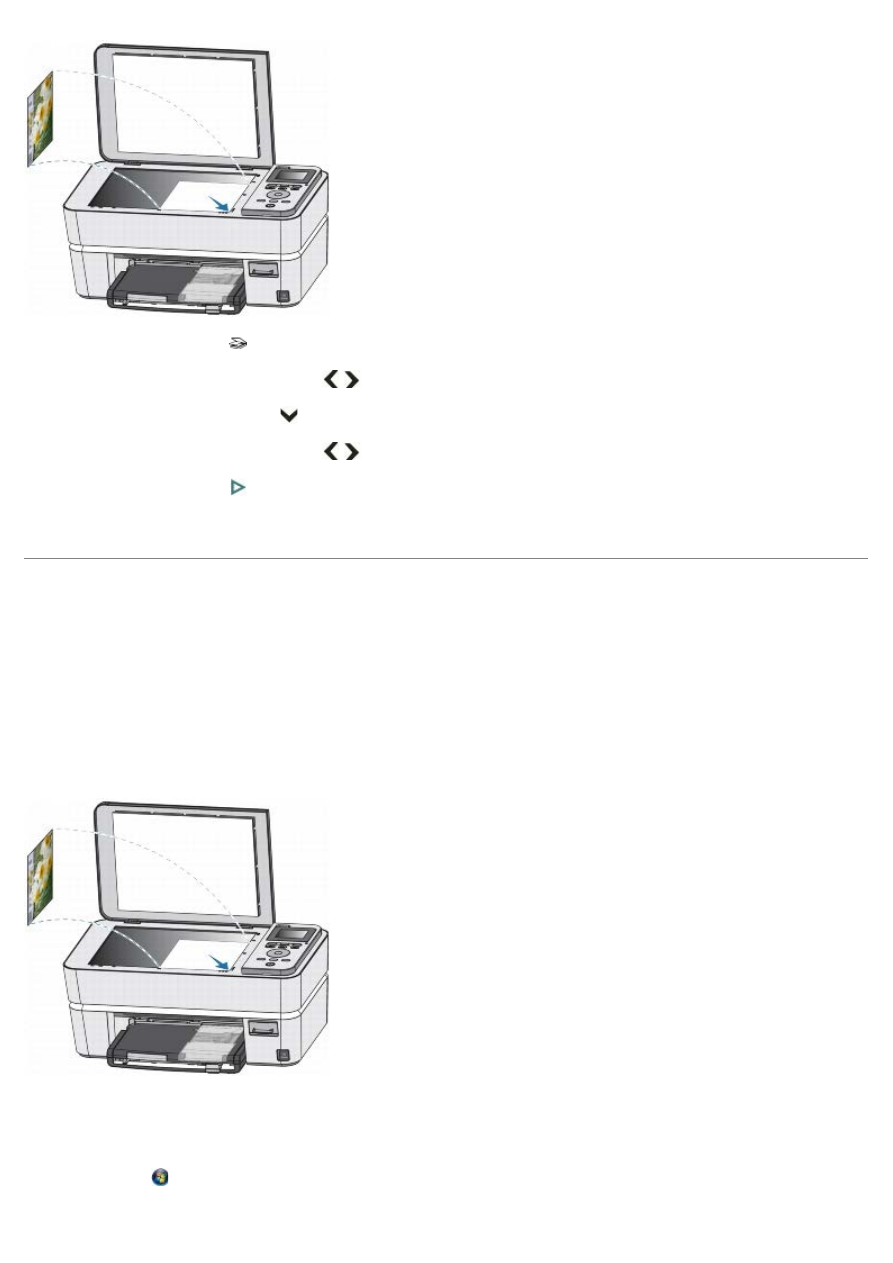
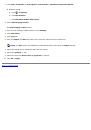
4. Press the
Scan
button
.
5. Press the left or right
Arrow
button
to scroll to Photo or Document.
6. Press the down
Arrow
button
to scroll to Scan To.
7. Press the left or right
Arrow
button
to scroll to PC-WiFi
.
8. Press the
Start
button
.
The document is scanned and saved based on the Dell Imaging Toolbox scan picture settings.
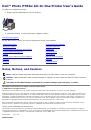
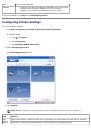
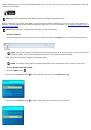
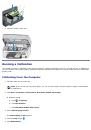
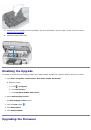
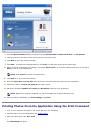
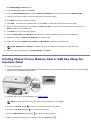
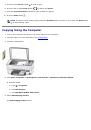
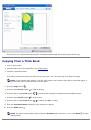
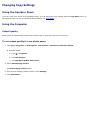
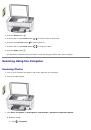
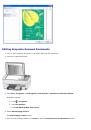
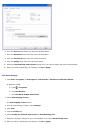
Scanning Using the Computer
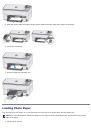
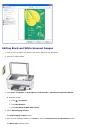
Scanning Photos
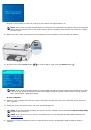
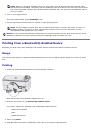
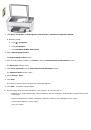
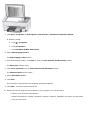
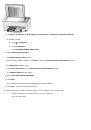
1. Turn on your computer and printer, and ensure that they are connected.
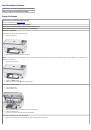
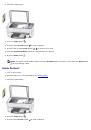
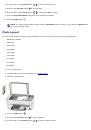
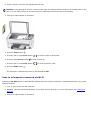
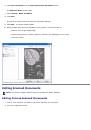
2. Load your original photo.
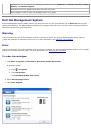
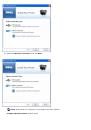
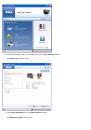
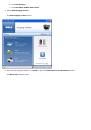
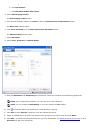
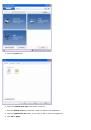
3. Click
Start
®
Programs
or
All Programs
®
Dell Printers
®
Dell Photo P703w AIO Printer
.
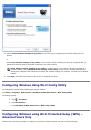
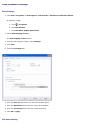
In
Windows Vista®
:
a. Click
®
Programs
.
 1
1
 2
2
 3
3
 4
4
 5
5
 6
6
 7
7
 8
8
 9
9
 10
10
 11
11
 12
12
 13
13
 14
14
 15
15
 16
16
 17
17
 18
18
 19
19
 20
20
 21
21
 22
22
 23
23
 24
24
 25
25
 26
26
 27
27
 28
28
 29
29
 30
30
 31
31
 32
32
 33
33
 34
34
 35
35
 36
36
 37
37
 38
38
 39
39
 40
40
 41
41
 42
42
 43
43
 44
44
 45
45
 46
46
 47
47
 48
48
 49
49
 50
50
 51
51
 52
52
 53
53
 54
54
 55
55
 56
56
 57
57
 58
58
 59
59
 60
60
 61
61
 62
62
 63
63
 64
64
 65
65
 66
66
 67
67
 68
68
 69
69
 70
70
 71
71
 72
72
 73
73
 74
74
 75
75
 76
76
 77
77
 78
78
 79
79
 80
80
 81
81
 82
82
 83
83
 84
84
 85
85
 86
86
 87
87
 88
88
 89
89
 90
90
 91
91
 92
92
 93
93
 94
94
 95
95
 96
96
 97
97
 98
98
 99
99
 100
100
 101
101
 102
102
 103
103
 104
104
 105
105
Инструкции и руководства похожие на DELL P703w