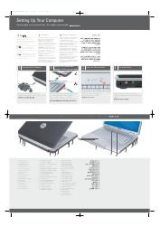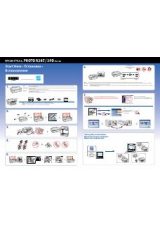
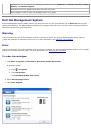
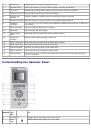
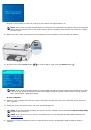
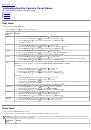
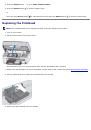
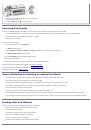
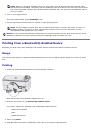
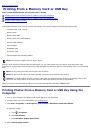
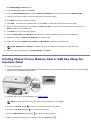
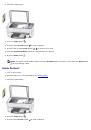
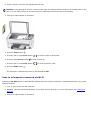
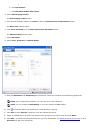
2. Insert a Memory Card into the appropriate card slot.
NOTICE:
Do not attempt to remove a memory card while it is being accessed. Doing so can damage files on the
card. You can safely remove a card only when the status light next to the slots is not blinking.
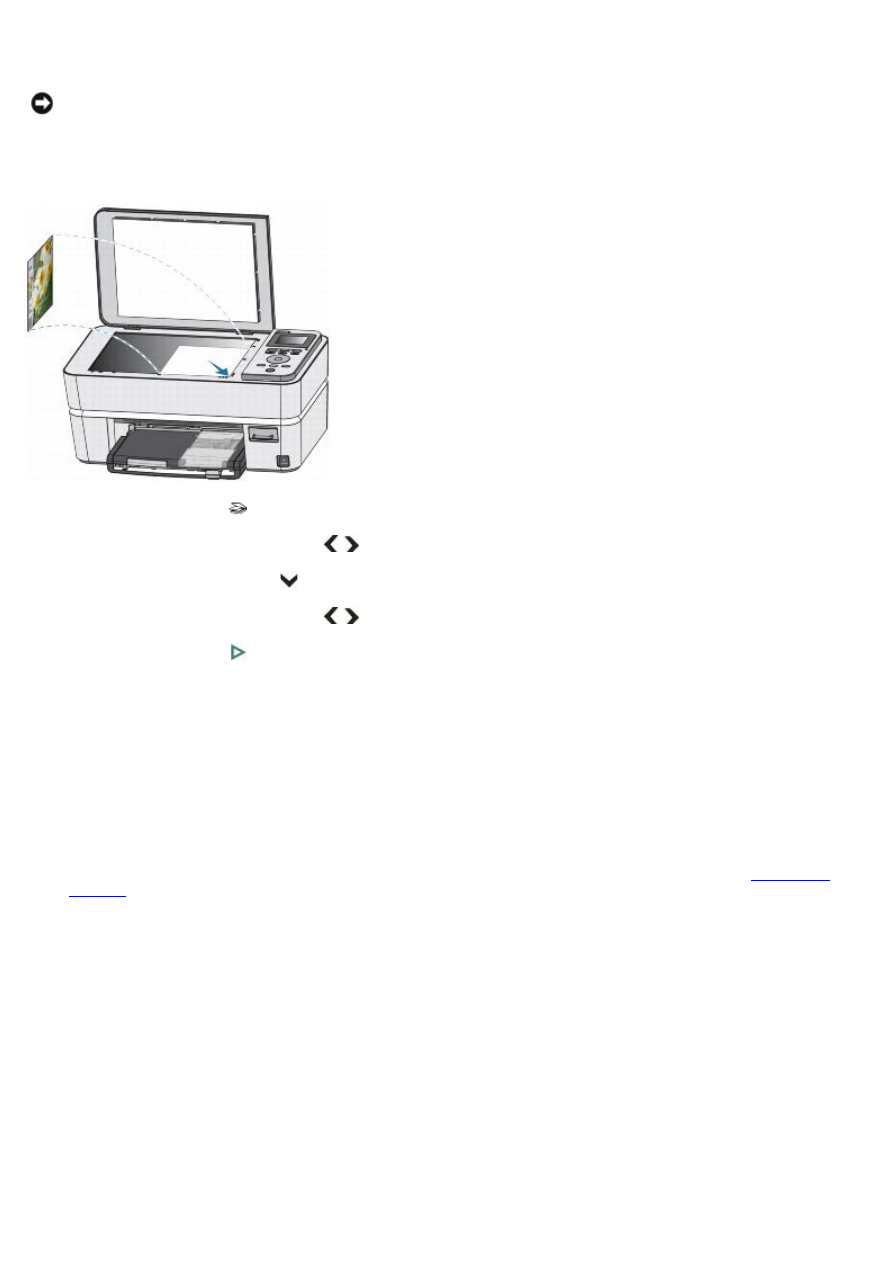
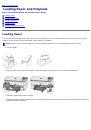
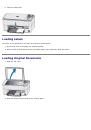
3. Load your original photo or document.
4. Press the
Scan
button
.
5. Press the left or right
Arrow
button
to scroll to Photo or Document.
6. Press the down
Arrow
button
to scroll to Scan To.
7. Press the left or right
Arrow
button
to scroll to
Memory Card
.
8. Press the
Start
button
.
The document is scanned and saved to the destination
File
.
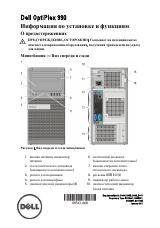
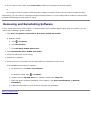
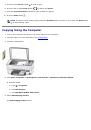
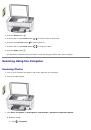
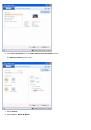
Scan to a Computer connected via Wi-Fi
Scanning to
PC-WiFi
option
is automatically enabled when the wireless connection is established between your printer
and the computer.
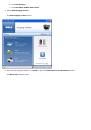
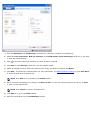
1. Turn on your printer and the computer.
2. Establish a wireless connection between your printer and the computer. For more information, see
.
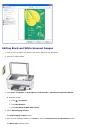
3. Load your original photo or document.
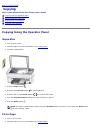
 1
1
 2
2
 3
3
 4
4
 5
5
 6
6
 7
7
 8
8
 9
9
 10
10
 11
11
 12
12
 13
13
 14
14
 15
15
 16
16
 17
17
 18
18
 19
19
 20
20
 21
21
 22
22
 23
23
 24
24
 25
25
 26
26
 27
27
 28
28
 29
29
 30
30
 31
31
 32
32
 33
33
 34
34
 35
35
 36
36
 37
37
 38
38
 39
39
 40
40
 41
41
 42
42
 43
43
 44
44
 45
45
 46
46
 47
47
 48
48
 49
49
 50
50
 51
51
 52
52
 53
53
 54
54
 55
55
 56
56
 57
57
 58
58
 59
59
 60
60
 61
61
 62
62
 63
63
 64
64
 65
65
 66
66
 67
67
 68
68
 69
69
 70
70
 71
71
 72
72
 73
73
 74
74
 75
75
 76
76
 77
77
 78
78
 79
79
 80
80
 81
81
 82
82
 83
83
 84
84
 85
85
 86
86
 87
87
 88
88
 89
89
 90
90
 91
91
 92
92
 93
93
 94
94
 95
95
 96
96
 97
97
 98
98
 99
99
 100
100
 101
101
 102
102
 103
103
 104
104
 105
105
Инструкции и руководства похожие на DELL P703w