NOTE:
Click
Next >
to go directly to the
Finish
window.
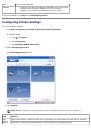
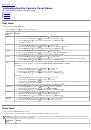
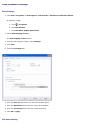
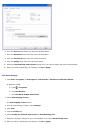
14. When you finish customizing your settings, click
Save
.
NOTE:
Click
Cancel
to undo the changes made.
15. Click
Next >
to go to the
Finish
window.
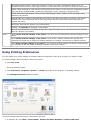
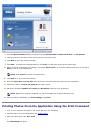
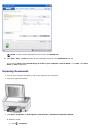
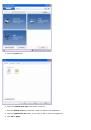
16. Select the destination from the
Destinations
list box.
NOTE:
To add or delete applications from the list, click
Modify List
.
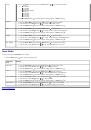
17. Click
Save
,
Send
, or
according to the destination selected in the
Destinations
list box.
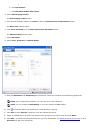
If you want to
Save your scanned document to a file on your computer
,
Send to Email
, or to
, click
Save
,
Send
, or
respectively.
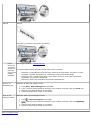
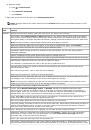
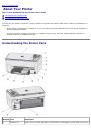
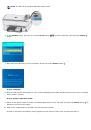
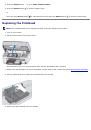
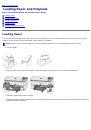
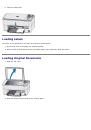
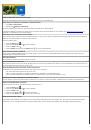
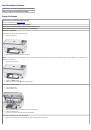
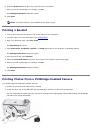
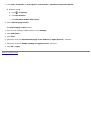
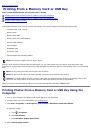
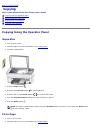
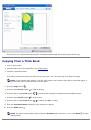
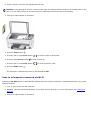
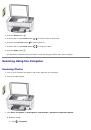
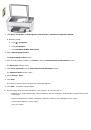
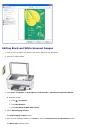
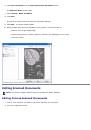
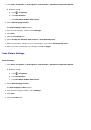
Scanning From a Thick Book
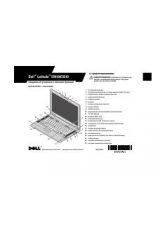
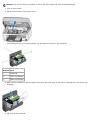
1. Turn on your printer.
2. Load the original thick book.
Your printer functions normally even with the top cover open. You can lift the top cover from the hinges.
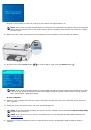
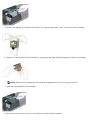
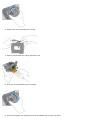
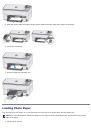
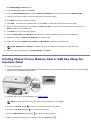
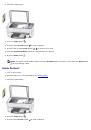
NOTE:
To get a better Scan quality, cover the extra space on the scanner glass with the white blank paper, if
the size of the book is lesser than the scanner glass
.
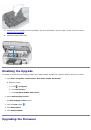
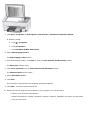
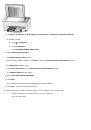
3. Press the
Scan
button
.
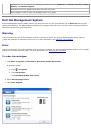
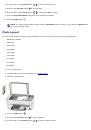
4. Press the left or right
Arrow
button
to scroll to Photo or Document.
5. Press the down
Arrow
button
to scroll to Scan To.
6. Press the left or right
Arrow
button
to scroll to PC-USB/Memory Card/PC-WiFi
.
7. Press the
Start
button
.
The document is scanned and saved based on the Dell Imaging Toolbox scan picture settings.
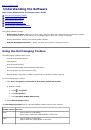
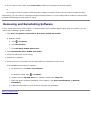
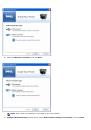
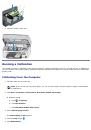
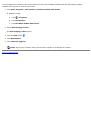
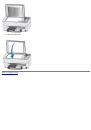
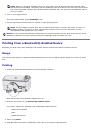
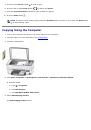
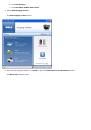
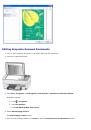
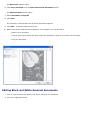
Editing Scanned Images
Editing Colored Scanned Images
1. Turn on your computer and printer, and ensure that they are connected.
2. Load your original photo.
 1
1
 2
2
 3
3
 4
4
 5
5
 6
6
 7
7
 8
8
 9
9
 10
10
 11
11
 12
12
 13
13
 14
14
 15
15
 16
16
 17
17
 18
18
 19
19
 20
20
 21
21
 22
22
 23
23
 24
24
 25
25
 26
26
 27
27
 28
28
 29
29
 30
30
 31
31
 32
32
 33
33
 34
34
 35
35
 36
36
 37
37
 38
38
 39
39
 40
40
 41
41
 42
42
 43
43
 44
44
 45
45
 46
46
 47
47
 48
48
 49
49
 50
50
 51
51
 52
52
 53
53
 54
54
 55
55
 56
56
 57
57
 58
58
 59
59
 60
60
 61
61
 62
62
 63
63
 64
64
 65
65
 66
66
 67
67
 68
68
 69
69
 70
70
 71
71
 72
72
 73
73
 74
74
 75
75
 76
76
 77
77
 78
78
 79
79
 80
80
 81
81
 82
82
 83
83
 84
84
 85
85
 86
86
 87
87
 88
88
 89
89
 90
90
 91
91
 92
92
 93
93
 94
94
 95
95
 96
96
 97
97
 98
98
 99
99
 100
100
 101
101
 102
102
 103
103
 104
104
 105
105
Инструкции и руководства похожие на DELL P703w