®
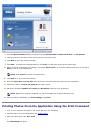
b. Click
Dell Printers
.
c. Click
Dell Photo P703w AIO Printer
.
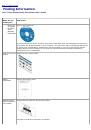
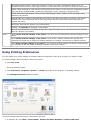
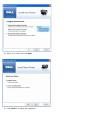
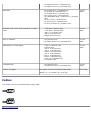
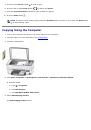
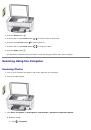
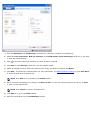
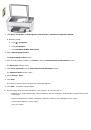
4. Select
Dell Imaging Toolbox
.
The
Dell Imaging Toolbox
opens.
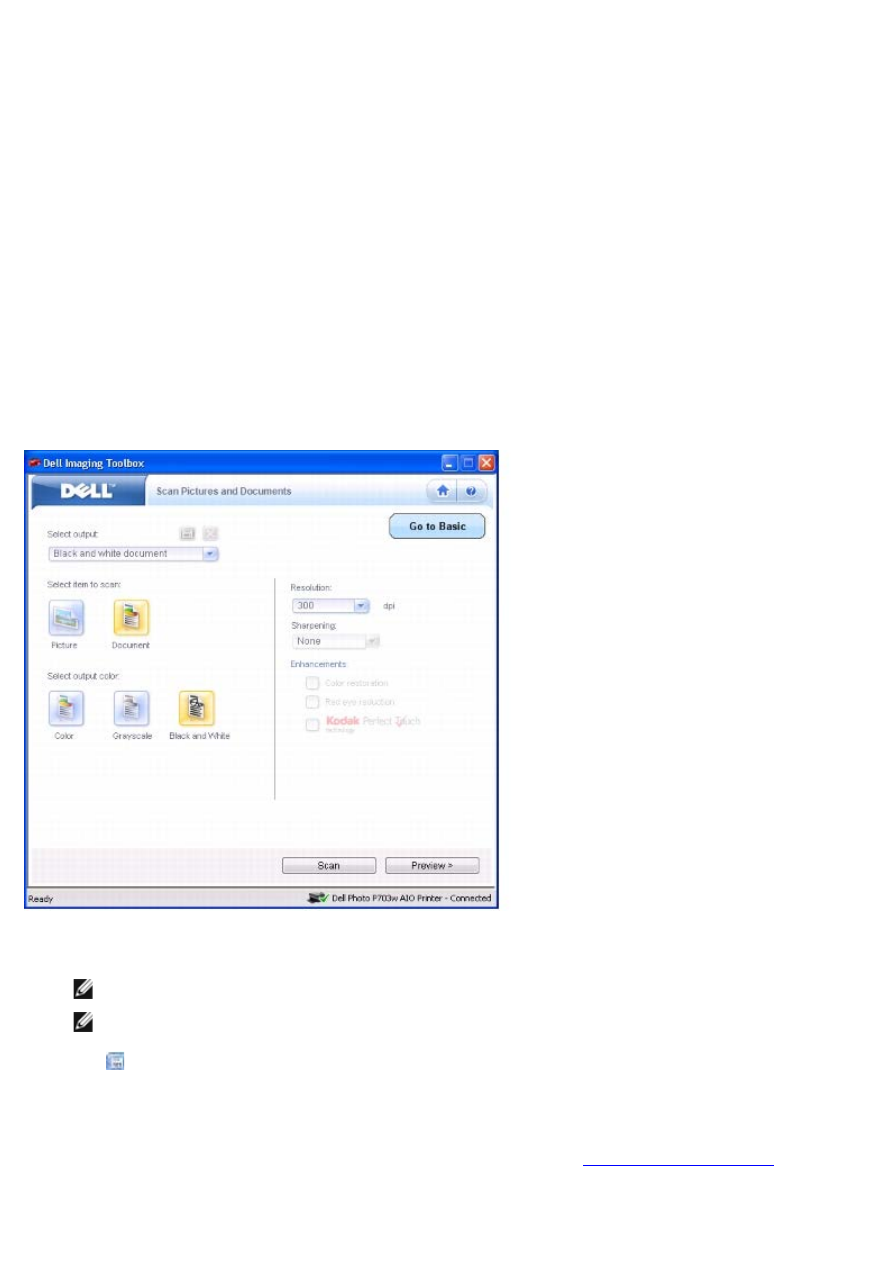
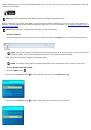
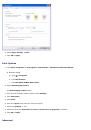
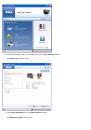
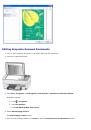
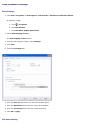
5. From the Dell Imaging Toolbox, click
Scan
to open the
Scan Pictures and Document
window.
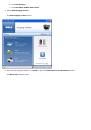
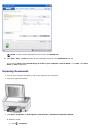
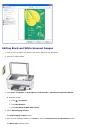
The
Basic Scan
window opens.
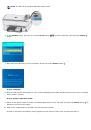
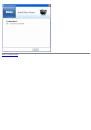
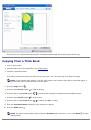
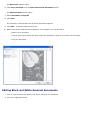
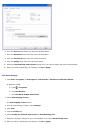
6. Click
Go to Advanced
from the
Scan Pictures and Document
window.
The
Advanced Scan
window opens.
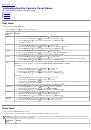
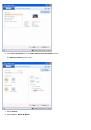
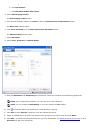
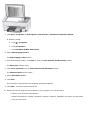
7. Select
Document
.
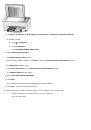
8. Select
Color
,
Grayscale
, or
Black & White
.
9. From the
Resolution
and
Sharpening
drop-down lists, select the resolution and sharpening respectively.
NOTE:
If you change the Resolution, you can save it as a Scan Shortcut.
NOTE:
You can change the
Sharpening
, if you have selected a
Color
output.
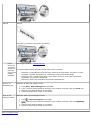
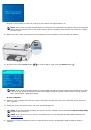
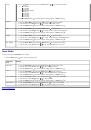
10. Click
to save the options you selected as a Scan Shortcut, if desired.
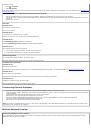
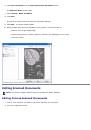
11. Click
Scan
or click
Preview >
button to view the scanned document.
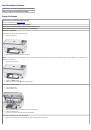
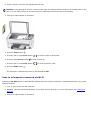
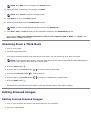
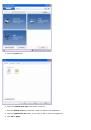
12. Adjust the dotted box to fit around the portion of the document you want to scan and click
Next>
.
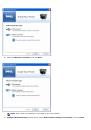
13. Click
Edit...
to enhance the selected document (for more information, see
) or click
Scan More
to add more documents.
 1
1
 2
2
 3
3
 4
4
 5
5
 6
6
 7
7
 8
8
 9
9
 10
10
 11
11
 12
12
 13
13
 14
14
 15
15
 16
16
 17
17
 18
18
 19
19
 20
20
 21
21
 22
22
 23
23
 24
24
 25
25
 26
26
 27
27
 28
28
 29
29
 30
30
 31
31
 32
32
 33
33
 34
34
 35
35
 36
36
 37
37
 38
38
 39
39
 40
40
 41
41
 42
42
 43
43
 44
44
 45
45
 46
46
 47
47
 48
48
 49
49
 50
50
 51
51
 52
52
 53
53
 54
54
 55
55
 56
56
 57
57
 58
58
 59
59
 60
60
 61
61
 62
62
 63
63
 64
64
 65
65
 66
66
 67
67
 68
68
 69
69
 70
70
 71
71
 72
72
 73
73
 74
74
 75
75
 76
76
 77
77
 78
78
 79
79
 80
80
 81
81
 82
82
 83
83
 84
84
 85
85
 86
86
 87
87
 88
88
 89
89
 90
90
 91
91
 92
92
 93
93
 94
94
 95
95
 96
96
 97
97
 98
98
 99
99
 100
100
 101
101
 102
102
 103
103
 104
104
 105
105
Инструкции и руководства похожие на DELL P703w