-
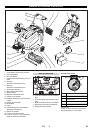
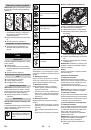
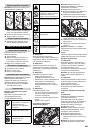
6
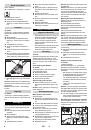
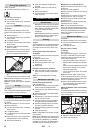
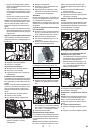
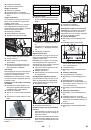
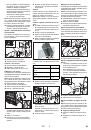
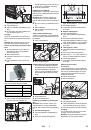
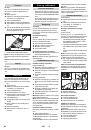
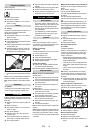
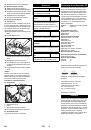
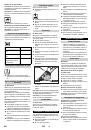
Switch off engine.
Turn the main switch to position “0”.
The side-brushes lift up.
Lock parking brake.
Turn the main switch using "0" position
and pull it out.
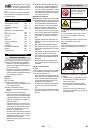
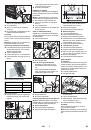
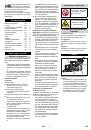
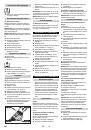
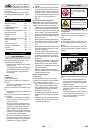
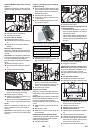
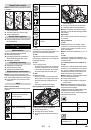
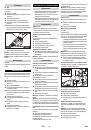
Danger
Risk of injury and damage! Observe the
weight of the appliance when you transport
it.
Switch off engine.
Turn the main switch using "0" position
and pull it out.
Lock parking brake.
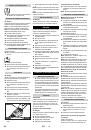
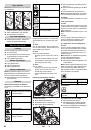
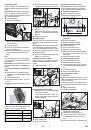
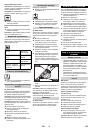
Secure the wheels of the machine with
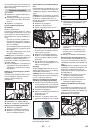
wheel chocks.
Secure the machine with tensioning
straps or cables.
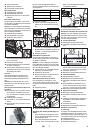
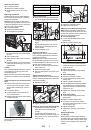
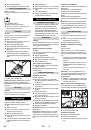
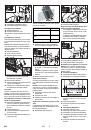
When transporting in vehicles, secure
the appliance according to the guide-
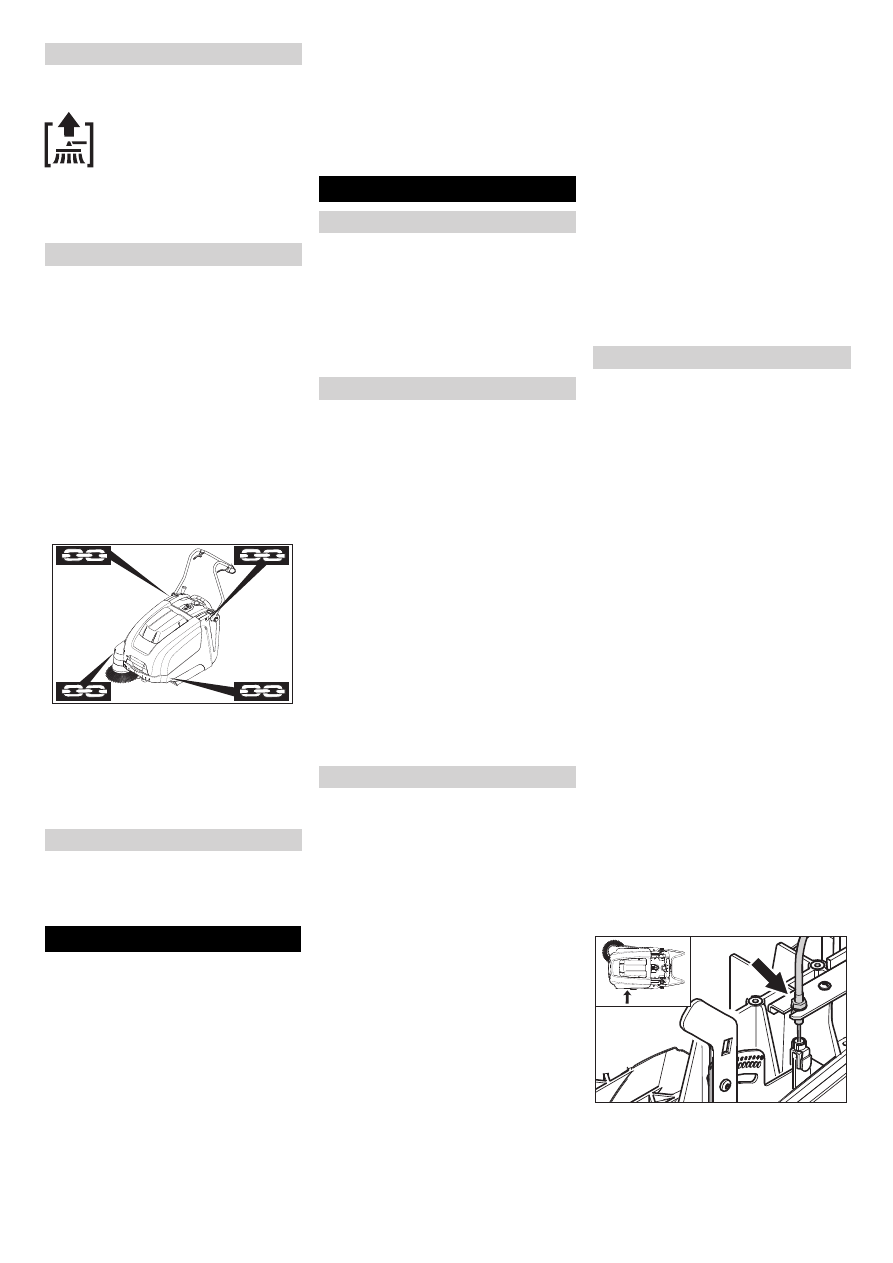
lines from slipping and tipping over.
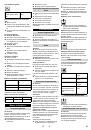
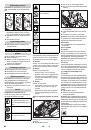
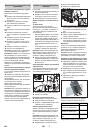
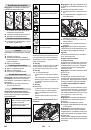
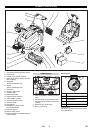
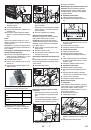
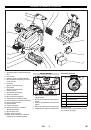
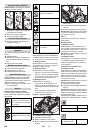
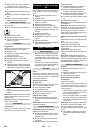
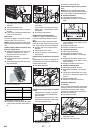
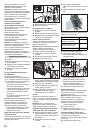
1 Fastening area above the pushing han-
dle
2 Fastening area under the device hood
Note:
Observe markings for fixing points on
base frame (chain symbols).
Note:
Do not kink the bowden or sheathed
cables.
Danger
Risk of injury and damage! Note the weight
of the appliance in case of storage.
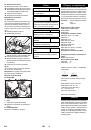
If the sweeper is going to be out of service
for a longer time period, observe the follow-
ing points:
Park the sweeper on an even surface.
Switch off engine.
Turn the main switch using "0" position
and pull it out.
Lock parking brake.
Lock the sweeper to ensure that it does
not roll off.
Raise roller brush. Thus, engage both
adjustment levers in the top boring.
The side-brushes lift up.
Clean the inside and outside of the
sweeper.
Park the machine in a safe and dry
place.
Disconnect batteries.
Charge batteries and recharge approx.
every 2 months.
–
Maintenance work may only be carried
out by approved customer service out-
lets or experts in this field who are famil-
iar with the respective safety
regulations.
–
Mobile appliances used for commercial
purposes are subject to safety inspec-
tions according to VDE 0701.
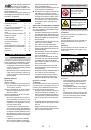
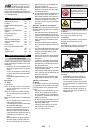
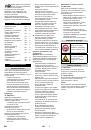
Caution
Risk of damage! Do not clean the appliance
with a water hose or high-pressure water
jet (danger of short circuits or other dam-
age).
Danger
Risk of injury! Wear dust mask and protec-
tive goggles.
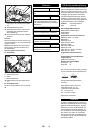
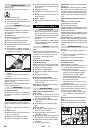
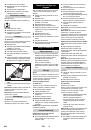
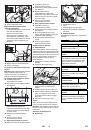
Open the device hood.
Clean machine with a cloth.
Blow through machine with com-
pressed air.
Close cover.
Clean the machine with a damp cloth
which has been soaked in mild deter-
gent.
Note:
Do not use aggressive cleaning
agents.
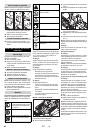
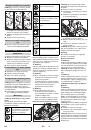
Daily maintenance:
Check the sweeping roller and the side
brush for wear and wrapped belts.
Check function of all operator control el-
ements.
Check functioning of all indicator lamps.
Weekly maintenance:
Check tension, wear and tear and func-
tioning of the drive belts.
Check for smooth running of the Bow-
den cables and the moveable parts
Check the sealing strips in the sweep-
ing area for position and wear.
Check the sweeping track of the sweep-
ing roller.
Clean the dust filter.
Note:
For description, see section on Main-
tenance work.
Note:
Where maintenance is carried out by
the customer, all service and maintenance
work must be undertaken by a qualified
specialist. If required, a specialised Kärch-
er dealer may be contacted at any time.
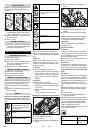
Maintenance after the first month or 5 oper-
ating hours:
Carry out initial inspection.
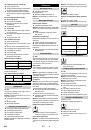
Maintenance to be carried out every 50 op-
erating hours
Maintenance to be carried out every 100
operating hours or every six months
Maintenance to be carried out every 300
operating hours
Maintenance to be carried out every 500
operating hours or annually
Note:
In order to safeguard warranty
claims, all service and maintenance work
during the warranty period must be carried
out by the authorised Kärcher Customer
Service in accordance with the mainte-
nance booklet.
Preparation:
Park the sweeper on an even surface.
Turn the main switch using "0" position
and pull it out.
Lock parking brake.
Danger
Risk of injury!
The engine requires approx. 3-4 seconds
to come to a standstill once it has been
switched off. During this time, stay well
clear of the working area.
–
Pull out the battery plug or clamp the
batteries while working on the electrical
unit.
–
Allow the machine sufficient time to cool
down before carrying out any mainte-
nance and repair work.
–
Do not touch any hot parts, such as the
drive motor.
Note:
Remove the waste container and
move the pushing handle to the front prior
to tilting the appliance. Do not rest the ap-
pliance on the pushing handle.
Switch off the appliance prior to clean-
ing and performing any maintenance
tasks or replacing parts.
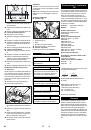
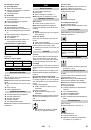
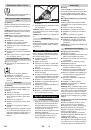
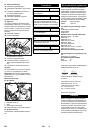
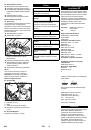
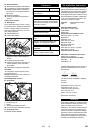
This must be adjusted if the drive perform-
ance of the appliance becomes insufficient
when driving uphill.
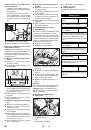
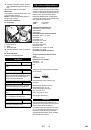
Loosen counter-nut.
Adjust the adjustment screw.
Tighten the counter-nut.
Turn off the appliance
Transport
Storage
Shutdown
Maintenance and care
General notes
Cleaning
Cleaning the inside of the machine
External cleaning of the appliance
Maintenance intervals
Maintenance by the customer
Maintenance by Customer Service
Maintenance Works
General notes on safety
Adjust the Bowden cable of the acceler-
ation drive
18
EN
 1
1
 2
2
 3
3
 4
4
 5
5
 6
6
 7
7
 8
8
 9
9
 10
10
 11
11
 12
12
 13
13
 14
14
 15
15
 16
16
 17
17
 18
18
 19
19
 20
20
 21
21
 22
22
 23
23
 24
24
 25
25
 26
26
 27
27
 28
28
 29
29
 30
30
 31
31
 32
32
 33
33
 34
34
 35
35
 36
36
 37
37
 38
38
 39
39
 40
40
 41
41
 42
42
 43
43
 44
44
 45
45
 46
46
 47
47
 48
48
 49
49
 50
50
 51
51
 52
52
 53
53
 54
54
 55
55
 56
56
 57
57
 58
58
 59
59
 60
60
 61
61
 62
62
 63
63
 64
64
 65
65
 66
66
 67
67
 68
68
 69
69
 70
70
 71
71
 72
72
 73
73
 74
74
 75
75
 76
76
 77
77
 78
78
 79
79
 80
80
 81
81
 82
82
 83
83
 84
84
 85
85
 86
86
 87
87
 88
88
 89
89
 90
90
 91
91
 92
92
 93
93
 94
94
 95
95
 96
96
 97
97
 98
98
 99
99
 100
100
 101
101
 102
102
 103
103
 104
104
 105
105
 106
106
 107
107
 108
108
 109
109
 110
110
 111
111
 112
112
 113
113
 114
114
 115
115
 116
116
 117
117
 118
118
 119
119
 120
120
 121
121
 122
122
 123
123
 124
124
 125
125
 126
126
 127
127
 128
128
 129
129
 130
130
 131
131
 132
132
 133
133
 134
134
 135
135
 136
136
 137
137
 138
138
 139
139
 140
140
 141
141
 142
142
 143
143
 144
144
 145
145
 146
146
 147
147
 148
148
 149
149
 150
150
 151
151
 152
152
 153
153
 154
154
 155
155
 156
156
 157
157
 158
158
 159
159
 160
160
 161
161
 162
162
 163
163
 164
164
 165
165
 166
166
 167
167
 168
168
 169
169
 170
170
 171
171
 172
172
 173
173
 174
174
 175
175
 176
176
 177
177
 178
178
 179
179
 180
180
 181
181
 182
182
 183
183
 184
184
 185
185
 186
186
 187
187
 188
188
 189
189
 190
190
 191
191
 192
192
 193
193
 194
194
 195
195
 196
196
 197
197
 198
198
 199
199
 200
200
 201
201
 202
202
 203
203
 204
204
 205
205
 206
206
 207
207
 208
208
 209
209
 210
210
 211
211
 212
212
 213
213
 214
214
 215
215
 216
216
 217
217
 218
218
 219
219
 220
220
 221
221
 222
222
 223
223
 224
224
 225
225
 226
226
 227
227
 228
228
 229
229
 230
230
 231
231
 232
232
 233
233
 234
234
 235
235
 236
236
 237
237
 238
238
 239
239
 240
240
 241
241
 242
242
 243
243
 244
244
 245
245
 246
246
 247
247
 248
248
 249
249
 250
250
 251
251
 252
252
 253
253
 254
254
 255
255
 256
256
 257
257
 258
258
 259
259
 260
260
 261
261
 262
262
 263
263
 264
264
 265
265
 266
266
 267
267
 268
268
 269
269
 270
270
 271
271
 272
272
 273
273
 274
274
 275
275
 276
276
 277
277
 278
278
 279
279
 280
280
Инструкции и руководства похожие на KARCHER KM 75/40 W BP


Другие инструкции и руководства из категории Подметально-всасывающая машина