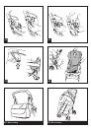
down on the side braces as shown in the figure.
8• To remove the hood, press the side buttons while lifting
the hood off, as shown in the figure.
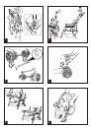
DRINK-HOLDER
9• The drink holder can be placed on the left or right hand
side of the stroller, thanks to the attachment which is
already fitted on both sides. To fit the drink holder, click it
on, as in Figure A. See Figure B for a fitted drink holder.
Do not place hot drinks in the drink-holder.
BRAKE
10• Press the brake lever on the rear wheel unit to set the
brake on the stroller.
SAFETY BELT
11• A: Make sure that the brace is properly inserted by
pushing as shown in the figure. B: Fasten the belt as
shown in the figure.
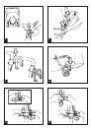
12• To unfasten the belt, press on the buckle sides and pull
out the waist strap.
13• The new safety belt is now easier to fasten thanks to the
"snap-open-and-shut" device. Before fastening the safety
belt, attach the buckle to the backrest by inserting the tab
through the special holder, as shown in the figure. After
fastening the safety belt on your child, detach it from the
backrest to allow the child more freedom of movement.
The buckle must remain below the child's shoulders.
ADJUSTING THE BACKREST
14• To recline the backrest, lower the backrest adjuster button
while pushing the backrest down. To raise the backrest,
push the backrest adjuster button upwards, as shown in
the figure.
SWIVELING WHEELS
15• Lower the lever as shown in the figure to allow the front
wheels to swivel. Lift the lever for fixed wheels.
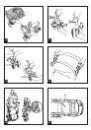
FRONT BAR-CHILD TRAY
16• The front bar or tray can be opened to make it easier for
the child to get in and out of the stroller when he or she
is older. To open the bar, press the button with one hand
while pulling the bar upwards with the other hand.
17• To remove the front bar-child tray, press the two buttons
as shown in the figure while pulling the tray upwards.
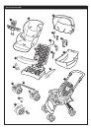
REPLACING THE BASKET
18• If it is necessary to replace the basket, fasten the front of
the new basket to the hooks as shown in the figure.
19• Fasten the back of the basket, closing the buttons as
shown in the figure.
REMOVING THE WHEELS
The wheels on the stroller are removable.
20• To remove the front wheels, set them to swivel, press the
levers and push the wheel until it comes off, as shown in
the figure.
21• To remove the rear wheels, press button A and pull the
wheels off, as shown in the figure.
FOLDING UP THE STROLLER
Before folding up the stroller, pull the side braces upwards
if the hood is attached.
22• To fold up the stroller, raise the two handlebar levers and
swing the handlebar forwards until it clicks into place.
23• Push the backrest and the hood towards the stroller, while
lowering the handlebar into its housing. Check to make
sure that the stroller is fastened securely with the safety
hook. The folded-up stroller will stand upright by itself.
TRANSPORT
24• The stroller can easily be carried by the handle when it is
closed.
REMOVABLE LINING
25• To remove the lining from the stroller, remove the little
cover on the side by pressing on it. Push the pin upwards
and
26• then outwards. Slip the pin out of the hole in the sack.
Repeat on the other side.
27• To detach the sack from the seat, remove the leg divider
from under the seat, and unbutton as shown in the figure.
28• Loosen the safety belt from both sides, and slip the sack
off the stroller.
accessory line
29• Diaper-Changing Bag: Satchel with pad for changing
baby’s diaper. Attaches to the stroller.
30• The rain canopy made of transparent with elastic around
the edge can be fastened over the hood on the Aria
stroller.
cleaning & maintenance
• Your product requires only minimal maintenance.
Cleaning and maintenance operations must be performed
only by adults.
• Be sure to keep all moving parts clean, lubricating them
with light oil if necessary.
• Dry off metal parts to prevent rusting.
• Regularly clean the plastic parts with a damp cloth. Do
not use solvents or similar products.
• Brush the fabric parts to remove dust.
• Remove any dust and sand from the wheels.
• Protect the product against smog, water, rain and snow.
Continued and extended exposure to sunlight can
change the colours of many materials.
• Store the product in a dry area.
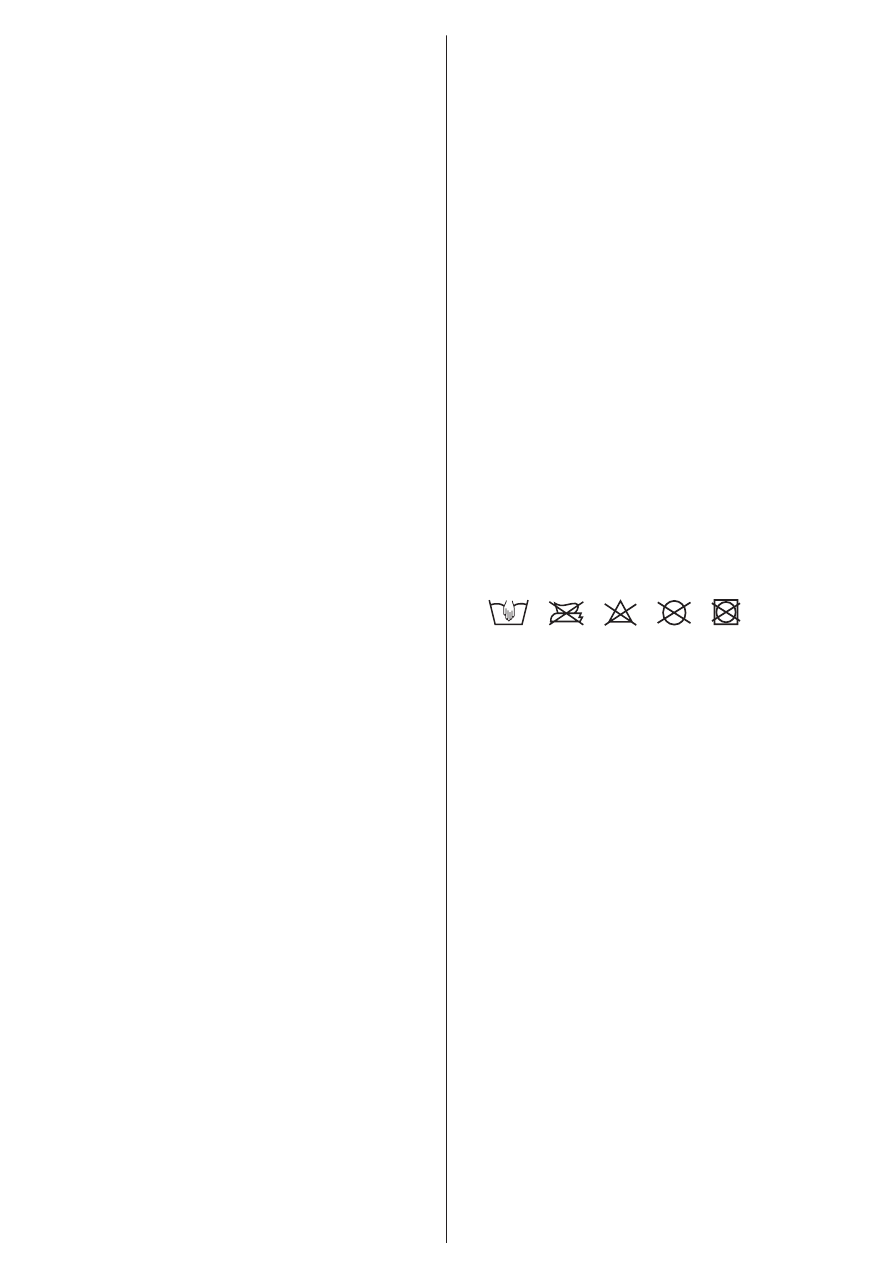
• To wash the sack, follow the instructions below.
assistance
service
If parts of the product are lost or damaged, replace only
with original Peg-Pérego spare parts. For any repairs,
replacements, product information and the sale of original
spare parts and accessories contact the Peg-Pérego
Assistance Service:
• tel.: 0039 039 60 88 213
• fax: 0039 039 33 09 992
•
e-mail:
assistenza@pegperego.it
• web site: www.pegperego.com
Peg-Pérego may modify the products described in this
publication at any time for technical or commercial
reasons.
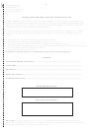
what do you think of us?
Peg-Pérego makes itself available to all its customers in
order to best satisfy their various needs. Knowing the
opinion of our customers is extremely important and
valuable to us. We would therefore be very grateful if,
after using our product, you would fill in the CONSUMER
SATISFACTION QUESTIONNAIRE, adding any observations
or suggestions, on our web site: www.pegperego.com