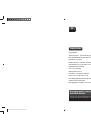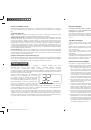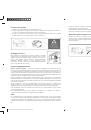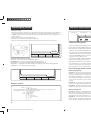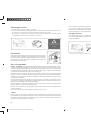
Remote control
Indicator
AUTO program button WALL
FOLLOW program button
Left
Pause
Button on/off
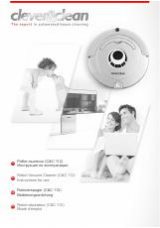
DOCKING button for parking cleaner on recharging console
SPOT program button
Forward
Right
Back
UV button
Speed set button
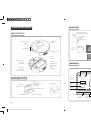
Operating the cleaner
Switching on and off
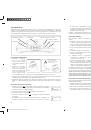
1. Place the main switch in ON position (see fi g. below), which lights up the display, the screen fl ickers for
3 seconds and the activation signal sounds. All functions are prepared and their indicators fl ash in red.
2. If “READY” lights up in green on the display, the robot is prepared for selection of the cleaning program or
to start cleaning.
3. When you switch off the robot the display turns off .
4. The remote control cannot be used in switched off mode.
5. If you are not using the robot for a longer period of time, place the main switch in the OFF position.
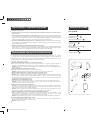
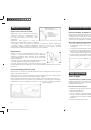
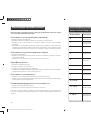
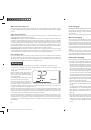
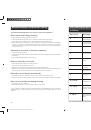
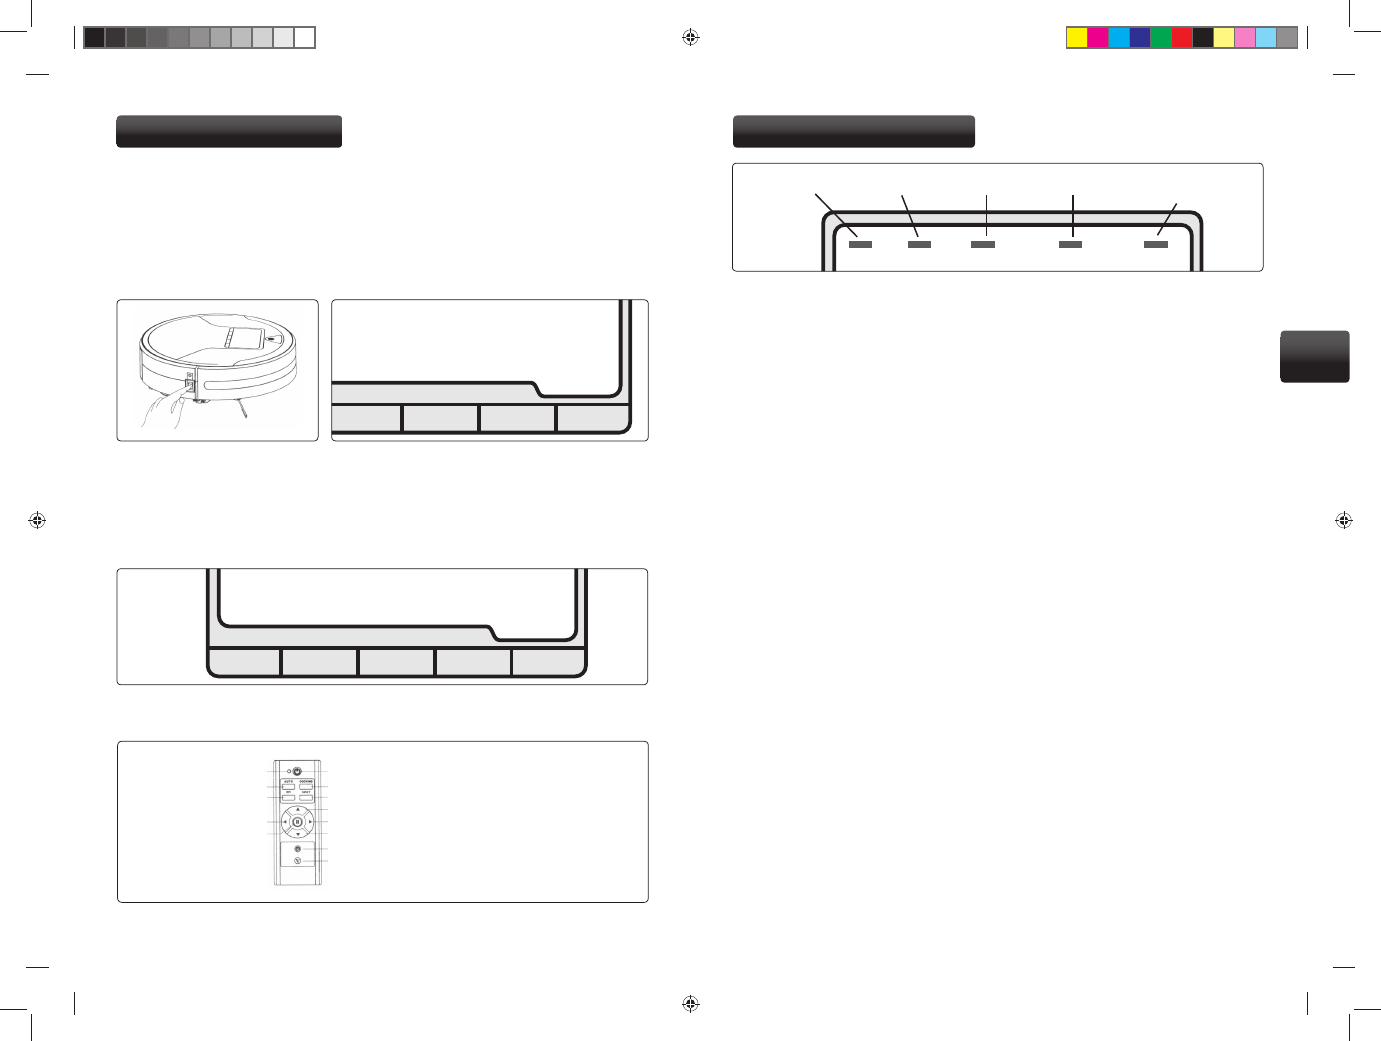
Manual operation of buttons on cleaner
UV button – activation of UV lamps for disinfecting fl oor
PROGRAM button – selection of specifi c program in selected mode
MODE button – selection of cleaning mode ATUO, SPOT, WALL FOLLOW
DOCK button – command for automatic parking onto recharging console for recharging battery
START button – run or interrupt cleaning program.
READY
UV PROGRAM MODE DOCK START
Functions and programs
Selection of programs
Selection of programs is made using the buttons located directly beneath the display on the cleaner.
First of all select cleaning MODE and then you can select the specifi c program within the given mode.
After selection the relevant indicator lights up on the display.
• Switch on robot with main switch (ON position) and press “MODE” button.
• The initial program selection AUTO 01 lights up on the display (UV light is automatically activated for
disinfection). To select another cleaning mode press “MODE” button repeatedly.
• Using the “PROGRAM” button you can then select the specifi c program of the given cleaning mode,
e.g. AUTO 01 to 03 or SPOT 01 to 02.
• Then just press “START” and the cleaner begins the selected cleaning program. By pressing the “START”
button again the program is terminated
Other programs and modes can be selected in the same manner.
If no cleaning program is run within 5 minutes, the cleaner automatically switches itself into sleep regime
and if it is not connected to the recharging console it begins to send out a notifi cation signal. To cancel the
signal, reactivate the cleaner using any button or switch the cleaner off completely using the main switch.
List of cleaning modes and their programs
AUTO cleaning mode
Program 01
- IIntensive cleaning program in which vacuuming lasts for the entire duration of the battery
capacity, i.e. 40-80 minutes (according to diffi
culty of terrain and type of fl oor covering). After the end of
cleaning the cleaner retains 15% residual energy, which is uses to fi nd the recharging console and auto-
matically begins recharging. In a larger space with larger soiling it may not be possible to clean 100%, so
we recommend dividing the area into smaller sections using the virtual wall. The general rule applies with
robotic cleaners: The smaller area to be cleaned, the better the results that will be achieved during a single
program.
Program 02
– Shorter 30 minute program, suitable for smaller rooms. After completing the program the
cleaner does not automatically park itself on the recharging console.
Program 03
– Shorter 15 minute program, suitable for cleaning corridors and entrance halls etc. After com-
pleting the program the cleaner does not automatically park itself on the recharging console.
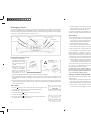
SPOT cleaning mode
Program 01
- PProgram specially designed for careful cleaning of a specifi c area e.g. in case of spillage of
dirt or extreme soiling of a small surface. The robot thoroughly cleans approx. 1 m2 in a spiral movement.
The entire cleaning lasts approximately 2 minutes. After completing the program the cleaner does not auto-
matically park itself on the recharging console.
Program 02
– Short program in which the robot quickly alternates direction always by 90 degrees on a
surface of approx. 1 m2. The entire program lasts approximately 1 minute. After completing the program the
cleaner does not automatically park itself on the recharging console.
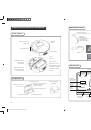
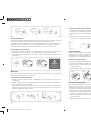
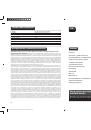
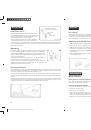
UV AUTO SPOT WALL
FOLOW
DOCK
UV disinfection
Automatic mode
SPOT mode
WALL FOLLOW
mode
Seek recharging console for
battery recharging
26
27
EN
Robzone_Roomy_navod_2010_RU_EN.indd Odd1:28-Odd1:29
Robzone_Roomy_navod_2010_RU_EN.indd Odd1:28-Odd1:29
10/25/10 9:26:10 PM
10/25/10 9:26:10 PM