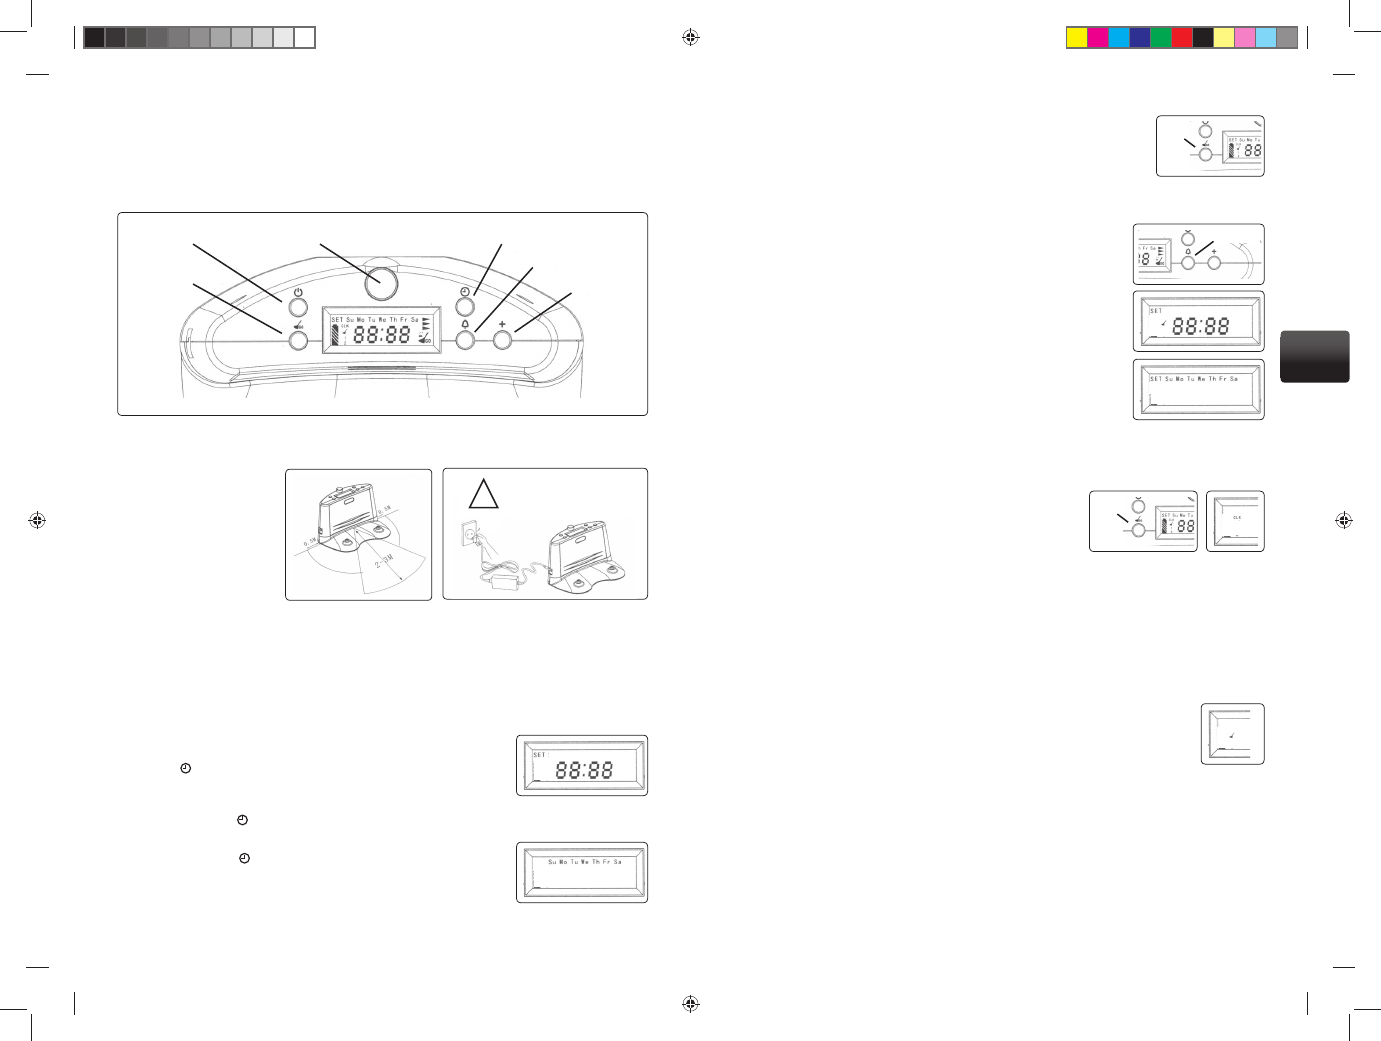
Recharging console
Connect the adaptor to the recharging console and connect this to the electricity mains socket. Then
press the “on/off ” button on the recharging console, launching it into operation. The console shall per-
form a test of the display, which shall show all possible content. During programming of the recharging
console the cleaner must not be parked on the console!
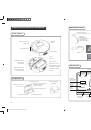
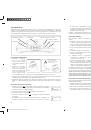
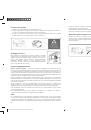
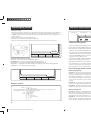
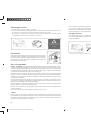
Placing the recharging console
Place the recharging con-
1.
sole with the rear section
towards the wall, ensuring
that it rests stably against
the wall.
Ensure that there are no
2.
obstacles or unevenne-
ss of the surface within a
distance of 2-3 metres in
front of the console and
approximately 50 cm to
the left and right, so that the robot can pick up the signal properly (fi g. 1).
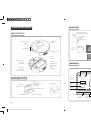
Ensure that the infra-red ray transmitter on the console is free of dust and other dirt which could
3.
interfere with the automatic recharging. Check that the window of the infra-red navigation is not
covered.
Insert the plug of the mains adaptor into the socket on the recharging console (fi g. 2) and place the
4.
cable closely along the wall in order not to block the robot during cleaning, or hide the cable behind
the recharging console.
Time setting
Press the button to set the current time. The word “SET” appears in the
1.
upper right corner of the display and the minutes value fl ashes.
Set the minutes using the “+” button.
2.
Then again press the button and to set the current hour.
3.
Set the hour using the “+” button.
4.
Then again press the button and to set the current day of the week.
5.
Set the day (Mo – Su) using the “+” button.
6.
!
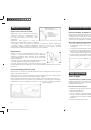
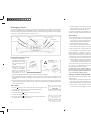
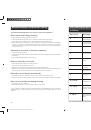
On/off
Current time setting
Timer setting
Clock setting
FULL-GO function
Beacon
Obr.1
Obr.2
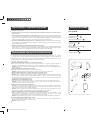
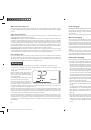
HIGH VOLTAGE!
Danger of injury by electric
shock. Never plug into socket if
you have wet hands!
Finally confi rm the entire setting using the “Go” button and your data is sa-
7.
ved. If the time has been set correctly, the time you have set remains on the
display, and the “CLK” (clock) sign is lit.
If you do not confi rm the setting within 30 seconds, the console will terminate
the time setting mode without saving the set values.
Timer setting
Before setting the timer is it always essential to set the current time.
1. Press the “bell” button to set the timer. The word “SET” appears in the
upper right corner of the display, the “broom” symbol for timed clea-
ning is lit and the minutes value fl ashes.
2. Set the minutes using the “+” button.
3. Then again press the “bell” button and to set the hour.
4. Set the required hour using the “+” button.
5. Then again press the _ button and to set the required day of the week.
6. Set the day (Mo – Su) using the “+” button.
After pressing the “+” button to select the relevant day the day symbol
starts to fl ash for a period of 5 second and then stops, which means the
day has been selected. If you don’t wish to choose this day again press the
“+” button (before the 5 second limit elapses) and the selection moves on
to the next day. Selection may be made for 7 consecutive days or one or more days in the week.
7.
Finally confi rm the entire setting using the “Go” button and your data is saved. If the timer has been
set correctly, the current time reappears on the display, and the
“CLK” (clock) sign is lit, with the “broom” symbol beneath it.
As soon as the time set on the timer is reached, the robot leaves
the console, goes approximately one metre forward and then
starts working in the AUTO program.
The time can be set for a number of days in advance, but always
for cleaning only 1x per day. If you want the cleaner to clean more
than once per day, use the FULL-GO function, in which the robot automatically continues cleaning as
soon as the battery is fully recharged.
“Full-go” automatic cleaning setting
Upon activation of the “Full-go” function the robot automatically starts cleaning as soon as the battery
is fully charged.
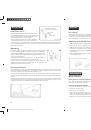
1. Press the “FULL-GO” button to activate this function. The symbol of this function (see fi g.)
is lit on the display of the recharging console.
2. Switch off the function by again pressing the “FULL-GO” button.
3.
If the battery is fully charged and if both the timer and “FULL-GO” functions
are selected on the recharging console, the timer function always has priority.
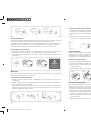
GO
GO
Bell
30
31
EN
Robzone_Roomy_navod_2010_RU_EN.indd Odd1:32-Odd1:33
Robzone_Roomy_navod_2010_RU_EN.indd Odd1:32-Odd1:33
10/25/10 9:26:10 PM
10/25/10 9:26:10 PM