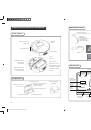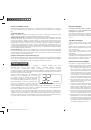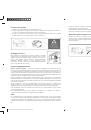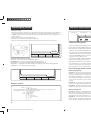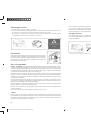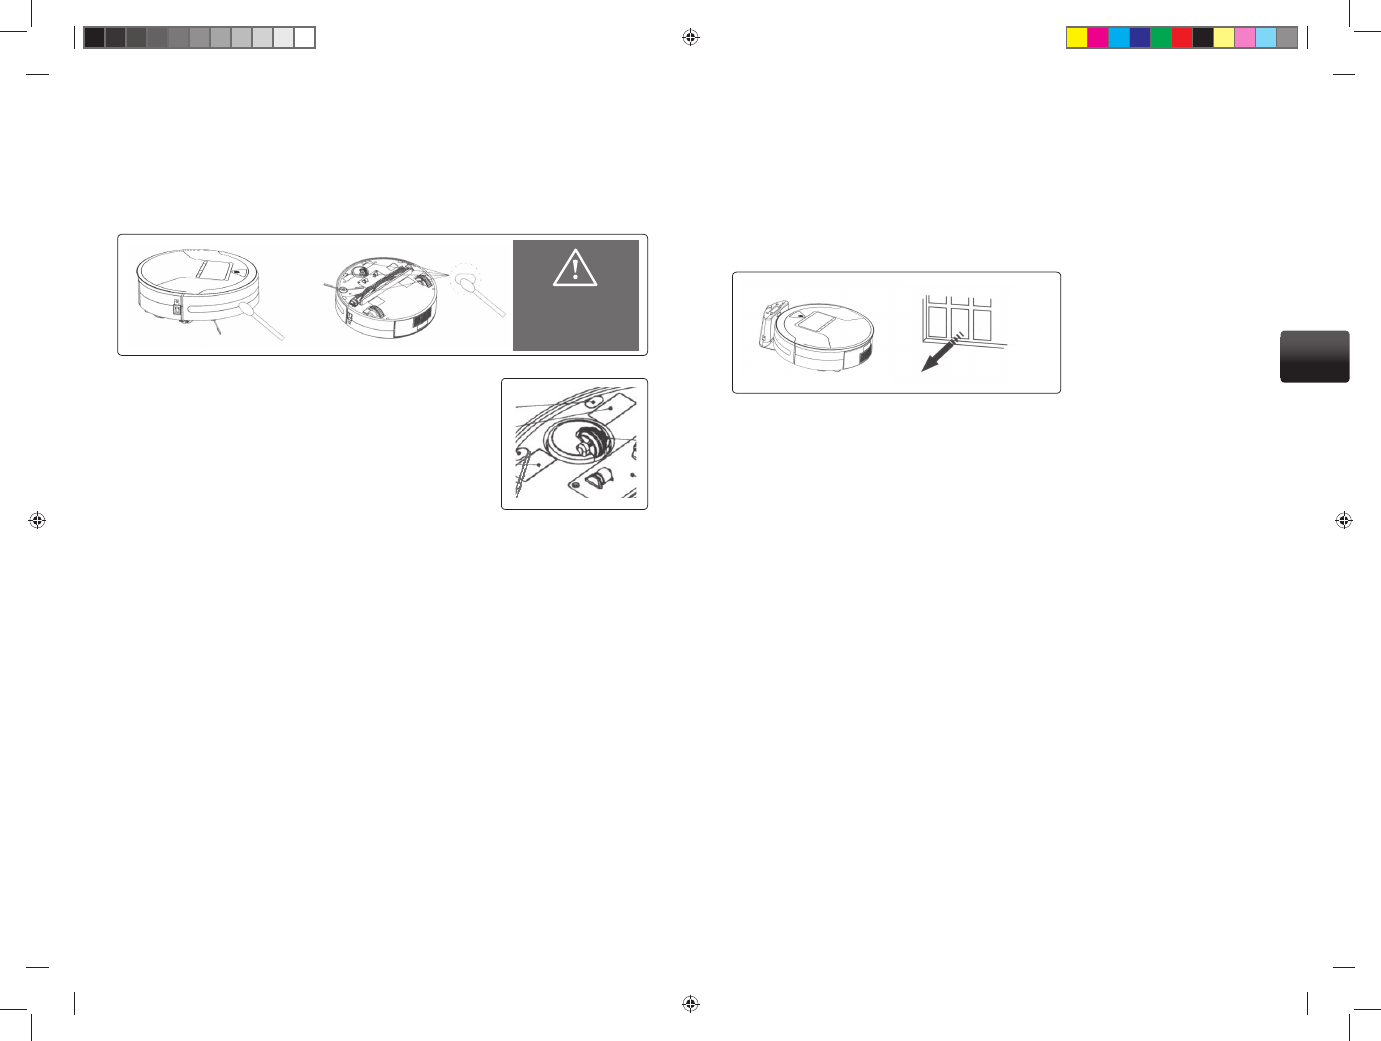
Cleaning the sensors
Clean the sensors using cotton buds or a soft cloth.
1.
The sensors for the function of cleaning along walls are located on the front bumper guard of the cleaner,
2.
the sensors for scanning the fl oor are located on the front underside of the cleaner.
For maintenance of the sensors and quality dust removal from the cleaner we recommend using the
3.
special Robzone Clean&Care solution (available in our e-shop).
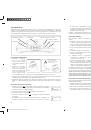
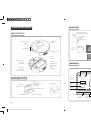
Front wheel
If any of the household members have long hair or if you have long-hai-
red household pets, frequently check the condition of the front wheel,
where longer hairs may remain trapped. Regularly remove any dirt. The
front wheel may become blocked by entangled dirt, preventing the
proper functioning of the robot.
Care of accumulator
Lithium – Ion batteries
are high quality, long-life accumulators with a short recharging time. They do
not have a memory eff ect (during the course of operation their capacity is not reduced as is the case for
example with regular laptop batteries), and can thus be recharged even if they are not entirely deple-
ted without harming the batteries, which is a considerable advantage in comparison with older types
of accumulators. Their battery life is thus several times longer.
Before fi rst use it is necessary to format the new accumulator in order to ensure correct charging to full
capacity, i.e. leave for a minimum of 12 hours for full charging. This full charging should be repeated for
a further 2-3 chargings. For best results in formatting we recommend that the fi rst charging is perfor-
med directly via an adaptor.
The best and naturally the easiest method is to leave the cleaner constantly connected to the rechar-
ging console after cleaning. It shall thus be constantly prepared for use and the battery shall be protec-
ted against loss of capacity upon complete discharging.
If the accumulator is completely discharged (cannot be switched on), it must be recharged directly
from the adaptor and not via the recharging console.
If you do not use the battery for a longer period, store it outside of the cleaner in a discharged state, in
a dry and dark place.
Upon correct use the life span of the Lithium-Ion battery is up to 2 years.
Caution
Do not leave the cleaner in direct sunlight or beneath a window where sun rays reach, this could cause
the accumulator to overheat. Do not leave the cleaner to charge directly via the adaptor for longer than
the indicator shows full charging of the battery in order to prevent overcharging of the battery, which
would cause permanent damage to its output.
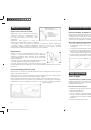
To ensure better cleaning
results clean sensors
regularly
Do not leave the cleaner disconnected from the electrical mains network with the adaptor connected
to the connector of the cleaner, this may lead to discharging of the battery.
Do not leave a completely discharged battery in the cleaner for longer periods if not being used, but
remove it and store it in a dry and dark place.
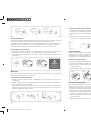
Storage of robot
The robot should be stored in a ventilated and dry place. Do not store the robot close to a heat source
or in direct sunlight. When the robotic cleaner is not used for a longer period, always ensure correct
storage of the battery.
36
37
EN
Robzone_Roomy_navod_2010_RU_EN.indd Odd1:38-Odd1:39
Robzone_Roomy_navod_2010_RU_EN.indd Odd1:38-Odd1:39
10/25/10 9:26:11 PM
10/25/10 9:26:11 PM