Basic Operations
10
EN
6
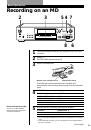
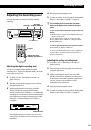
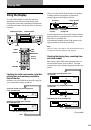
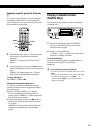
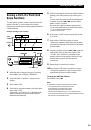
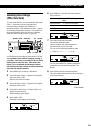
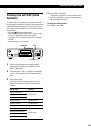
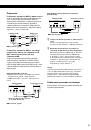
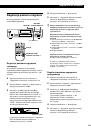
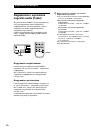
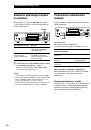
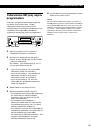
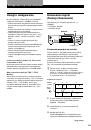
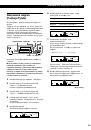
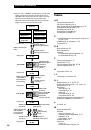
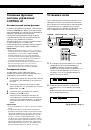
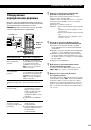
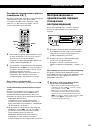
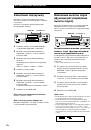
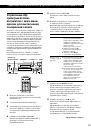
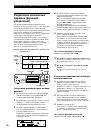
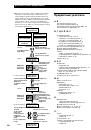
Press
r
REC.
The deck becomes ready to record.
7
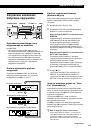
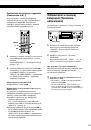
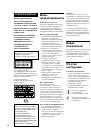
Adjust the recording level.
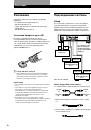
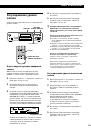
When recording through the DIGITAL COAXIAL IN, OPTICAL IN1, or
IN2 connector
Adjust the outer REC LEVEL (DIGITAL) control so that the
peak level meter in the display is a maximum of 0 dB. For
details, see page 15.
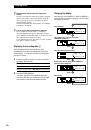
When recording through the LINE (ANALOG) IN jacks
Setting the inner REC LEVEL (ANALOG) control at 4 is
satisfactory for most purposes. For details, see page 15.
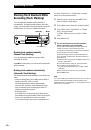
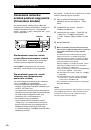
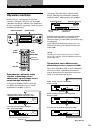
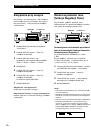
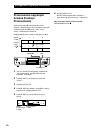
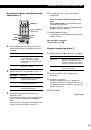
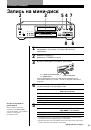
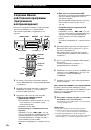
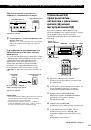
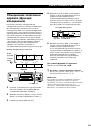
8
Press
·
or
P
.
Recording starts.
9
Start playing the program source.
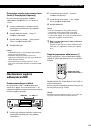
Do not disconnect the deck from the power source immediately after
recording
If you do, recorded material may not be saved to the MD. To save the
material, after recording, press
§
EJECT to take out the MD or change the
deck to standby by pressing
1
/
u
. “TOC Writing” will flash in the display at
this time.
After “TOC Writing” stops flashing and goes out, you can pull out the AC
power cord.
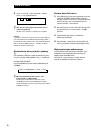
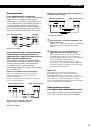
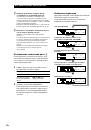
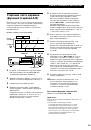
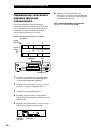
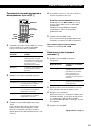
To
Press
Stop recording
p
Pause recording*
P
. Press the button again or press
·
to resume
recording.
Take out the MD
§
EJECT after stopping
* Whenever you pause recording, the track number increases by one. For example, if
you paused recording while recording on track 4, the track number increases by
one and recording continues on the new track when restarted.
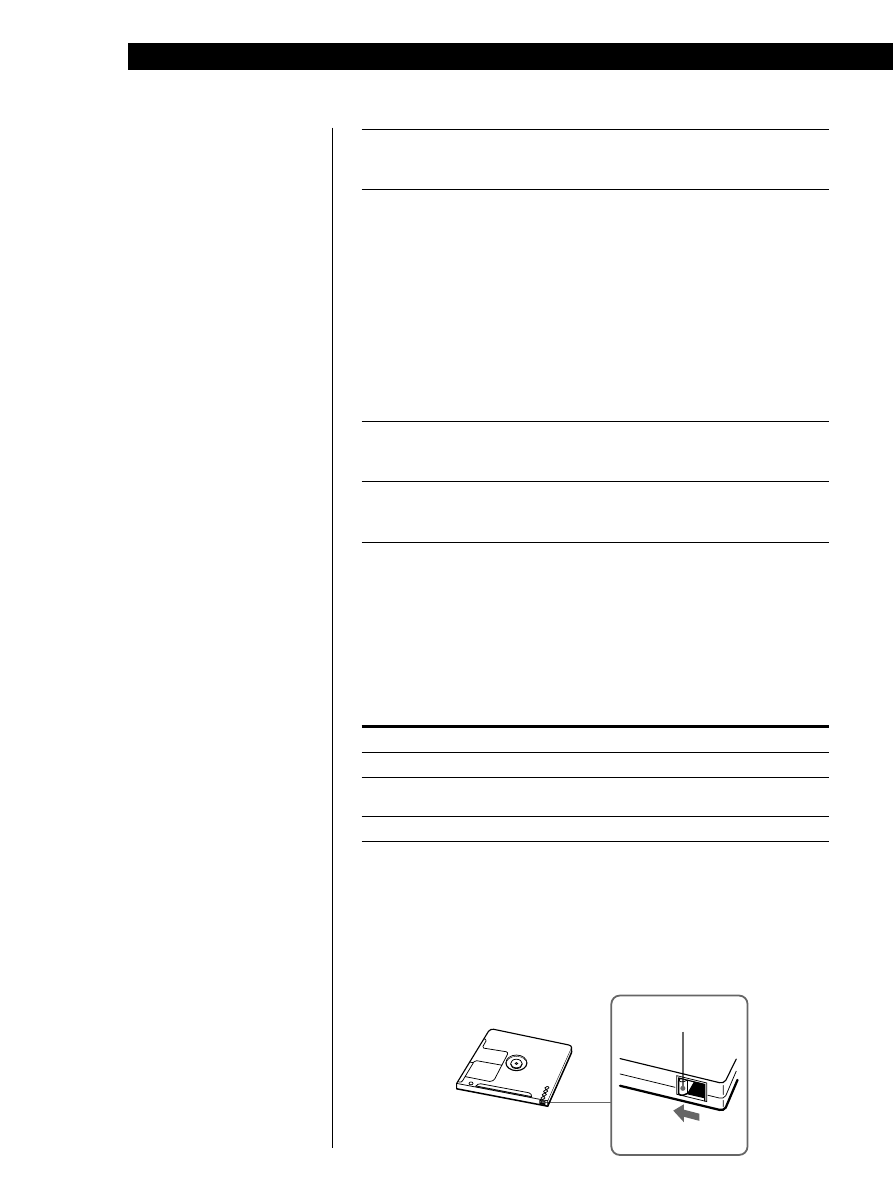
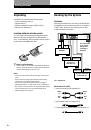
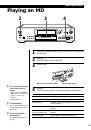
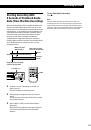
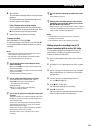
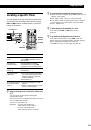
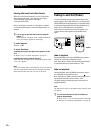
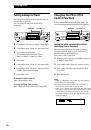
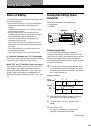
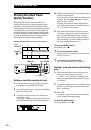
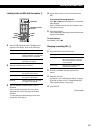
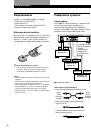
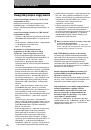
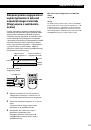
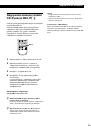
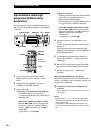
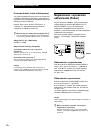
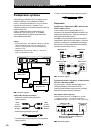
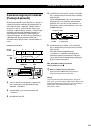
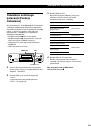
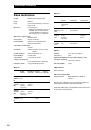
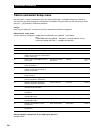
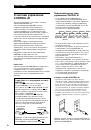
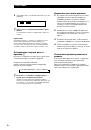
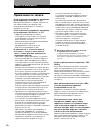
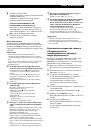
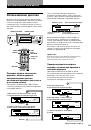
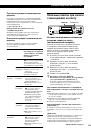
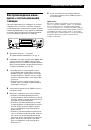
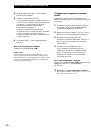
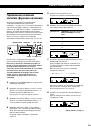
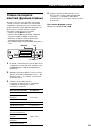
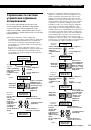
To protect an MD against accidental erasure
To make it impossible to record on an MD, slide the tab in the direction of
arrow, opening the slot. To allow recording, close the slot.
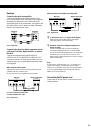
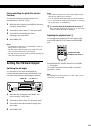
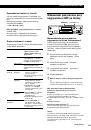
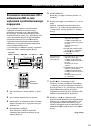
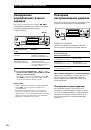
When “TOC Writing” flashes in
the display
The deck is currently updating the
Table Of Contents (TOC). Do not
move the deck or pull out the AC
power cord. Changes to an MD
made through recording are saved
only when you update the TOC by
ejecting the MD or changing the
deck to standby by pressing the
1/u
switch.
Rear of the disc
Record-protect tab
Slide the tab in the
direction of arrow
 1
1
 2
2
 3
3
 4
4
 5
5
 6
6
 7
7
 8
8
 9
9
 10
10
 11
11
 12
12
 13
13
 14
14
 15
15
 16
16
 17
17
 18
18
 19
19
 20
20
 21
21
 22
22
 23
23
 24
24
 25
25
 26
26
 27
27
 28
28
 29
29
 30
30
 31
31
 32
32
 33
33
 34
34
 35
35
 36
36
 37
37
 38
38
 39
39
 40
40
 41
41
 42
42
 43
43
 44
44
 45
45
 46
46
 47
47
 48
48
 49
49
 50
50
 51
51
 52
52
 53
53
 54
54
 55
55
 56
56
 57
57
 58
58
 59
59
 60
60
 61
61
 62
62
 63
63
 64
64
 65
65
 66
66
 67
67
 68
68
 69
69
 70
70
 71
71
 72
72
 73
73
 74
74
 75
75
 76
76
 77
77
 78
78
 79
79
 80
80
 81
81
 82
82
 83
83
 84
84
 85
85
 86
86
 87
87
 88
88
 89
89
 90
90
 91
91
 92
92
 93
93
 94
94
 95
95
 96
96
 97
97
 98
98
 99
99
 100
100
 101
101
 102
102
 103
103
 104
104
 105
105
 106
106
 107
107
 108
108
 109
109
 110
110
 111
111
 112
112
 113
113
 114
114
 115
115
 116
116
 117
117
 118
118
 119
119
 120
120
 121
121
 122
122
 123
123
 124
124
 125
125
 126
126
 127
127
 128
128
 129
129
 130
130
 131
131
 132
132
 133
133
 134
134
 135
135
 136
136
 137
137
 138
138
 139
139
 140
140
 141
141
 142
142
 143
143
 144
144
 145
145
 146
146
 147
147
 148
148
 149
149
 150
150
 151
151
 152
152
 153
153
 154
154
 155
155
 156
156
 157
157
 158
158
 159
159
 160
160
 161
161
 162
162
 163
163
 164
164
 165
165
 166
166
 167
167
 168
168
 169
169
 170
170
 171
171
 172
172