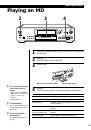
Playing MDs
29
EN
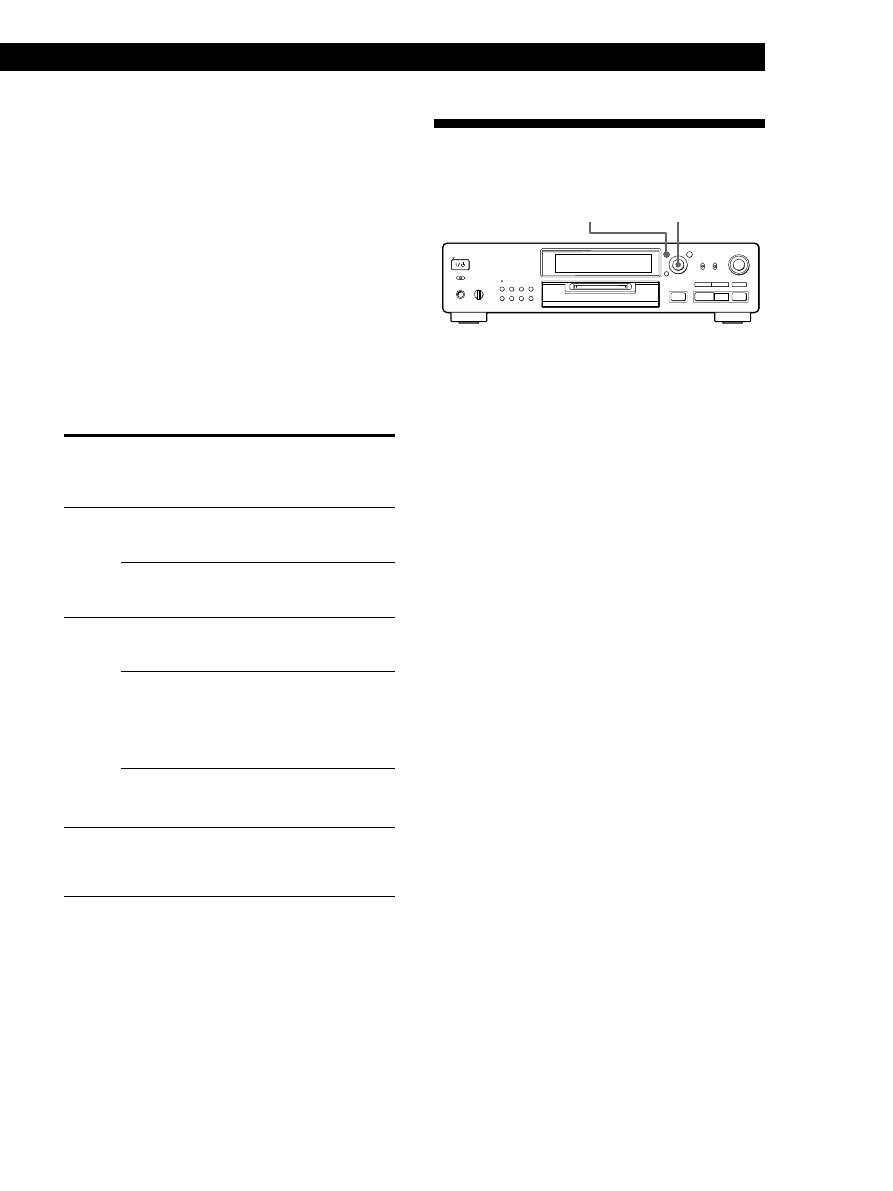
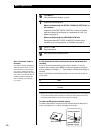
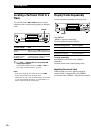
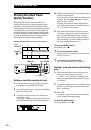
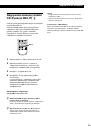
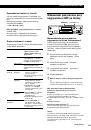
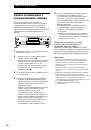
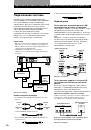
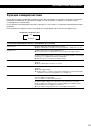
Useful Tips When Recording
From MDs to Tape
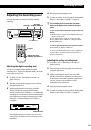
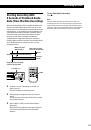
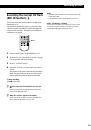
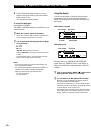
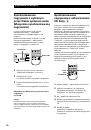
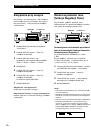
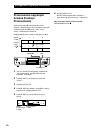
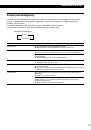
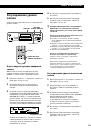
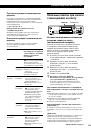
Inserting blank spaces while recording to
tape (Auto Space)
The Auto Space Function inserts a 3-second blank
space between each track while recording from MDs to
tapes, allowing you to use the AMS function during
later playback.
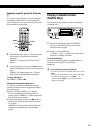
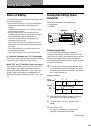
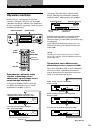
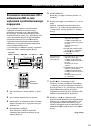
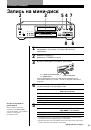
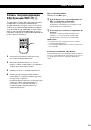
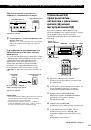
1
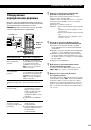
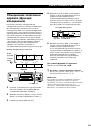
While the deck is stopped, press MENU/NO
twice to display “Setup Menu”.
2
Turn AMS to select “Setup 04”, then press AMS.
3
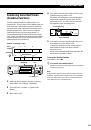
Turn AMS to select “Auto Space”, then press
AMS.
4
Press MENU/NO.
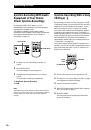
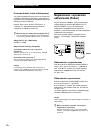
z
You can turn on the Auto Space Function using the
remote
Z
While the deck is stopped, press A.SPACE repeatedly
until “Auto Space” appears in the display.
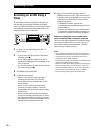
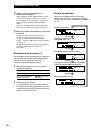
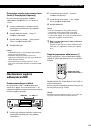
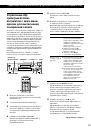
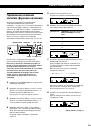
To cancel Auto Space
Cancelling the function through menu operation on the
deck
1
Do Steps 1 and 2 in “Inserting blank spaces while
recording to tape” on this page.
2
Turn AMS to select “Auto Off”, then press AMS.
3
Press MENU/NO.
Cancelling the function using the remote
Z
While the deck is stopped, p
ress A.SPACE repeatedly until
“Auto Off” appears.
Note
If the Auto Space Function is on while recording a selection
containing multiple track numbers, (for example, a medley
or symphony), blank spaces will be inserted within the
selection whenever the track number changes.
(Continued)
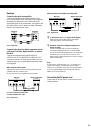
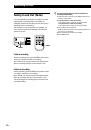
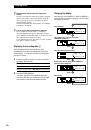
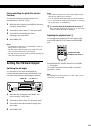
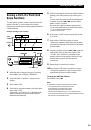
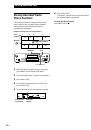
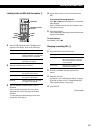
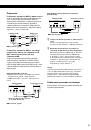
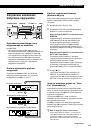
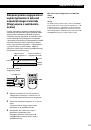
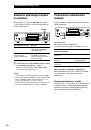
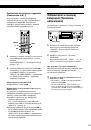
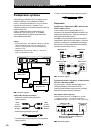
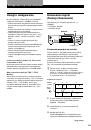
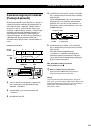
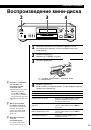
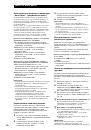
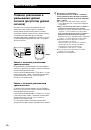
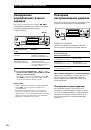
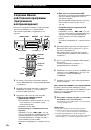
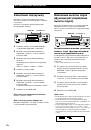
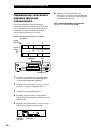
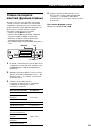
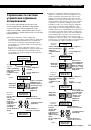
Checking the track order
While the deck is stopped and “PROGRAM” is on,
press DISPLAY/CHAR (or DISPLAY) several times.
The track numbers appear in the order they were
programmed as follow:
“/3
/
5
/
8
/
1
/
2/”
To check the rest of the track order
Turn AMS.
You can scroll the display to check all the track
numbers you programmed.
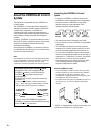
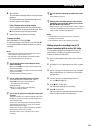
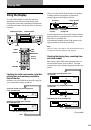
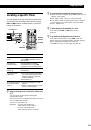
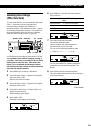
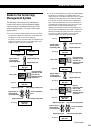
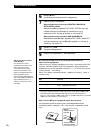
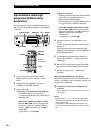
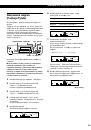
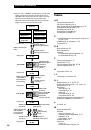
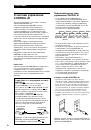
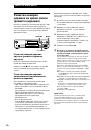
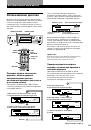
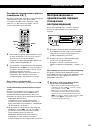
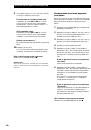
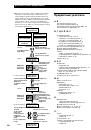
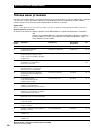
Changing the track order
You can change the order of the tracks in your
program before you start playing.
To
Do the following procedure
after Steps 1 and 2 in
“Creating Your Own
Program”:
Erase
Add a
track
Press
0
or
)
until the track
number you want to erase
flashes, then press CLEAR.
Keep pressing CLEAR until all
programmed track numbers
disappear.
1
Press
0
until “0” flashes at
the left of the first track.
2
Do Steps 3 to 5 on page 28.
a track
the whole
program
to the
beginning of
the program
in the middle
of the program
1
Press
0
or
)
until the
track which precedes the track
to be added flashes.
2
Press AMS so that “0” flashes,
then do Steps 3 to 5 on page
28.
1
Press
0
until “0” flashes at
the right of the last track.
2
Do Steps 3 to 5 on page 28.
to the end of
the program
Change a track in the
program
1
Press
0
or
)
until the
track number you want to
change flashes.
2
Do Steps 3 to 5 on page 28.
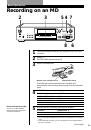
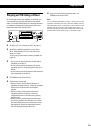
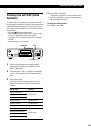
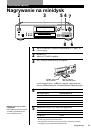
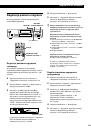
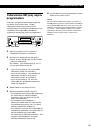
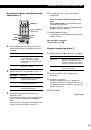
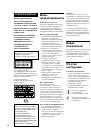
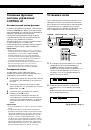
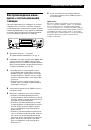
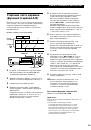
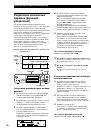
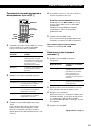
P
p
0
)
r
§
·
≠
AMS
±
MENU/NO
 1
1
 2
2
 3
3
 4
4
 5
5
 6
6
 7
7
 8
8
 9
9
 10
10
 11
11
 12
12
 13
13
 14
14
 15
15
 16
16
 17
17
 18
18
 19
19
 20
20
 21
21
 22
22
 23
23
 24
24
 25
25
 26
26
 27
27
 28
28
 29
29
 30
30
 31
31
 32
32
 33
33
 34
34
 35
35
 36
36
 37
37
 38
38
 39
39
 40
40
 41
41
 42
42
 43
43
 44
44
 45
45
 46
46
 47
47
 48
48
 49
49
 50
50
 51
51
 52
52
 53
53
 54
54
 55
55
 56
56
 57
57
 58
58
 59
59
 60
60
 61
61
 62
62
 63
63
 64
64
 65
65
 66
66
 67
67
 68
68
 69
69
 70
70
 71
71
 72
72
 73
73
 74
74
 75
75
 76
76
 77
77
 78
78
 79
79
 80
80
 81
81
 82
82
 83
83
 84
84
 85
85
 86
86
 87
87
 88
88
 89
89
 90
90
 91
91
 92
92
 93
93
 94
94
 95
95
 96
96
 97
97
 98
98
 99
99
 100
100
 101
101
 102
102
 103
103
 104
104
 105
105
 106
106
 107
107
 108
108
 109
109
 110
110
 111
111
 112
112
 113
113
 114
114
 115
115
 116
116
 117
117
 118
118
 119
119
 120
120
 121
121
 122
122
 123
123
 124
124
 125
125
 126
126
 127
127
 128
128
 129
129
 130
130
 131
131
 132
132
 133
133
 134
134
 135
135
 136
136
 137
137
 138
138
 139
139
 140
140
 141
141
 142
142
 143
143
 144
144
 145
145
 146
146
 147
147
 148
148
 149
149
 150
150
 151
151
 152
152
 153
153
 154
154
 155
155
 156
156
 157
157
 158
158
 159
159
 160
160
 161
161
 162
162
 163
163
 164
164
 165
165
 166
166
 167
167
 168
168
 169
169
 170
170
 171
171
 172
172