
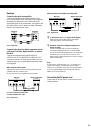
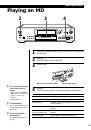
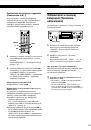
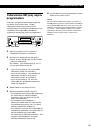
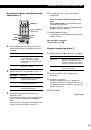
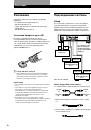
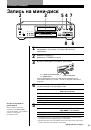
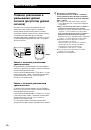
Recording on MDs
14
EN
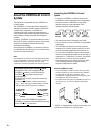
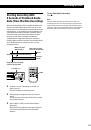
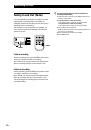
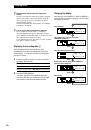
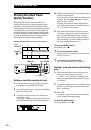
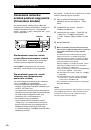
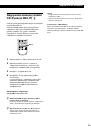
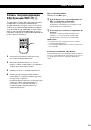
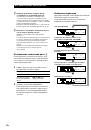
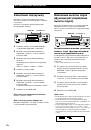
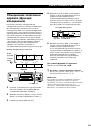
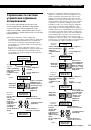
If “Smart Space” appears in the display
(Smart Space)
There has been an extended silence of 4 to 30 seconds
in length during recording. The silence is replaced
with a blank of about 3 seconds and the deck continues
recording. Note that new track numbers may not be
marked for portions recorded while this function is
activated. Also, the Smart Space Function does not
activate even if there has been an extended silence of 4
to 30 seconds in length when the deck started
recording from the blank portion.
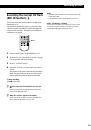
To turn off the Smart Space Function and Auto Cut
Function
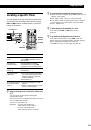
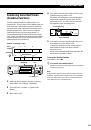
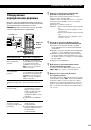
1
While the deck is stopped, press MENU/NO twice
to display “Setup Menu”.
2
Turn AMS to select “Setup 05”, then press AMS.
3
Turn AMS to select “S.Space Off”, then press AMS.
4
Press MENU/NO.
To turn on the Smart Space Function and Auto Cut
Function again
1
Do Steps 1 and 2 in “To turn off the Smart Space
Function and Auto Cut Function” above.
2
Turn AMS to select “S.Space On”, then press AMS.
3
Press MENU/NO.
Notes
• When you turn off the Smart Space Function, the Auto Cut
Function is also turned off automatically.
• The Smart Space Function and Auto Cut Function are
factory set to on.
• If you turn off the deck or disconnect the AC power cord,
the deck will recall the last setting (On or Off) of the Smart
Space and Auto Cut Functions the next time you turn on
the deck.
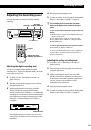
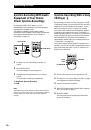
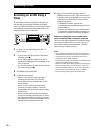
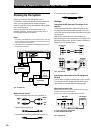
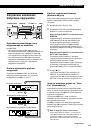
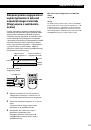
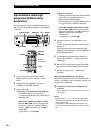
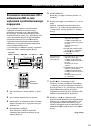
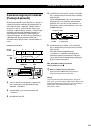
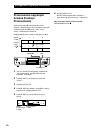
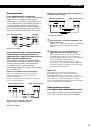
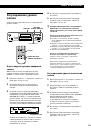
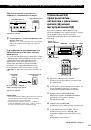
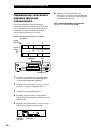
Switching the bit length
You can improve the recording quality by switching
the bit length to match the CD player or DA converter
connected to the digital input connector.
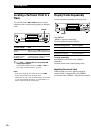
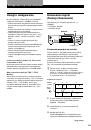
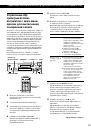
1
While the deck is stopped, press MENU/NO
twice to display “Setup Menu”.
2
Turn AMS to select “Setup 12”, then press AMS.
3
Turn AMS to select the desired bit length, then
press AMS.
4
Press MENU/NO.
Notes
• This function operates only for the digital signal input
through the digital input connector.
• The bit length is normally set to 20 bits, but you can select
from 24, 20 or 16 bits.
• If you switch the bit length during recording, the sound
drops out momentarily.
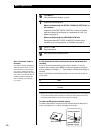
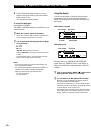
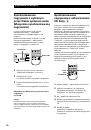
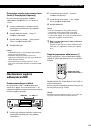
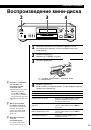
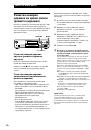
Playing back tracks just recorded
Do this procedure to immediately play back tracks that
have just been recorded.
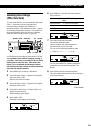
Press
·
immediately after stopping recording.
Playback starts from the first track of the material just
recorded.
To play from the first track of the MD after
recording
1
Press
p
again after stopping recording.
2
Press
·
.
Playback starts from the first track of the MD.
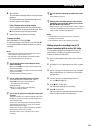
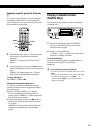
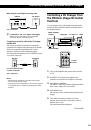
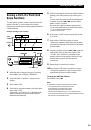
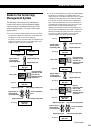
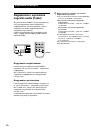
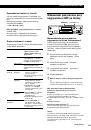
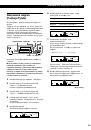
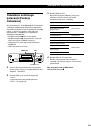
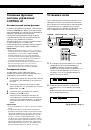
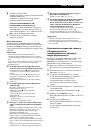
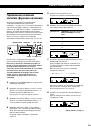
Recording Over Existing Tracks
Follow the procedure below to record over existing
material just as you would on an analog cassette tape.
1
Do Steps 1 to 5 in “Recording on an MD” on
page 9.
2
Turn AMS (or press
=
or
+
) until the
number of the track to be recorded over appears.
3
To record from the start of the track, continue
from Step 6 in “Recording on an MD” on page 10.
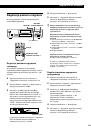
z
While “Tr” flashes in the display
The deck is recording over an existing track, and stops
flashing when it reaches the end of the recorded
portion.
z
To record from the middle of the track
1
After Step 2 above, press
·
to start playback.
2
Press
P
where you want to start recording.
3
Continue from Step 6 in “Recording on an MD” on
page 10.
Note
You cannot record from the middle of an existing track when
the “PROGRAM” or “SHUFFLE” is on.
 1
1
 2
2
 3
3
 4
4
 5
5
 6
6
 7
7
 8
8
 9
9
 10
10
 11
11
 12
12
 13
13
 14
14
 15
15
 16
16
 17
17
 18
18
 19
19
 20
20
 21
21
 22
22
 23
23
 24
24
 25
25
 26
26
 27
27
 28
28
 29
29
 30
30
 31
31
 32
32
 33
33
 34
34
 35
35
 36
36
 37
37
 38
38
 39
39
 40
40
 41
41
 42
42
 43
43
 44
44
 45
45
 46
46
 47
47
 48
48
 49
49
 50
50
 51
51
 52
52
 53
53
 54
54
 55
55
 56
56
 57
57
 58
58
 59
59
 60
60
 61
61
 62
62
 63
63
 64
64
 65
65
 66
66
 67
67
 68
68
 69
69
 70
70
 71
71
 72
72
 73
73
 74
74
 75
75
 76
76
 77
77
 78
78
 79
79
 80
80
 81
81
 82
82
 83
83
 84
84
 85
85
 86
86
 87
87
 88
88
 89
89
 90
90
 91
91
 92
92
 93
93
 94
94
 95
95
 96
96
 97
97
 98
98
 99
99
 100
100
 101
101
 102
102
 103
103
 104
104
 105
105
 106
106
 107
107
 108
108
 109
109
 110
110
 111
111
 112
112
 113
113
 114
114
 115
115
 116
116
 117
117
 118
118
 119
119
 120
120
 121
121
 122
122
 123
123
 124
124
 125
125
 126
126
 127
127
 128
128
 129
129
 130
130
 131
131
 132
132
 133
133
 134
134
 135
135
 136
136
 137
137
 138
138
 139
139
 140
140
 141
141
 142
142
 143
143
 144
144
 145
145
 146
146
 147
147
 148
148
 149
149
 150
150
 151
151
 152
152
 153
153
 154
154
 155
155
 156
156
 157
157
 158
158
 159
159
 160
160
 161
161
 162
162
 163
163
 164
164
 165
165
 166
166
 167
167
 168
168
 169
169
 170
170
 171
171
 172
172