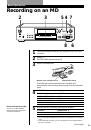
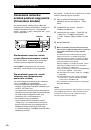
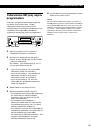
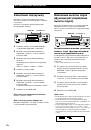
Recording on MDs
12
EN
Recording on MDs
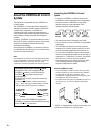
• When recording from DAT or satellite broadcasts
with the INPUT switch set at the respective digital
position, the deck automatically marks a track
number whenever the sampling frequency of the
input signal changes regardless of the Setup Menu 02
setting.
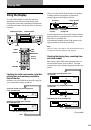
z
You can mark track numbers during or after
recording
For details, see “Marking Track Numbers While
Recording” (page 16) and “Dividing Recorded Tracks”
(page 42).
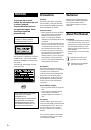
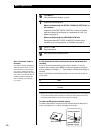
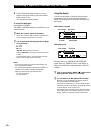
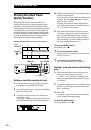
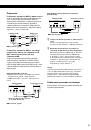
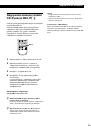
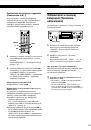
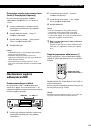
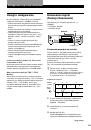
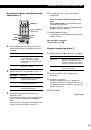
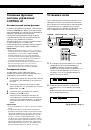
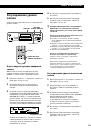
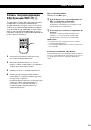
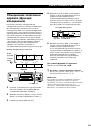
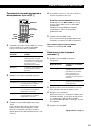
When “TOC Writing” flashes in the display
The deck is currently updating the Table Of Contents
(TOC). Do not move the deck or pull out the AC
power cord. Changes to an MD made through
recording are saved only when you update the TOC by
ejecting the MD or changing the deck to standby by
pressing the
1
/
u
switch.
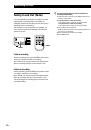
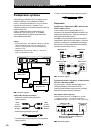
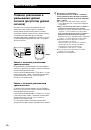
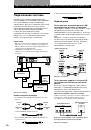
The MD deck uses the SCMS (Serial Copy
Management System on page 53)
MDs recorded through digital input connector cannot
be copied onto other MDs or DAT tapes through the
digital output connector.
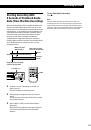
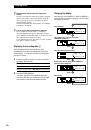
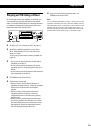
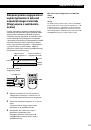
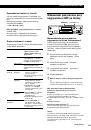
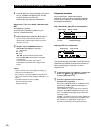
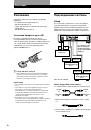
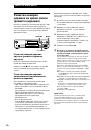
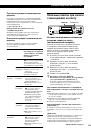
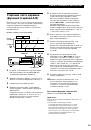
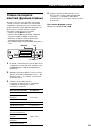
When the deck is recording or in recording pause,
digital signals input through one of the digital input
connectors are output to the respective digital
output connector with the same sampling rate
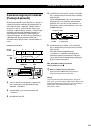
To change the digital input signal to another sampling
rate for output (without recording it to an MD), use
Input Monitor Function (see page 13).
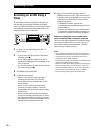
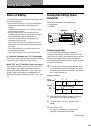
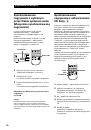
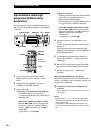
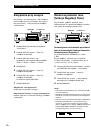
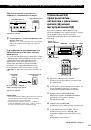
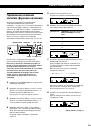
Notes on Recording
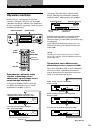
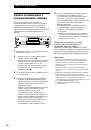
If “Protected” alternates with “C11” in the display
The MD is record-protected. Close the slot to record
on the disc (see “To protect an MD against accidental
erasure” on page 10).
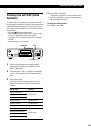
If “Din Unlock” alternates with “C71” in the display
• The digital program source is not connected as you
set with the INPUT switch in Step 4 on page 9.
To continue, connect the program source properly.
• The program source is not on.
Turn on the program source.
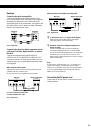
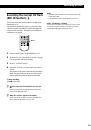
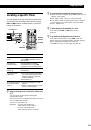
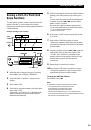
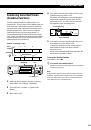
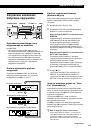
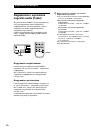
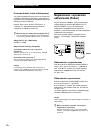
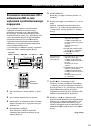
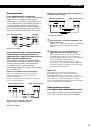
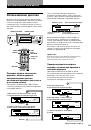
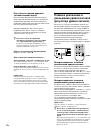
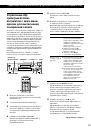
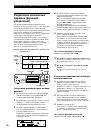
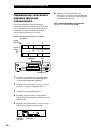
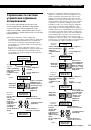
Depending on the menu settings and source being
recorded, track numbers are marked in following
ways:
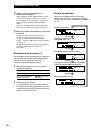
• When recording from a CD or MD with the INPUT
switch set at a digital position (OPT1, OPT2 or
COAX) and the source connected through the digital
input (DIGITAL OPTICAL IN1, IN2 or DIGITAL
COAXIAL IN) connector:
The deck automatically marks track numbers in the
same sequence as the original. If, however, a track is
repeated two or more times (e.g. by single-track
repeat play) or two or more tracks with the same
track number (e.g. from different MDs or CDs) are
played, the track or tracks are recorded as part of a
single, continuous track with a single track number.
If the source is an MD, track numbers may not be
marked for tracks of less than 4 seconds.
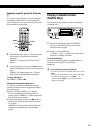
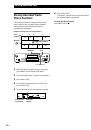
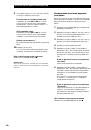
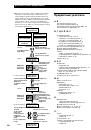
• When recording from some CD players and multi
disc players connected through one of the digital
input connectors with the INPUT switch set at the
respective digital position:
The deck may not automatically mark track
numbers. In these cases, mark the track numbers
after recording, using the deck’s Divide Function (see
“Dividing Recorded Tracks” on page 42).
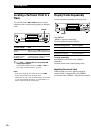
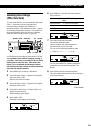
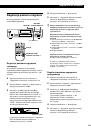
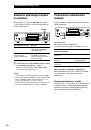
• When recording from a source connected through
the LINE (ANALOG) IN jacks with the INPUT
switch set at ANALOG or when recording from a
DAT or satellite broadcast connected through one of
the digital input connectors with the INPUT switch
set at the respective digital position and “T.Mark
Off” selected in Setup Menu 02:
The source will be recorded as a single track.
• Even while recording an analog source or a DAT or
satellite broadcast, you can mark track numbers if
“T.Mark LSyn” is selected in Setup Menu 02 (see
“Marking Track Numbers While Recording” on
page 16).
 1
1
 2
2
 3
3
 4
4
 5
5
 6
6
 7
7
 8
8
 9
9
 10
10
 11
11
 12
12
 13
13
 14
14
 15
15
 16
16
 17
17
 18
18
 19
19
 20
20
 21
21
 22
22
 23
23
 24
24
 25
25
 26
26
 27
27
 28
28
 29
29
 30
30
 31
31
 32
32
 33
33
 34
34
 35
35
 36
36
 37
37
 38
38
 39
39
 40
40
 41
41
 42
42
 43
43
 44
44
 45
45
 46
46
 47
47
 48
48
 49
49
 50
50
 51
51
 52
52
 53
53
 54
54
 55
55
 56
56
 57
57
 58
58
 59
59
 60
60
 61
61
 62
62
 63
63
 64
64
 65
65
 66
66
 67
67
 68
68
 69
69
 70
70
 71
71
 72
72
 73
73
 74
74
 75
75
 76
76
 77
77
 78
78
 79
79
 80
80
 81
81
 82
82
 83
83
 84
84
 85
85
 86
86
 87
87
 88
88
 89
89
 90
90
 91
91
 92
92
 93
93
 94
94
 95
95
 96
96
 97
97
 98
98
 99
99
 100
100
 101
101
 102
102
 103
103
 104
104
 105
105
 106
106
 107
107
 108
108
 109
109
 110
110
 111
111
 112
112
 113
113
 114
114
 115
115
 116
116
 117
117
 118
118
 119
119
 120
120
 121
121
 122
122
 123
123
 124
124
 125
125
 126
126
 127
127
 128
128
 129
129
 130
130
 131
131
 132
132
 133
133
 134
134
 135
135
 136
136
 137
137
 138
138
 139
139
 140
140
 141
141
 142
142
 143
143
 144
144
 145
145
 146
146
 147
147
 148
148
 149
149
 150
150
 151
151
 152
152
 153
153
 154
154
 155
155
 156
156
 157
157
 158
158
 159
159
 160
160
 161
161
 162
162
 163
163
 164
164
 165
165
 166
166
 167
167
 168
168
 169
169
 170
170
 171
171
 172
172