P-971M User’s Guide
21
Chapter 1 Getting To Know Your Prestige
DHCP
DHCP (Dynamic Host Configuration Protocol) allows the individual clients (computers)
to obtain the TCP/IP configuration at start-up from a centralized DHCP server. The
Prestige supports this capability by default. The Prestige acts as a surrogate DHCP server
(DHCP Relay) where it relays IP address assignments from the actual real DHCP server
to the clients.
Security and Remote Monitoring Support
Two types of system security are provided by your Prestige: Webadmin and User. Your
Prestige also supports remote monitoring using SNMP.
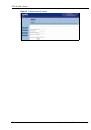
1.2 Accessing the Web Configurator
The P-971M supports two types of web configurator logins which correspond to the two user
names
available from the Web Configurator:
webadmin
and
user
. Webadmin allows viewing
of all the status screens, while user allows viewing of all status screens viewing except the
Event Log
screen.
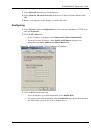
1
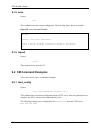
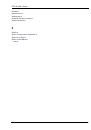
Launch your web browser. Enter “192.168.100.1” as the web site address. The subnet
mask is 255.255.255.0. If you do not see the next screen, please read the
Troubleshooting
section of the Quick Start Guide.
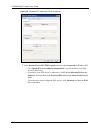
Figure 1
Web browser URL screen.
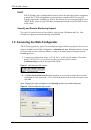
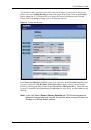
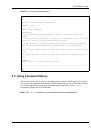
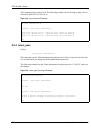
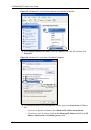
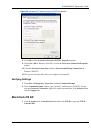
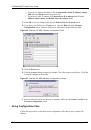
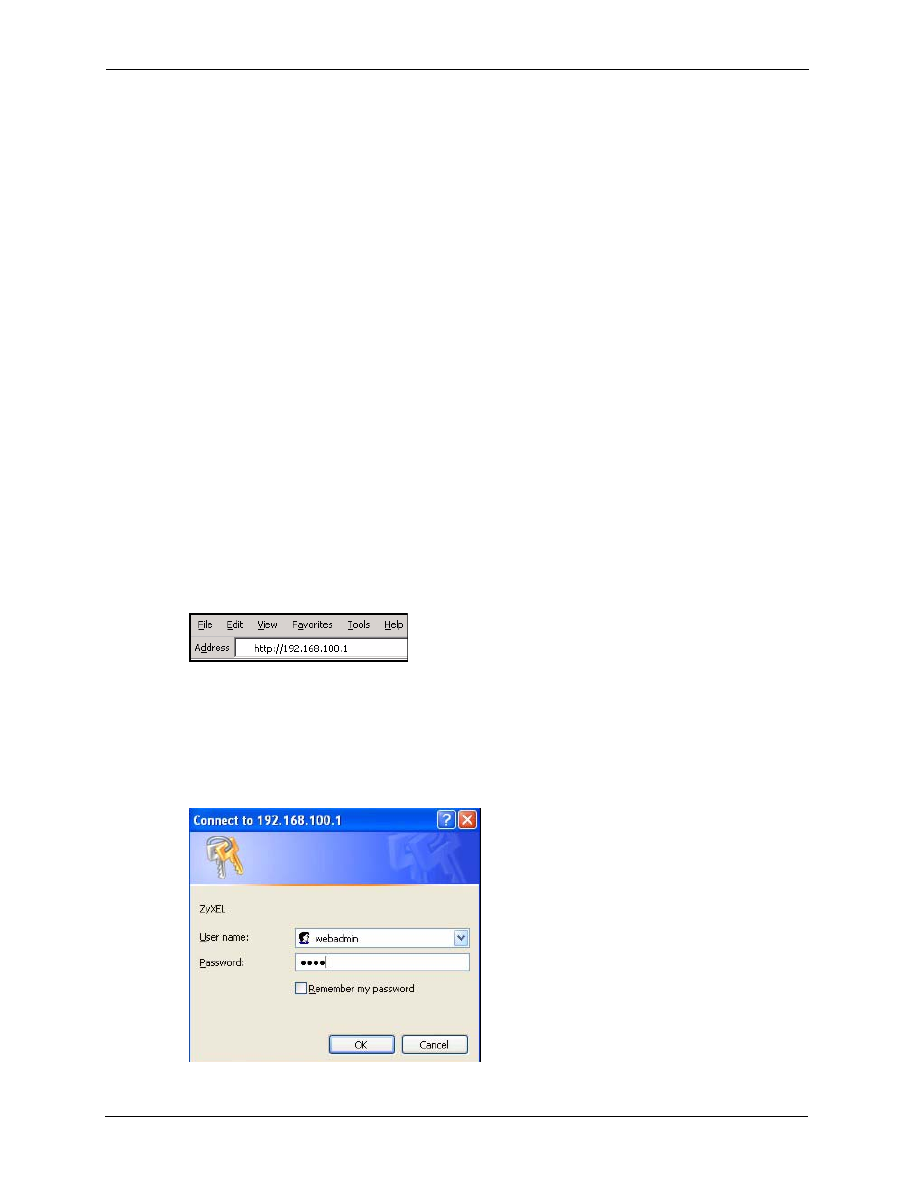
2
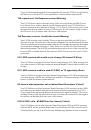
An
Enter Network Password
window displays on your browser. Enter the user name
(webadmin or user), password (“1234” is the default password for both user names) and
click
OK
.
Note: Change your login information in the
Security
section of the web configurator
Figure 2
Web Configurator login screen.