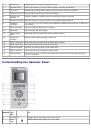
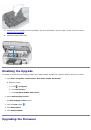
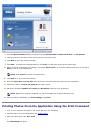
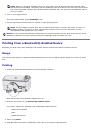
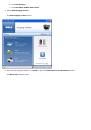
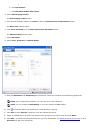
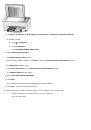
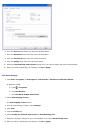
Understanding the Operator Panel Menus
Dell™ Photo P703w All-In-One Printer User's Guide
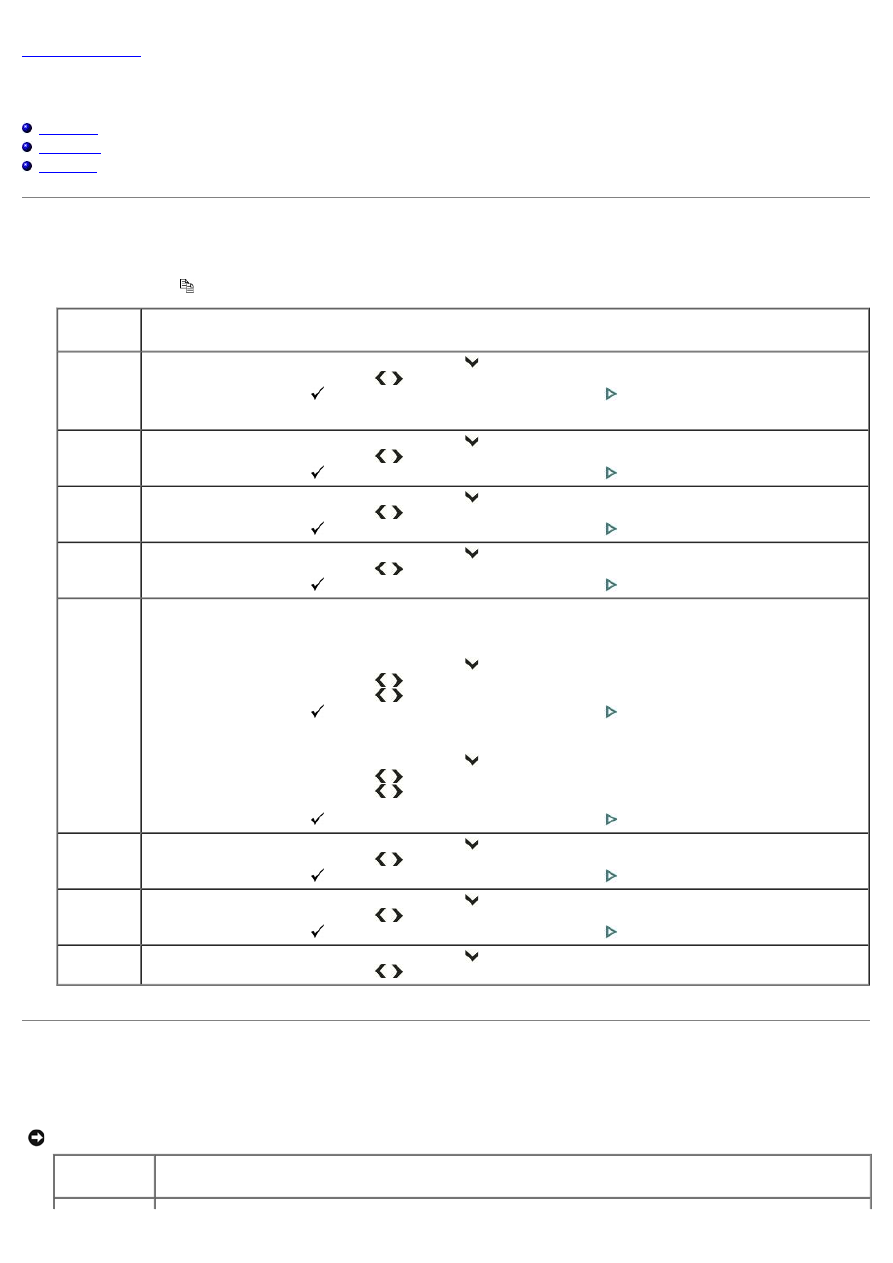
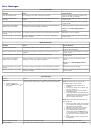
Copy Mode
To view or change the
Copy Mode
menu:
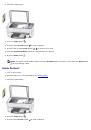
1. Press the
Copy
button
on the printer's operator panel.
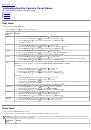
Copy Menu
item
Settings
Quantity
1. From the
Copy
Menu
, press the down
Arrow
button
to scroll to Quantity.
2. Press the left or right
Arrow
button
to change the number of copies (1-99).
3. Press the
Select
button
to set and continue setting options, or
Start
button
.
The default is one copy.
Color
1. From the
Copy
Menu
, press the down
Arrow
button
to scroll to Color.
2. Press the left or right
Arrow
button
to change the copy color (Black and White/Color).
3. Press the
Select
button
to set and continue setting options, or
Start
button
.
Quality
1. From the
Copy
Menu
, press the down
Arrow
button
to scroll to Quality.
2. Press the left or right
Arrow
button
to change the copy quality (Draft/Normal/Best).
3. Press the
Select
button
to set and continue setting options, or
Start
button
.
Output
1. From the
Copy
Menu
, press the down
Arrow
button
to scroll to Output.
2. Press the left or right
Arrow
button
to change the copy output (Scale Percent/Photo layouts/Same size/ Fit to Page).
3. Press the
Select
button
to set and continue setting options, or
Start
button
.
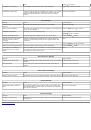
Size
NOTE:
You can change the Size if you have selected
Scale percent
or
Photo layouts
as an
Output.
Scale Percent:
1. From the
Copy
Menu
, press the down
Arrow
button
to scroll to Size.
2. Press the left or right
Arrow
button
to scroll to Scale Percent.
3. Press the left or right
Arrow
button
to change the Scale percent (10-500).
4. Press the
Select
button
to set and continue setting options, or
Start
button
.
Photo layouts:
1. From the
Copy
Menu
, press the down
Arrow
button
to scroll to Size.
2. Press the left or right
Arrow
button
to scroll to Photo layouts.
3. Press the left or right
Arrow
button
to change the Photo layout (Borderless/Bordered/2 per page/3 per page/4 per page/9
per page/2x2 poster/3x3 poster/4x4 poster).
4. Press the
Select
button
to set and continue setting options, or
Start
button
.
Brightness
1. From the
Copy
Menu
, press the down
Arrow
button
to scroll to Brightness.
2. Press the left or right
Arrow
button
to select
darken
or
lighten
.
3. Press the
Select
button
to set and continue setting options, or
Start
button
.
Preview
1. From the
Copy Menu
, press the down
Arrow
button
to scroll to Preview.
2. Press the left or right
Arrow
button
to enable or disable
Preview
.
3. Press the
Select
button
to set and continue setting options, or
Start
button
.
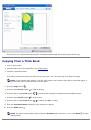
Save Copy
Settings
1. From the
Copy Menu
, press the down
Arrow
button
to scroll to Save Settings.
2. Press the left or right
Arrow
button
to save copy settings to Yes or No.
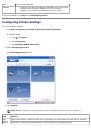
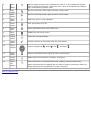
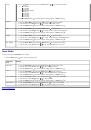
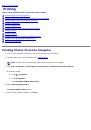
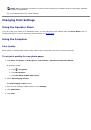
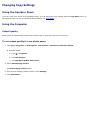
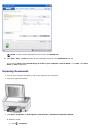
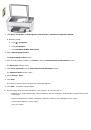
Photo Mode
To view or change the
Photo Mode
menu settings:
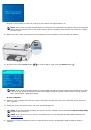
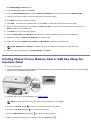
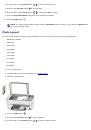
1. Insert a memory card. The printer automatically switches to
Photo
mode after the card is read.
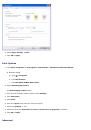
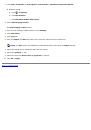
NOTICE:
Do not attempt to remove a memory card while it is being accessed. Doing so can damage files on the card. You can safely remove a card only
when the status light next to the slots is not blinking.
Photo Menu
Item
Settings
 1
1
 2
2
 3
3
 4
4
 5
5
 6
6
 7
7
 8
8
 9
9
 10
10
 11
11
 12
12
 13
13
 14
14
 15
15
 16
16
 17
17
 18
18
 19
19
 20
20
 21
21
 22
22
 23
23
 24
24
 25
25
 26
26
 27
27
 28
28
 29
29
 30
30
 31
31
 32
32
 33
33
 34
34
 35
35
 36
36
 37
37
 38
38
 39
39
 40
40
 41
41
 42
42
 43
43
 44
44
 45
45
 46
46
 47
47
 48
48
 49
49
 50
50
 51
51
 52
52
 53
53
 54
54
 55
55
 56
56
 57
57
 58
58
 59
59
 60
60
 61
61
 62
62
 63
63
 64
64
 65
65
 66
66
 67
67
 68
68
 69
69
 70
70
 71
71
 72
72
 73
73
 74
74
 75
75
 76
76
 77
77
 78
78
 79
79
 80
80
 81
81
 82
82
 83
83
 84
84
 85
85
 86
86
 87
87
 88
88
 89
89
 90
90
 91
91
 92
92
 93
93
 94
94
 95
95
 96
96
 97
97
 98
98
 99
99
 100
100
 101
101
 102
102
 103
103
 104
104
 105
105
Инструкции и руководства похожие на DELL P703w