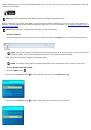
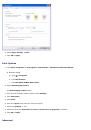
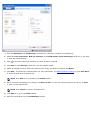
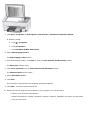
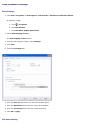
6. From the
Poster size
drop-down list, select the size of the poster.
7. When you finish customizing your settings, click
OK
.
The
Printing Preferences
dialog box closes.
8. Click
.
NOTE:
Two sided printing is not available for the Poster layout.
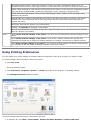
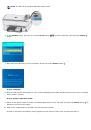
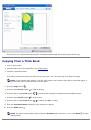
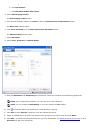
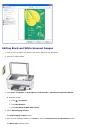
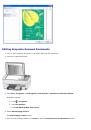
Printing a Booklet
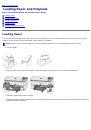
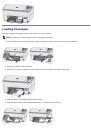
1. Turn on your computer and printer, and ensure that they are connected.
2. Load the paper. For more information, see
.
3. With your document open, click
File
®
.
The
Print dialog
box opens.
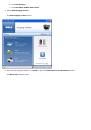
4. Click
Preferences
,
Properties
,
Options
, or
Setup
(depending on the program or operating system).
The
Printing Preferences
dialog box opens.
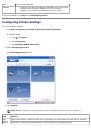
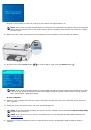
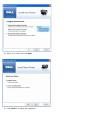
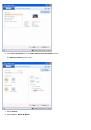
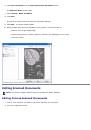
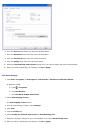
5. From the layout tab, select
Booklet
.
6. Select the
Print with frame
check box, if you want to print borders around each page.
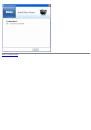
7. When you finish customizing your settings, click
OK
.
The
Printing Preferences
dialog box closes.
8. Click
.
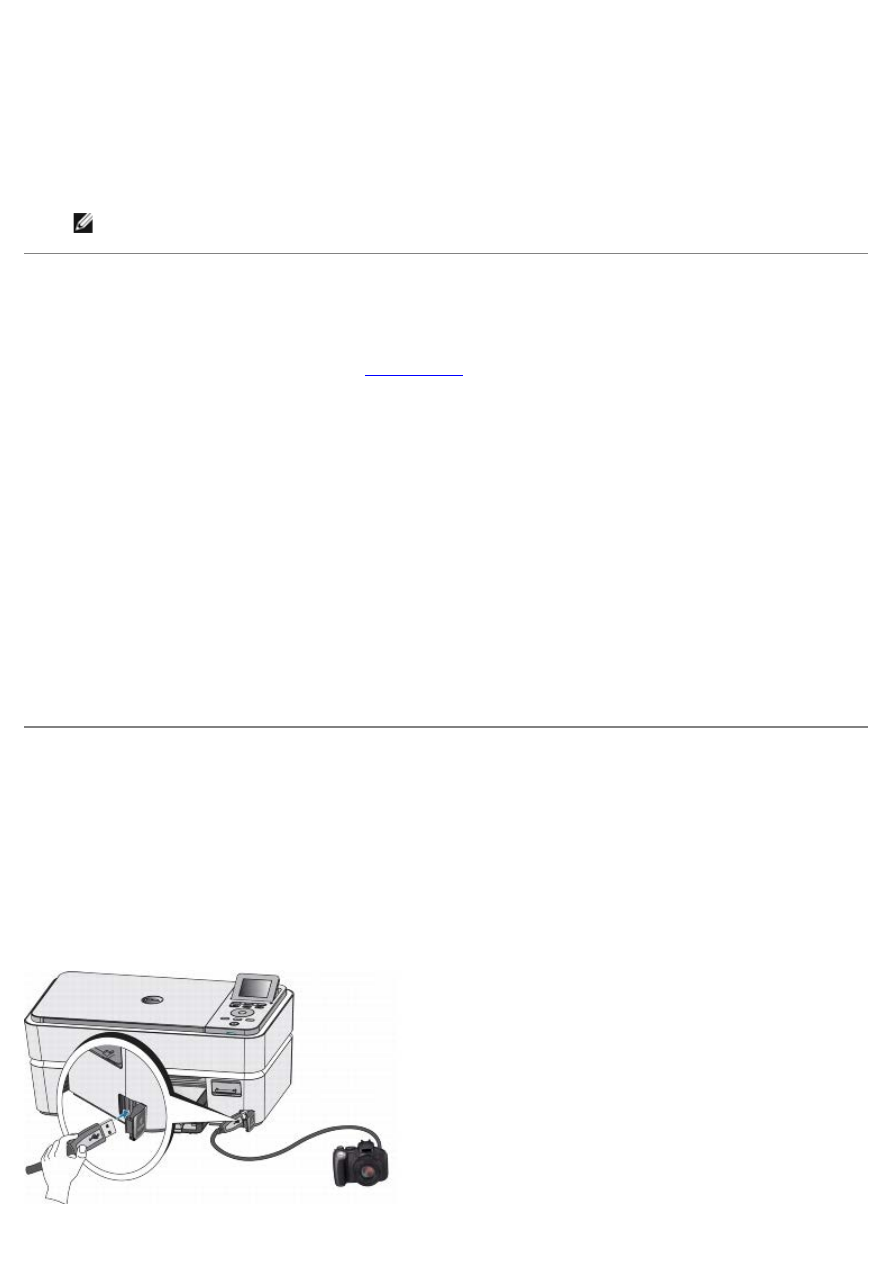
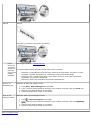
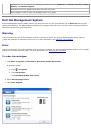
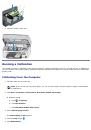
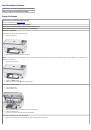
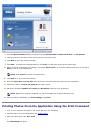
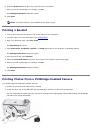
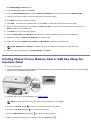
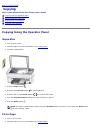
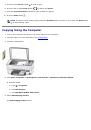
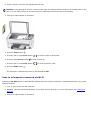
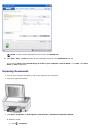
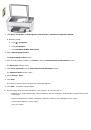
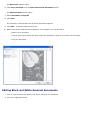
Printing Photos From a PictBridge-Enabled Camera
Your printer supports PictBridge-enabled cameras.
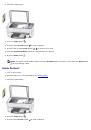
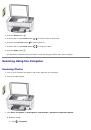
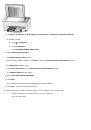
1. Insert one end of the USB cable into the camera.
2. Insert the other end of the USB cable into the PictBridge connector on the front of the printer.
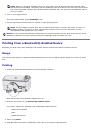
See the instructions included with your camera for selection of the appropriate camera USB settings and PictBridge
connection and usage information.
 1
1
 2
2
 3
3
 4
4
 5
5
 6
6
 7
7
 8
8
 9
9
 10
10
 11
11
 12
12
 13
13
 14
14
 15
15
 16
16
 17
17
 18
18
 19
19
 20
20
 21
21
 22
22
 23
23
 24
24
 25
25
 26
26
 27
27
 28
28
 29
29
 30
30
 31
31
 32
32
 33
33
 34
34
 35
35
 36
36
 37
37
 38
38
 39
39
 40
40
 41
41
 42
42
 43
43
 44
44
 45
45
 46
46
 47
47
 48
48
 49
49
 50
50
 51
51
 52
52
 53
53
 54
54
 55
55
 56
56
 57
57
 58
58
 59
59
 60
60
 61
61
 62
62
 63
63
 64
64
 65
65
 66
66
 67
67
 68
68
 69
69
 70
70
 71
71
 72
72
 73
73
 74
74
 75
75
 76
76
 77
77
 78
78
 79
79
 80
80
 81
81
 82
82
 83
83
 84
84
 85
85
 86
86
 87
87
 88
88
 89
89
 90
90
 91
91
 92
92
 93
93
 94
94
 95
95
 96
96
 97
97
 98
98
 99
99
 100
100
 101
101
 102
102
 103
103
 104
104
 105
105
Инструкции и руководства похожие на DELL P703w