Tool window - labSens
17
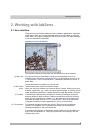
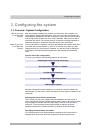
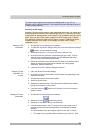
4. Tool window - labSens
Use the
labSens
tool window as an easy-to-use graphical user interface. All of
the commands that you use on a regular basis are available in this tool window
and are displayed as large buttons.
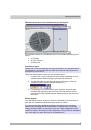
If the
labSens
tool window is hidden, use the
View > Tool Windows > Record
Details > labSens
command to make it appear.
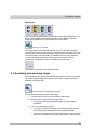
Use the
labSens
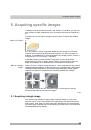
tool window to acquire, annotate, and measure images. If you
have purchased the "Patho" solution with your software, you have a database
available to you. The workflow is then organized as a series of cases for you to
work on. First, click the
Start Case
button and perform all of the image
acquisitions, annotations and measurements necessary for this case. The
images are automatically saved in the database. A case folder is created in the
database for every case that you work on. Every case folder contains a subfolder
for each microscope slide that you’ve examined.
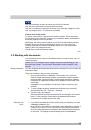
Please note: If you haven't purchased the "Patho" solution with your software,
you won't have a database and the case processing feature available to you. In
this case, use the
File > Save
and
File > Save As...
commands to save the
images on your hard disk.
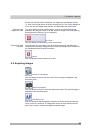
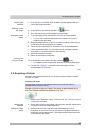
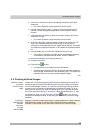
In the
labSens
tool window, buttons are only active if their function is relevant to
the current step. Inactive buttons appear in gray. In this way, you'll be guided
through the case step by step after clicking the
Start Case
button.
What can you use
the tool window
for?
Buttons colored
gray in the tool
window