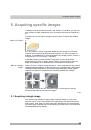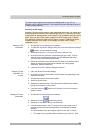
Acquiring specific images
33
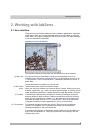
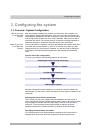
The camera is aligned parallel to the XY-stage. The angle between camera and
stage should be smaller than 1°.
1. Switch to the "Acquisition" layout. To do this, use, e.g., the
View > Layout
> Acquisition
command.
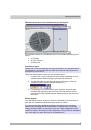
2. In
the
labSens
tool window, click the button with the objective that you
want to use for the acquisition of the stitched image.
3. Switch to the live mode, and select the optimal settings for your
acquisition in the
Camera Control
tool window. Pay special attention to
setting the correct exposure time. This exposure time will be used for all
of the stitched image's individual images.
4. Find the position on the sample at which you want to start acquiring the
stitched image.
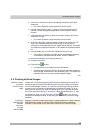
5. Finish the live mode.
6. Activate
the
Process Manager
tool window. To do this, use, e.g., the
View > Tool Windows > Process Manager
command.
7. Select
the
Manual Processes
option.
8. Click
the
Manual MIA
button.
The button will appear clicked. You can recognize this status by the
button's colored background.
The
Manual MIA
group will be automatically displayed in the tool
window.
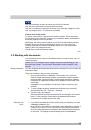
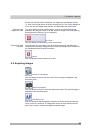
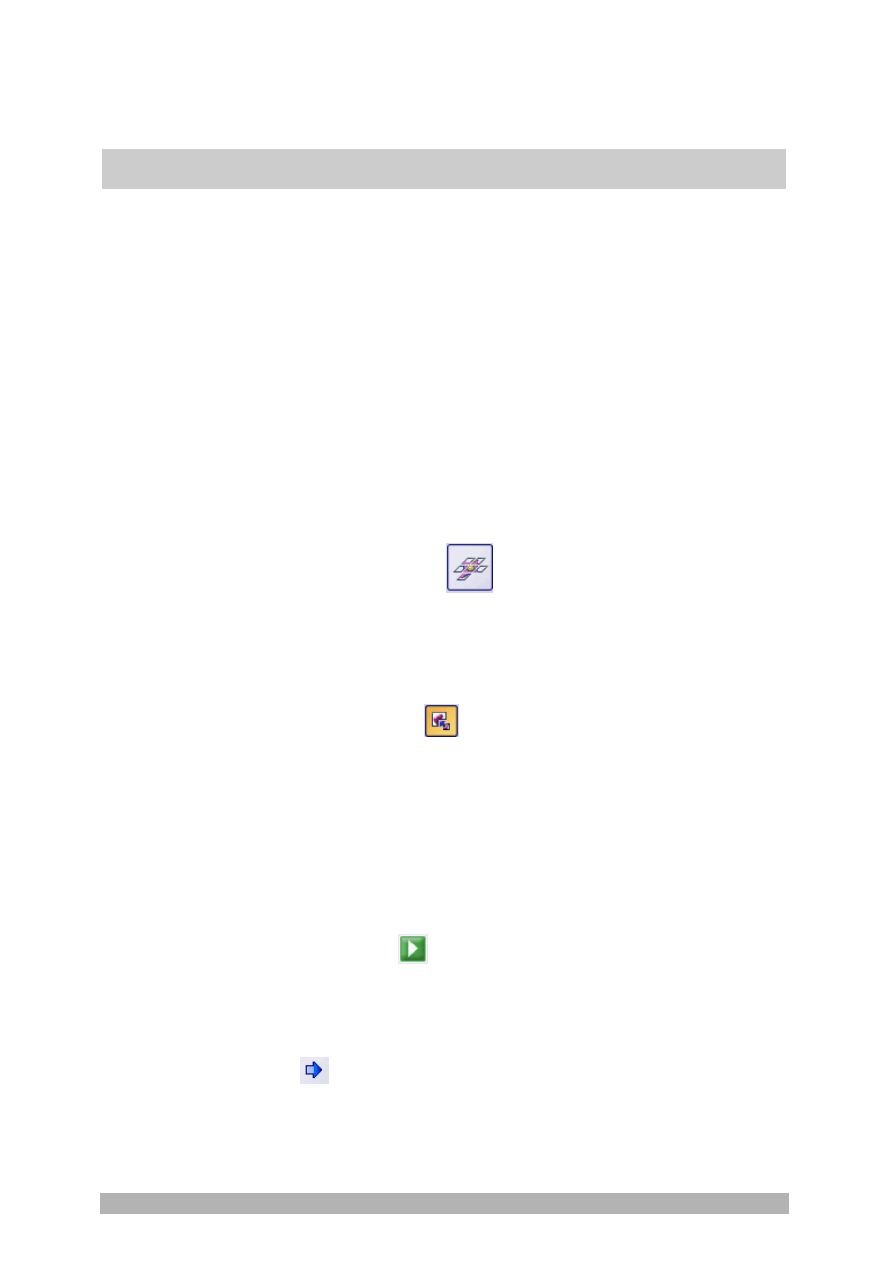
9. Make quite certain that the
Auto Align
button appears clicked. It should
then look like this:
.
Then your software will search for the same image structures in
neighboring individual images. The stitched image will be put
together in such a way that image areas that are the same will be
superimposed.
A tip if your system is equipped with a motorized XY-stage: Some
motorized microscope stages work so precisely that you can
dispense with an overlapping of the individual images. If you want to
acquire the individual images edge to edge, release the
Auto align
button. The individual images will now be set next to one another just
as they were acquired.
10. Click the
Start
button.
Your software switches into the live mode.
11. Bring the sample into focus.
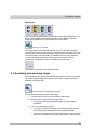
12. Click on one of the arrow buttons to set the side of the current image at
which the next image is to be arranged. For example, click this button
if the next image is to be laid to the right of the current image.
Your system now acquires an image at the current position on the
sample. In the image window, you now see on the left (1) the
Prerequisite
Selecting the
objective
Setting the image
quality
Selecting the
acquisition process
Selecting the
acquisition
parameters
Acquiring a
stitched image