Acquiring specific images
34
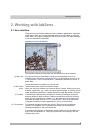
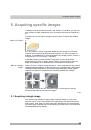
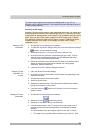
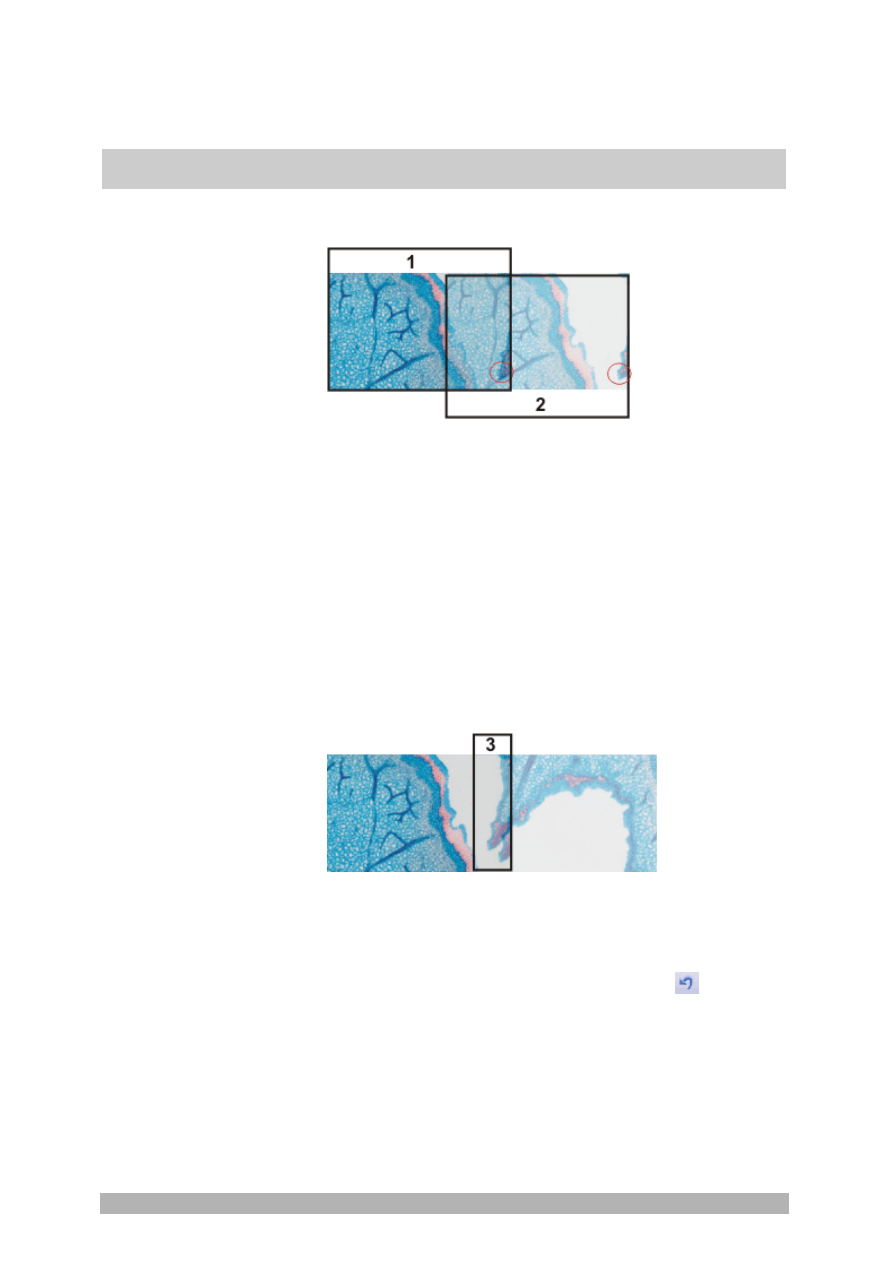
acquired image, and on the right (2) the live-image.
Since you haven't moved the sample, the live-image still shows the
current sample position which means that you now see the current
image twice.
The two images overlap. Since the live-image is shown transparent,
you see both images in the overlap area simultaneously.
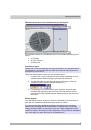
13. Make a note of a significant structure on the live-image's right border.
You will find the same sample structure in the overlap area. On the
illustration, a significant structure has been indicated by a circle.
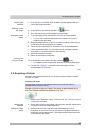
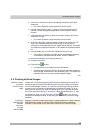
14. Now, move the stage very slowly to make the structure on the live-image
move to the left. Keep moving the stage until the image structures in the
overlap area lie as exactly over each other as possible. The image
structures need not lie precisely over each other, since your software will
match the individual images with each other.
In the overlap area (3), the same image segments are shown now.
This enables your software to seamlessly combine the two images.
You can reverse the direction in which your stage moves, in the
Device Settings > Stage
dialog box. Depending on how you can best
orient yourself, the live-image will then move to the left or to the right,
when you move your stage to the right.
15. Check whether both images have been correctly combined. Otherwise
you can undo the last step by using the
Undo last frame
button. You
can then move the stage again, and match the structures better.
During the acquisition, you can change the current stitched image's
zoom factor, e.g., to see certain parts in the overlap area better. You
will find an overview on the possibilities of changing an image's
zoom factor in the online help.
16. Define your way through the sample, with the arrow buttons, and follow
that with the stage.