Prestige 2000W User’s Guide
98
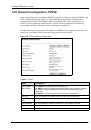
Chapter 13 Administrator Web Configurator Screens
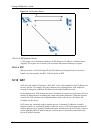
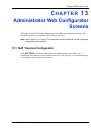
13.8 ToS
The second byte in an IPv4 packet is the Type of Service (ToS) byte. The first three bits (by
themselves) of the ToS byte are referred to as the IP Precedence bits and refer to a priority
from 0 to 7. The next three bits are used in conjunction with the IP Precedence bits to define
the Diffserv Code Point protocol (DSCP bits). The last two bits are reserved for future use.
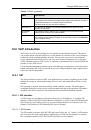
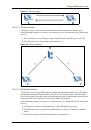
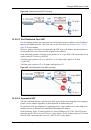
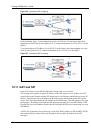
13.9 Introduction to DiffServ
Quality of Service (QOS) mechanisms provides the best service on a per-flow guarantee. To
fine-tune the levels of services on the priority of the traffic flow using QoS places a heavy
burden on the network infrastructure.
DiffServ is a class of service (CoS) model that marks packets so that they receive specific per-
hope treatment at DiffServ-compliant network devices along the route based on the
application types and traffic flow. Packets are marked with DiffServ Code Points (DSCPs)
indicating the level of service desired. This allows the intermediary DiffServ-compliant
network devices to handle the packets differently depending on the code points without the
need to negotiate paths or remember state information for every flow. In addition, applications
do not have to request a particular service or give advanced notice of where the traffic is going.
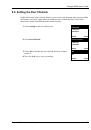
Note:
It is strongly recommended for better network performance that the settings are
left as per their defaults.
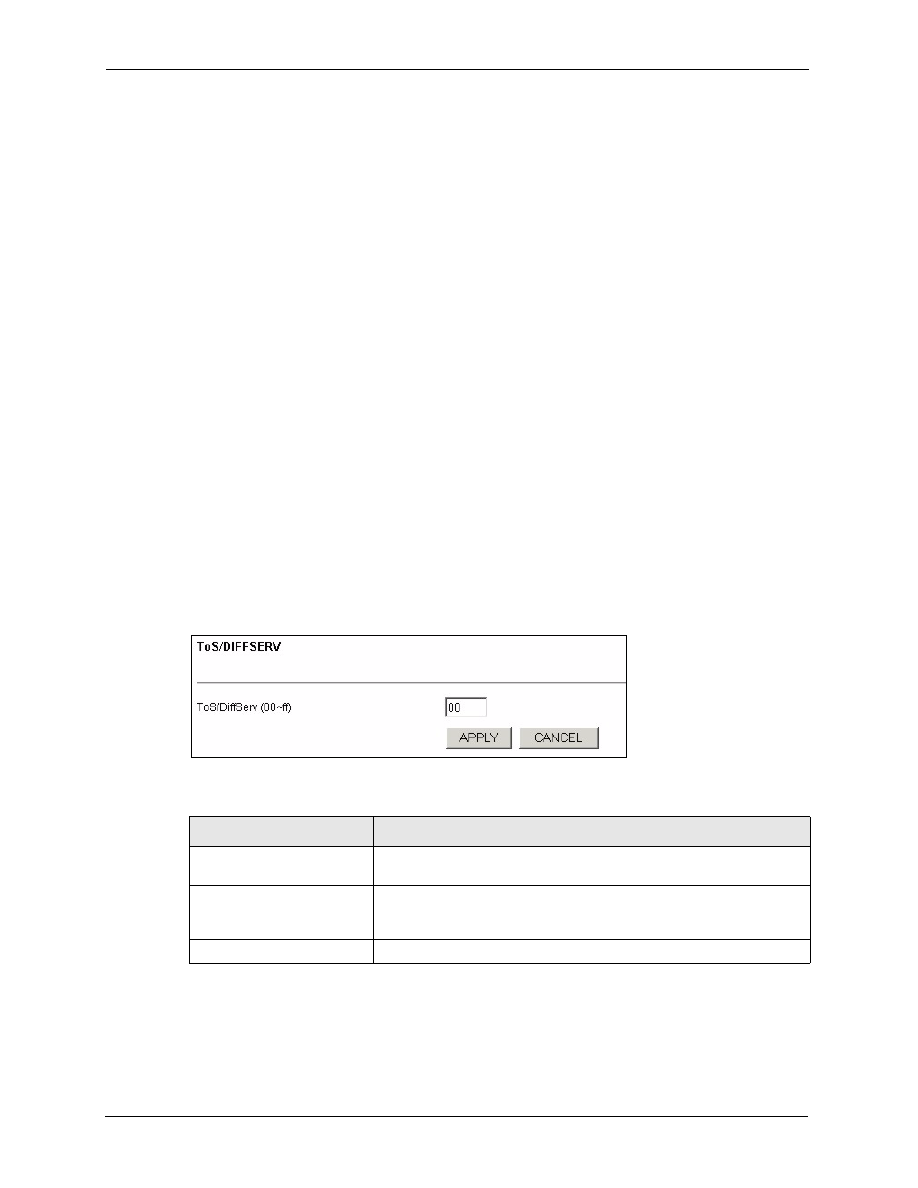
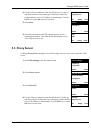
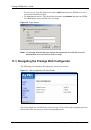
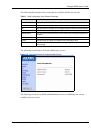
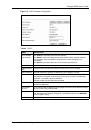
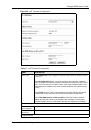
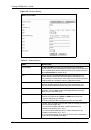
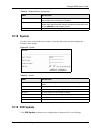
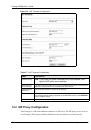
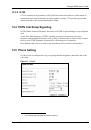
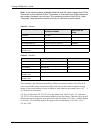
Figure 39
TOS/DIFFSERV
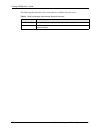
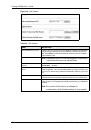
Table 21
TOS/DIFFSERV
LABEL
DESCRIPTION
ToS/DiffServ (00~FF)
Type the HEX code that represents the best method for data
transmission.
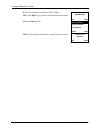
APPLY
Click
APPLY
to save your changes without restarting the Prestige. Your
wireless LAN, Internet and SIP settings changes do not take affect until
you use
RESTART
(in the navigation panel).
CANCEL
Click
CANCEL
to begin configuring this screen afresh.
 1
1
 2
2
 3
3
 4
4
 5
5
 6
6
 7
7
 8
8
 9
9
 10
10
 11
11
 12
12
 13
13
 14
14
 15
15
 16
16
 17
17
 18
18
 19
19
 20
20
 21
21
 22
22
 23
23
 24
24
 25
25
 26
26
 27
27
 28
28
 29
29
 30
30
 31
31
 32
32
 33
33
 34
34
 35
35
 36
36
 37
37
 38
38
 39
39
 40
40
 41
41
 42
42
 43
43
 44
44
 45
45
 46
46
 47
47
 48
48
 49
49
 50
50
 51
51
 52
52
 53
53
 54
54
 55
55
 56
56
 57
57
 58
58
 59
59
 60
60
 61
61
 62
62
 63
63
 64
64
 65
65
 66
66
 67
67
 68
68
 69
69
 70
70
 71
71
 72
72
 73
73
 74
74
 75
75
 76
76
 77
77
 78
78
 79
79
 80
80
 81
81
 82
82
 83
83
 84
84
 85
85
 86
86
 87
87
 88
88
 89
89
 90
90
 91
91
 92
92
 93
93
 94
94
 95
95
 96
96
 97
97
 98
98
 99
99
 100
100
 101
101
 102
102
 103
103
 104
104
 105
105
 106
106
 107
107
 108
108
 109
109
 110
110
 111
111
 112
112
 113
113
 114
114
 115
115
 116
116
 117
117
 118
118
 119
119
 120
120
 121
121
 122
122
 123
123