Chapter 1 Introduction
ZyWALL USG 20-2000 User’s Guide
19
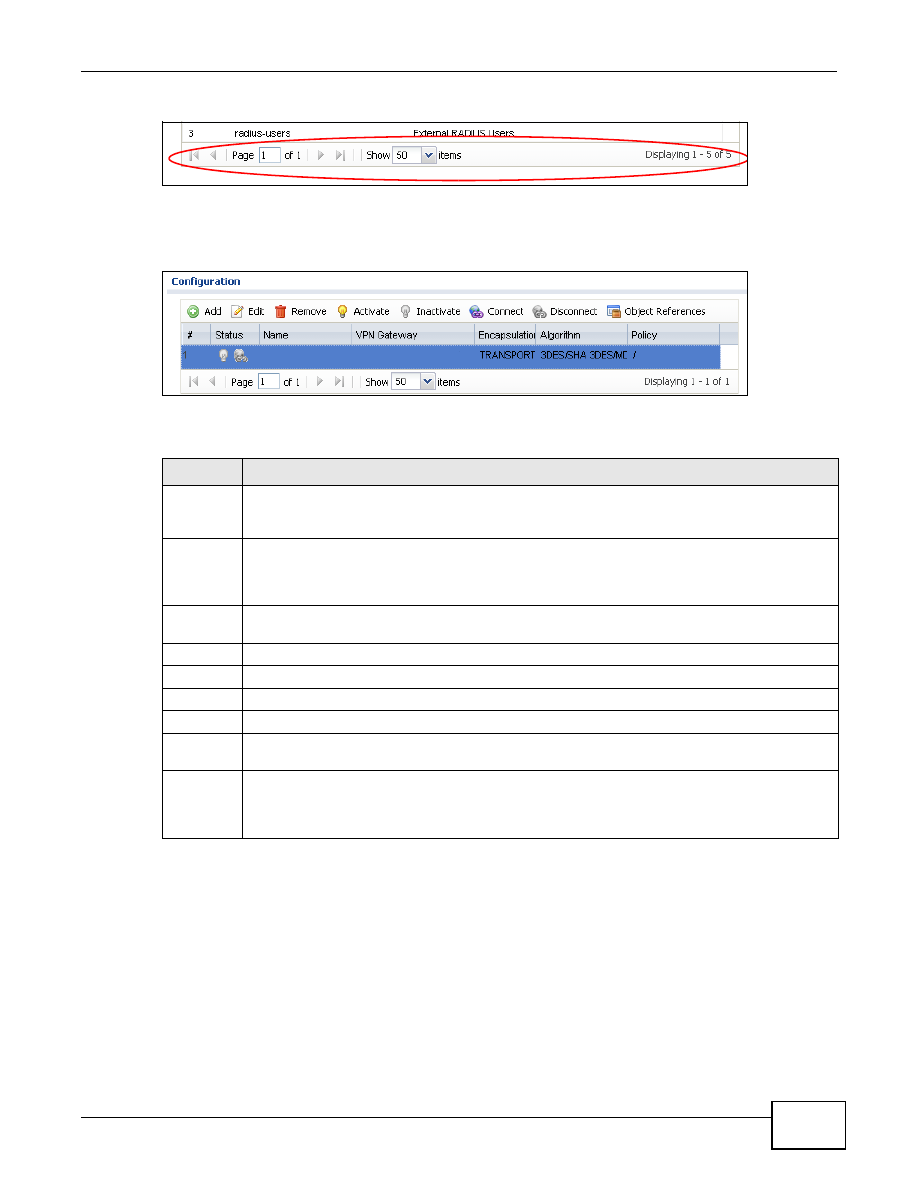
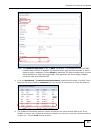
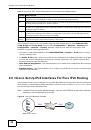
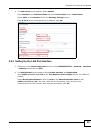
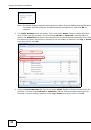
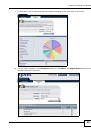
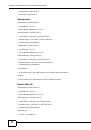
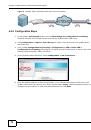
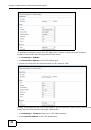
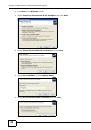
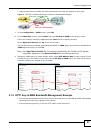
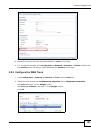
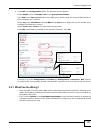
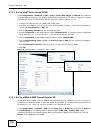
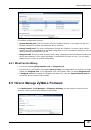
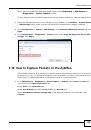
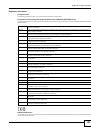
Figure 15
Navigating Pages of Table Entries
The tables have icons for working with table entries. You can often use the [Shift] or [Ctrl] key to
select multiple entries to remove, activate, or deactivate.
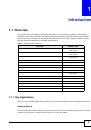
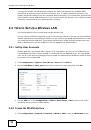
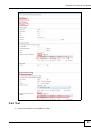
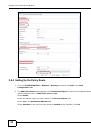
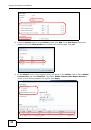
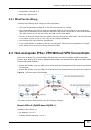
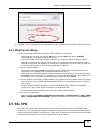
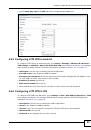
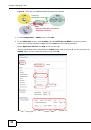
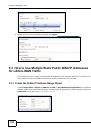
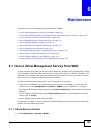
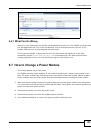
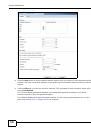
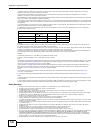
Figure 16
Common Table Icons
Here are descriptions for the most common table icons.
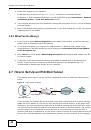
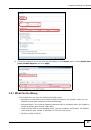
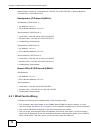
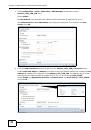
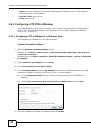
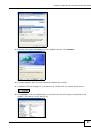
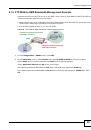
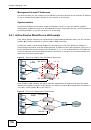
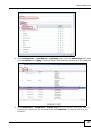
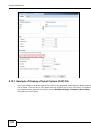
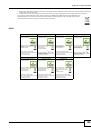
Working with Lists
When a list of available entries displays next to a list of selected entries, you can often just double-
click an entry to move it from one list to the other. In some lists you can also use the [Shift] or
[Ctrl] key to select multiple entries, and then use the arrow button to move them to the other list.
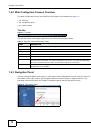
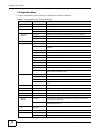
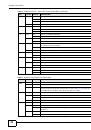
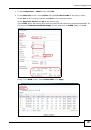
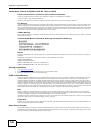
Table 7
Common Table Icons
LABEL
DESCRIPTION
Add
Click this to create a new entry. For features where the entry’s position in the numbered list is
important (features where the ZyWALL applies the table’s entries in order like the firewall for
example), you can select an entry and click
Add
to create a new entry after the selected entry.
Edit
Double-click an entry or select it and click
Edit
to open a screen where you can modify the
entry’s settings. In some tables you can just click a table entry and edit it directly in the table.
For those types of tables small red triangles display for table entries with changes that you have
not yet applied.
Remove
To remove an entry, select it and click
Remove
. The ZyWALL confirms you want to remove it
before doing so.
Activate
To turn on an entry, select it and click
Activate
.
Inactivate
To turn off an entry, select it and click
Inactivate
.
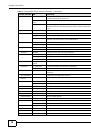
Connect
To connect an entry, select it and click
Connect
.
Disconnect
To disconnect an entry, select it and click
Disconnect
.
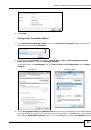
Object
References
Select an entry and click
Object References
to check which settings use the entry.
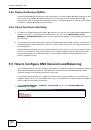
Move
To change an entry’s position in a numbered list, select it and click
Move
to display a field to
type a number for where you want to put that entry and press [ENTER] to move the entry to the
number that you typed. For example, if you type 6, the entry you are moving becomes number 6
and the previous entry 6 (if there is one) gets pushed up (or down) one.
 1
1
 2
2
 3
3
 4
4
 5
5
 6
6
 7
7
 8
8
 9
9
 10
10
 11
11
 12
12
 13
13
 14
14
 15
15
 16
16
 17
17
 18
18
 19
19
 20
20
 21
21
 22
22
 23
23
 24
24
 25
25
 26
26
 27
27
 28
28
 29
29
 30
30
 31
31
 32
32
 33
33
 34
34
 35
35
 36
36
 37
37
 38
38
 39
39
 40
40
 41
41
 42
42
 43
43
 44
44
 45
45
 46
46
 47
47
 48
48
 49
49
 50
50
 51
51
 52
52
 53
53
 54
54
 55
55
 56
56
 57
57
 58
58
 59
59
 60
60
 61
61
 62
62
 63
63
 64
64
 65
65
 66
66
 67
67
 68
68
 69
69
 70
70
 71
71
 72
72
 73
73
 74
74
 75
75
 76
76
 77
77
 78
78
 79
79
 80
80
 81
81
 82
82
 83
83
 84
84
 85
85
 86
86
 87
87
 88
88
 89
89
 90
90
 91
91
 92
92
 93
93
 94
94
 95
95
 96
96
 97
97
 98
98
 99
99
 100
100
 101
101
 102
102
 103
103
 104
104
 105
105
 106
106
 107
107
 108
108
 109
109
 110
110
 111
111
 112
112
 113
113
 114
114
 115
115
 116
116
 117
117
 118
118
 119
119
 120
120
 121
121
 122
122
 123
123
 124
124
 125
125
 126
126
 127
127
 128
128
 129
129
 130
130
 131
131
 132
132
 133
133
 134
134
 135
135
 136
136
 137
137
 138
138
 139
139
 140
140
 141
141
 142
142
 143
143
 144
144
 145
145
 146
146
 147
147
 148
148
 149
149
 150
150