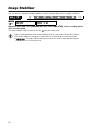
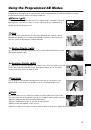
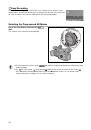
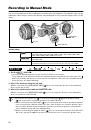
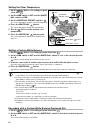
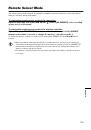
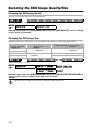
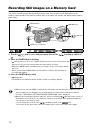
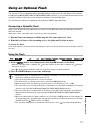
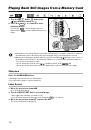
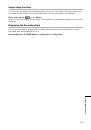
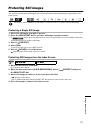
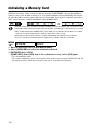
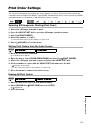
101
Custo
m
iz
atio
n
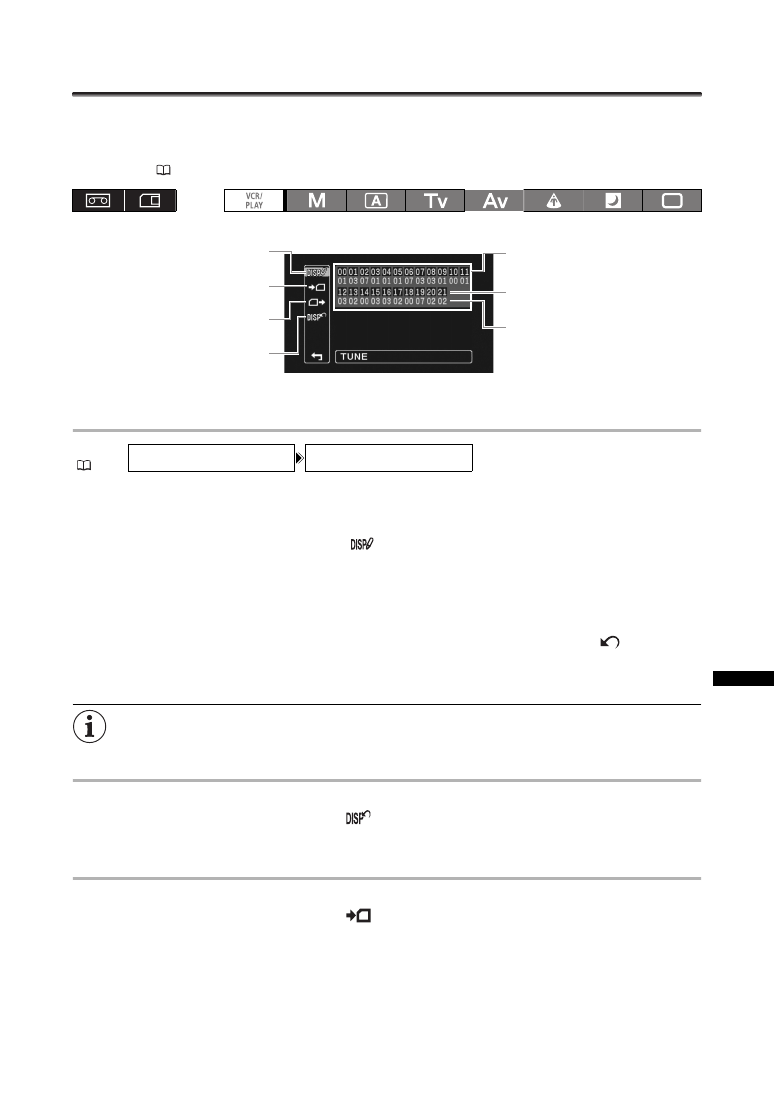
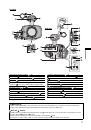
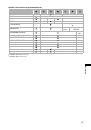
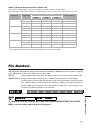
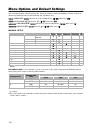
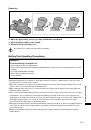
Customized On-Screen Displays
You can customize which icons to display on the screen according to your personal preferences and
needs. You can save your personal settings as a custom display file on the camcorder or on the
memory card. To activate the on-screen displays at the level that you customized, repeatedly press the
DISP. button (
31).
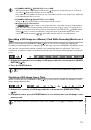
Changing the Custom Display Settings
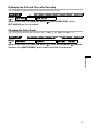
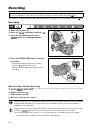
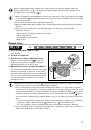
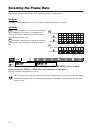
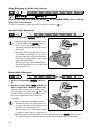
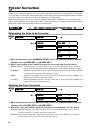
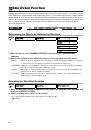
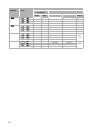
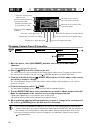
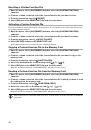
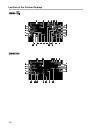
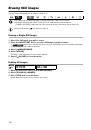
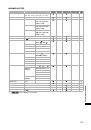
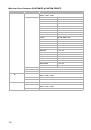
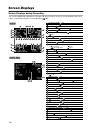
1. Open the menu, select [CUSTOMIZE] and then select [CUSTOM DISPLAY].
The custom display editing screen appears. The overview display shows the current settings of the
custom display file.
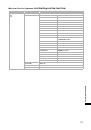
2. From the column on the left, select [
TUNE].
The first item (00) of the custom display file will be highlighted in blue.
3. Turn the SELECT/SET dial to select a display item you want to change and press the
dial. Make the selection as necessary and press the dial.
Repeat this step to adjust all the items you want to change.
4. When you finish changing all the items in the custom display file, select [
RETURN],
press the dial and close the menu.
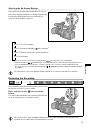
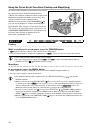
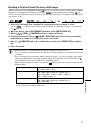
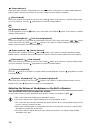
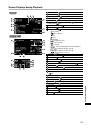
5. Repeatedly press the DISP. button to select the display level you customized.
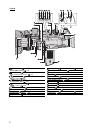
Custom display items appear in one screen represented only by the item number on the top
(numbers 00 – 21 with a black background), and the code of the current setting immediately under it.
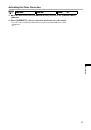
Resetting a Custom Display File
1. Open the menu, select [CUSTOMIZE] and then select [CUSTOM DISPLAY].
2. From the column on the left select [
RESET].
3. Select [OK], press the SELECT/SET dial and close the menu.
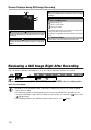
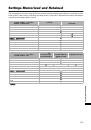
Copying a Custom Display File to the Memory Card
1. Open the menu, select [CUSTOMIZE] and then select [CUSTOM DISPLAY].
2. From the column on the left select [
SAVE TO CARD].
3. Select [OK], press the SELECT/SET dial and close the menu.
When the operation is finished, “TASK COMPLETED” will appear on the screen.
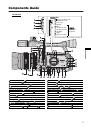
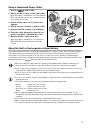
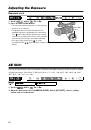
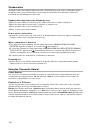
MENU
(
25)
CUSTOMIZE
CUSTOM DISPLAY
Reset the custom display file to
default values
Overview of the contents of
the custom display file
Item number
(black background)
Code of the current setting
option
Change the custom display
settings
Save the custom display
file to the memory card
Read a custom display file
from the memory card
 1
1
 2
2
 3
3
 4
4
 5
5
 6
6
 7
7
 8
8
 9
9
 10
10
 11
11
 12
12
 13
13
 14
14
 15
15
 16
16
 17
17
 18
18
 19
19
 20
20
 21
21
 22
22
 23
23
 24
24
 25
25
 26
26
 27
27
 28
28
 29
29
 30
30
 31
31
 32
32
 33
33
 34
34
 35
35
 36
36
 37
37
 38
38
 39
39
 40
40
 41
41
 42
42
 43
43
 44
44
 45
45
 46
46
 47
47
 48
48
 49
49
 50
50
 51
51
 52
52
 53
53
 54
54
 55
55
 56
56
 57
57
 58
58
 59
59
 60
60
 61
61
 62
62
 63
63
 64
64
 65
65
 66
66
 67
67
 68
68
 69
69
 70
70
 71
71
 72
72
 73
73
 74
74
 75
75
 76
76
 77
77
 78
78
 79
79
 80
80
 81
81
 82
82
 83
83
 84
84
 85
85
 86
86
 87
87
 88
88
 89
89
 90
90
 91
91
 92
92
 93
93
 94
94
 95
95
 96
96
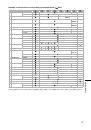 97
97
 98
98
 99
99
 100
100
 101
101
 102
102
 103
103
 104
104
 105
105
 106
106
 107
107
 108
108
 109
109
 110
110
 111
111
 112
112
 113
113
 114
114
 115
115
 116
116
 117
117
 118
118
 119
119
 120
120
 121
121
 122
122
 123
123
 124
124
 125
125
 126
126
 127
127
 128
128
 129
129
 130
130
 131
131
 132
132
 133
133
 134
134
 135
135
 136
136
 137
137
 138
138
 139
139
 140
140
 141
141
 142
142
 143
143
 144
144
 145
145
 146
146
 147
147
 148
148
 149
149
 150
150
 151
151
 152
152