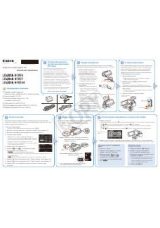
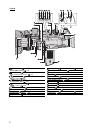
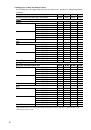
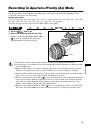
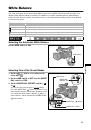
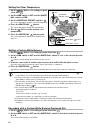
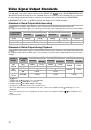
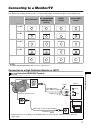
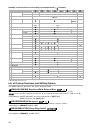
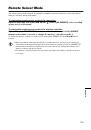
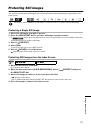
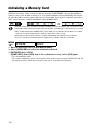
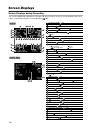
49
Recor
d
ing
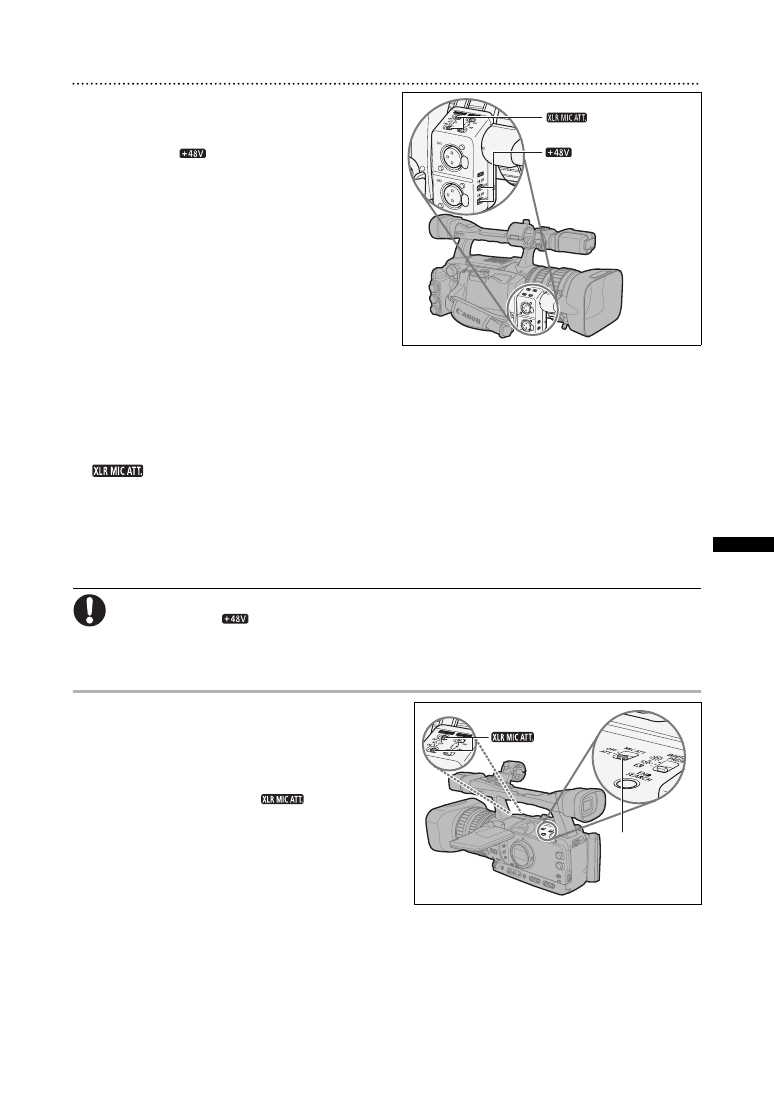
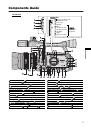
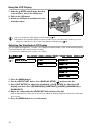
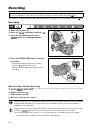
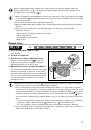
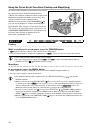
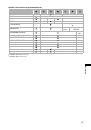
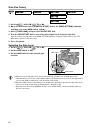
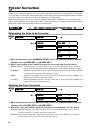
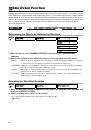
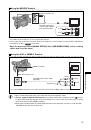
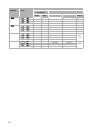
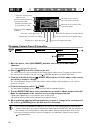
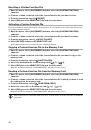
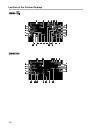
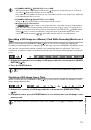
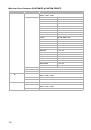
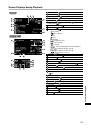
Using the XLR terminals
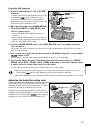
1. Connect a microphone to one of the XLR
terminals.
To supply a microphone with phantom power, set the
corresponding
switch to ON. Make sure to
connect the microphone first, before turning the
phantom power on. Keep the microphone connected
when turning off the phantom power.
2. Open the menu and select [AUDIO SETUP].
Select [CH1 INPUT] or [CH2 INPUT], and
select a setting option.
• Select [XLR MIC] or [XLR LINE] for channel 1 or
channel 2.
• When using the XLR terminal to record to only one
channel, use the CH1 input terminal and set [CH1
INPUT] to [XLR MIC] or [XLR LINE].
3. From the [AUDIO SETUP] menu, select [XLR REC CH], select a setting option and
close the menu.
Select [CH1] to record on channel 1 the audio from the CH1 input terminal or [CH1/CH2] to record the
audio on both channels.
4. If necessary, turn on the microphone attenuator (20 dB) by setting the corresponding
switch to ATT.
The microphone attenuator will only be effective when the input is set to [XLR MIC].
5. If necessary, adjust the gain of the input signal. Open the menu and select [AUDIO
SETUP]. Select [XLR 1 TRIM] or [XLR 2 TRIM], depending on the audio input you want
to adjust. Select a setting option and close the menu.
The gain adjustment will only be effective when the input is set to [XLR MIC].
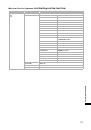
When connecting a microphone that does not support phantom power, make sure to set the
corresponding
switch to OFF. Otherwise the microphone may be damaged.
When [XLR REC CH] is set to [CH1/CH2], audio from the CH2 input terminal will not be recorded.
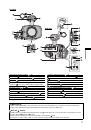
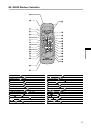
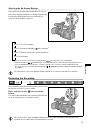
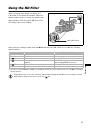
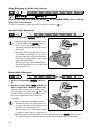
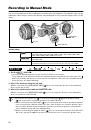
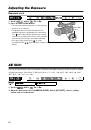
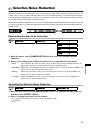
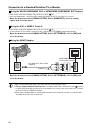
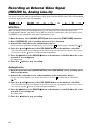
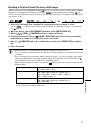
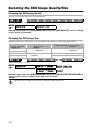
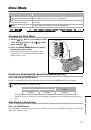
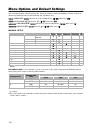
Adjusting the Audio Recording Level
If the audio level is too high and the sound sounds
distorted, activate the microphone attenuator (12 dB for
the built-in microphone, 20 dB for an external
microphone), by setting the MIC ATT. switch (built-in
microphone/external microphone connected to the MIC
terminal) or the corresponding
switch (external
microphone connected to the XLR terminal) to ATT.
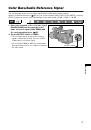
switches
switches
MIC ATT.
switch
switches
 1
1
 2
2
 3
3
 4
4
 5
5
 6
6
 7
7
 8
8
 9
9
 10
10
 11
11
 12
12
 13
13
 14
14
 15
15
 16
16
 17
17
 18
18
 19
19
 20
20
 21
21
 22
22
 23
23
 24
24
 25
25
 26
26
 27
27
 28
28
 29
29
 30
30
 31
31
 32
32
 33
33
 34
34
 35
35
 36
36
 37
37
 38
38
 39
39
 40
40
 41
41
 42
42
 43
43
 44
44
 45
45
 46
46
 47
47
 48
48
 49
49
 50
50
 51
51
 52
52
 53
53
 54
54
 55
55
 56
56
 57
57
 58
58
 59
59
 60
60
 61
61
 62
62
 63
63
 64
64
 65
65
 66
66
 67
67
 68
68
 69
69
 70
70
 71
71
 72
72
 73
73
 74
74
 75
75
 76
76
 77
77
 78
78
 79
79
 80
80
 81
81
 82
82
 83
83
 84
84
 85
85
 86
86
 87
87
 88
88
 89
89
 90
90
 91
91
 92
92
 93
93
 94
94
 95
95
 96
96
 97
97
 98
98
 99
99
 100
100
 101
101
 102
102
 103
103
 104
104
 105
105
 106
106
 107
107
 108
108
 109
109
 110
110
 111
111
 112
112
 113
113
 114
114
 115
115
 116
116
 117
117
 118
118
 119
119
 120
120
 121
121
 122
122
 123
123
 124
124
 125
125
 126
126
 127
127
 128
128
 129
129
 130
130
 131
131
 132
132
 133
133
 134
134
 135
135
 136
136
 137
137
 138
138
 139
139
 140
140
 141
141
 142
142
 143
143
 144
144
 145
145
 146
146
 147
147
 148
148
 149
149
 150
150
 151
151
 152
152