columns.
Graphics:
This option allows you to set image options that are used when printing image files, such as
color options, image size, or image position.
Advanced:
This option allows you to set the print resolution, paper, source and special print features.
If an option is grayed out, it means that the grayed out option is not supported.
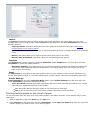
5. Click
Apply
to apply the changes and close the
Properties
window.
6. Click
OK
in the
LPR GUI
window to start printing.
7. The Printing window appears, allowing you to monitor the status of your print job.
To abort the current job, click
Cancel
.
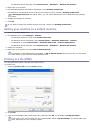
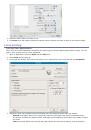
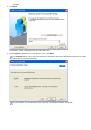
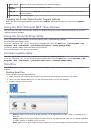
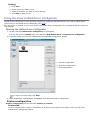
Printing files
You can print many different types of files on your machine using the standard CUPS way, directly from the
command line interface. The CUPS lpr utility allows you to do that. But the drivers package replaces the standard
lpr tool by a much more user-friendly LPR GUI program.
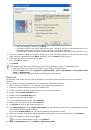
To print any document file:
1. Type lpr <file_name> from the Linux shell command line and press
Enter
. The
LPR GUI
window appears.
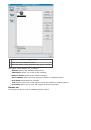
When you type only lpr and press
Enter
, the
Select file(s) to print
window appears first. Just select any files
you want to print and click
Open
.
2. In the
LPR GUI
window, select your machine from the list, and change the print job properties.
3. Click
OK
to start printing.
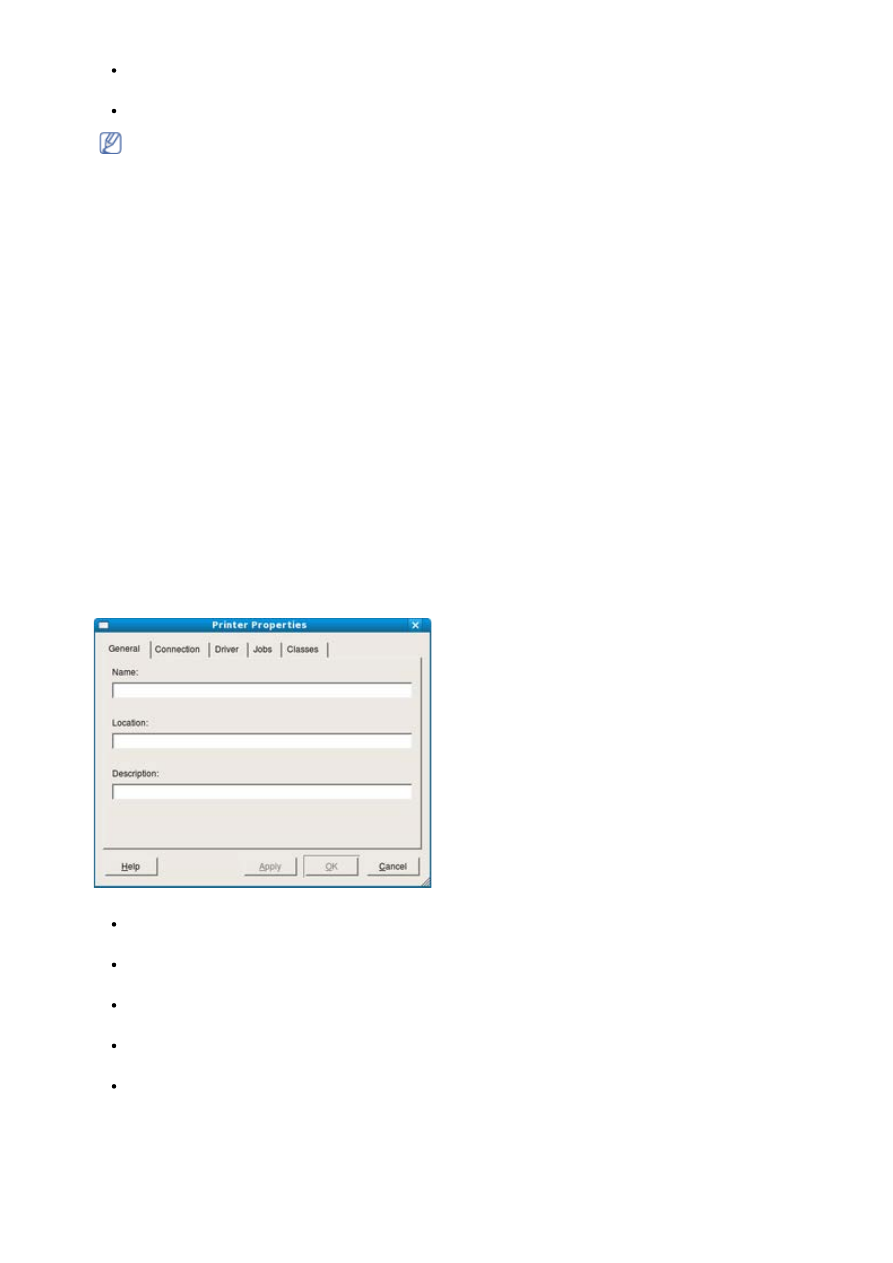
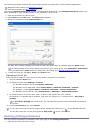
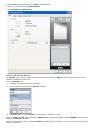
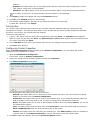
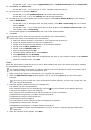
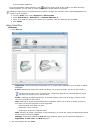
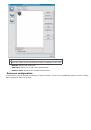
Configuring Printer Properties
Using the
Printer Properties
window provided by the
Printers configuration
, you can change the various
properties for your machine as a printer.
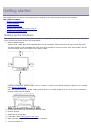
1. Open the
Unified Driver Configurator
.
If necessary, switch to
Printers configuration
.
2. Select your machine on the available printers list and click
Properties
.
3. The
Printer Properties
window opens.
The following five tabs display at the top of the window:
General:
This option allows you to change the printer location and name. The name entered in this tab
displays on the printer list in
Printers configuration
.
Connection:
This option allows you to view or select another port. If you change the machine port from
USB to parallel or vice versa while in use, you must re-configure the machine port in this tab.
Driver:
This option allows you to view or select another machine driver. By clicking
Options
, you can set
the default device options.
Jobs:
This option shows the list of print jobs. Click
Cancel job
to cancel the selected job and select the
Show completed jobs
check box to see previous jobs on the job list.
Classes:
This option shows the class that your machine is in. Click
Add to Class
to add your machine to
a specific class or click
Remove from Class
to remove the machine from the selected class.
4. Click
OK
to apply the changes and close the
Printer Properties
window.


Инструкции и руководства похожие на DELL 1133