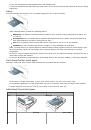
Copying
This chapter gives you step-by-step instructions for copying documents.
This chapter includes:
Basic copy
Changing the settings for each copy
Changing the default copy settings
Using special copy features
Deciding the form of copy output
Setting copy timeout
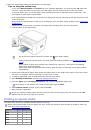
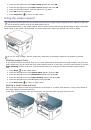
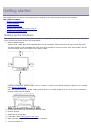
Basic copy
This is the normal and usual procedure for copying your originals.
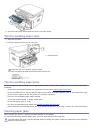
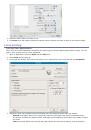
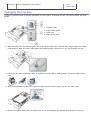
1. Press
Menu
( ) on the control panel.
2. Press the left/right arrow until
Copy Feature
appears and press
OK
.
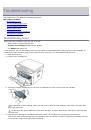
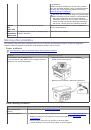
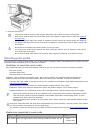
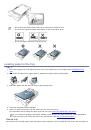
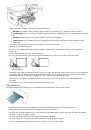
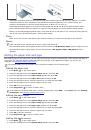
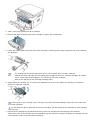
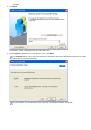
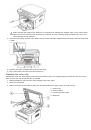
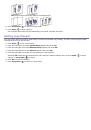
3. Place a single original face down on the scanner glass.
).
4. If necessary, adjust the settings for each copy such as
Reduce/Enlarge
,
Darkness
,
Original Type
and more
Changing the settings for each copy
).
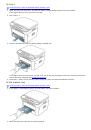
5. Enter the number of copies using the arrow or number keypad, if necessary.
6. Press
Start
(
) on the control panel to begin copying.
To cancel the current copy job, press
Stop/Clear
( ) on the control panel.
Changing the settings for each copy
Your machine provides default settings for copying so that you can quickly and easily make a copy. However, if you
want to change the options for each copy, use the copy function buttons on the control panel.
If you press
Stop/Clear
( ) while setting the copy options, all of the options you have set for the current copy
job will be canceled and return to their default status after the machine completes the copy in progress.
Changing the darkness
If you have an original containing faint marking and dark images, you can adjust the brightness to make a copy
that is easier to read.
1. Press
Menu
( ) on the control panel.
2. Press the left/right arrow until
Copy Feature
appears and press
OK
.
3. Press the left/right arrow until
Darkness
appears and press
OK
.
4. Press the left/right arrow until the contrast mode you want appears and press
OK
.
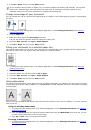
Light
: Works well with dark print.
Lightest
: Works well with darker print.
Normal
: Works well with standard typed or printed originals.
Dark
: Works well with light print.
Darkest
: Works well with lighter print or faint pencil markings.
5. Press
Stop/Clear
( ) to return to ready mode.
Selecting the type of originals
The original type setting is used to improve the copy quality by selecting the document type for the current copy
job.
1. Press
Menu
( ) on the control panel.
2. Press the left/right arrow until
Copy Feature
appears and press
OK
.
3. Press the left/right arrow until
Original Type
appears and press
OK
.


Инструкции и руководства похожие на DELL 1133