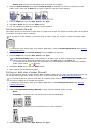
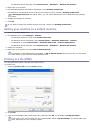
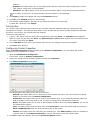
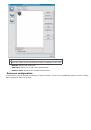
3. Press the left/right arrow until
Paper Setup
appears and press
OK
.
4. Press the left/right arrow until
Paper Source
appears and press
OK
.
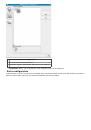
5. Press the left/right arrow to select the paper tray you want.
6. Press
OK
to save the selection.
7. Press
Stop/Clear
( ) to return to ready mode.
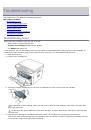
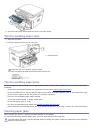
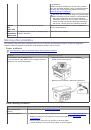
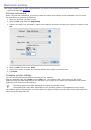
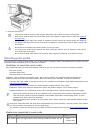
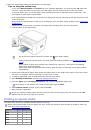
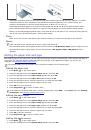
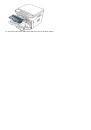
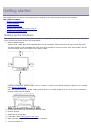
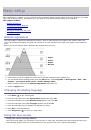
Using the output support
The surface of the output tray may become hot if you print a large number of pages at once. Make sure that you
do not touch the surface, and do not allow children near it.
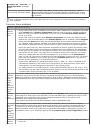
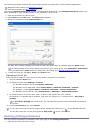
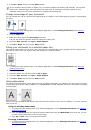
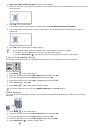
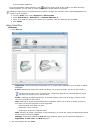
The printed pages stack on the output support, and the output support will help the printed pages to align. The printer
sends output to the output tray by default. To use the output tray, make sure that the rear cover is closed.
If you are using A5 paper, fold the output tray. Otherwise, printed pages might be mis-aligned or jammed.
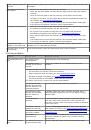
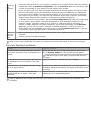
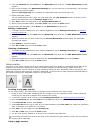
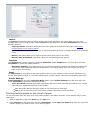
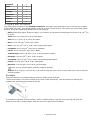
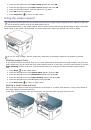
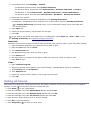
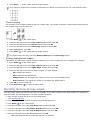
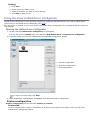
Stacking papers firmly
If you use the machine in a humid area, or use a print media that is damp because of high humidity, the print-outs
on the output tray may be curled and may not be stacked properly. In this case, you can set the machine to use the
Paper Stacking
function to let print-outs be stacked firmly. But, using this function will make the print speed
slow.
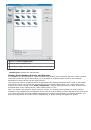
1. Press
Menu
( ) on the control panel.
2. Press the left/right arrow until
System Setup
appears and press
OK
.
3. Press the left/right arrow until
Maintenance
appears and press
OK
.
4. Press the left/right arrow until
Paper Stacking
appears and press
OK
.
5. Press the left/right arrow until
On
appears and press
OK
.
6. Press
Stop/Clear
( ) to return to ready mode.
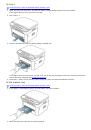
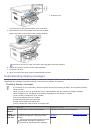
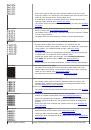
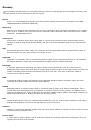
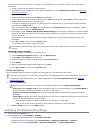
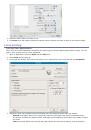
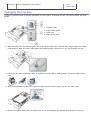
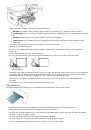
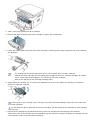
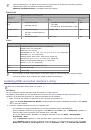
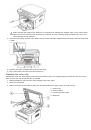
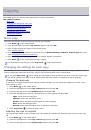
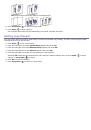
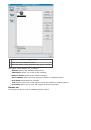
Getting a small-sized printout
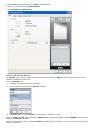
When you have printed a small-sized printout like an envelope or a custom-sized printout, it may not be placed on
the output support, due to its small size.
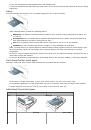
In this case, pull up the scan unit, get the printout, and close the scan unit again for future use.


Инструкции и руководства похожие на DELL 1133