For Mac OS X 10.5 ~ 10.6, open the
Applications
folder >
System Preferences
and click
Print & Fax
.
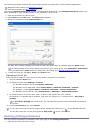
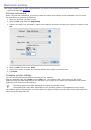
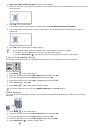
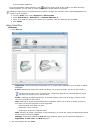
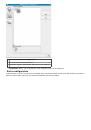
14. Click
Add
on the
Printer List
.
For Mac OS X 10.5 ~ 10.6, press the “
+
” icon; a display window will pop up.
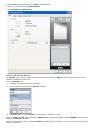
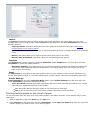
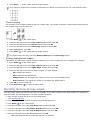
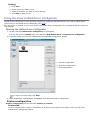
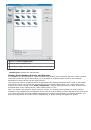
15. For Mac OS X 10.3, select the
USB
tab.
For Mac OS X10.4, click
Default Browser
and find the USB connection.
For Mac OS X 10.5 ~ 10.6, click
Default
and find the USB connection.
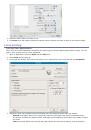
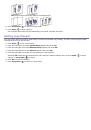
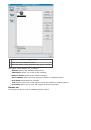
16. For Mac OS X 10.3, if Auto Select does not work properly, select
Dell
in
Printer Model
and your machine
name in
Model Name
.
For Mac OS X 10.4, if Auto Select does not work properly, select
Dell
in
Print Using
and your machine
name in
Model
.
For Mac OS X 10.5 ~ 10.6, if Auto Select does not work properly, select
Select a driver to use...
and
your machine name in
Print Using
.
Your machine appears on the
Printer List
, and is set as the default machine.
17. Click
Add
.
If the printer driver does not work properly, uninstall the driver and reinstall it.
Follow steps below to uninstall the driver for Macintosh.
a. Make sure that the machine is connected to your computer and powered on.
b. Insert the supplied software CD into your CD/DVD drive.
c. Double-click CD-ROM icon that appears on your Macintosh desktop.
d. Double-click the
MAC_Installer
folder.
e. Double-click the
Installer OS X
icon.
f. Enter the password and click
OK
.
g. The Dell Installer window opens. Click
Continue
.
h. Select
Uninstall
and click
Uninstall
.
i. When the message which warns that all applications will close on your computer appears, click
Continue
.
j. When the uninstall is done, click
Quit
.
Linux
Follow the steps below to install the driver for Linux. While installing the driver, the Unified Linux Driver package
will automatically be installed as well.
The supplied software CD provides you with the Unified Linux Driver package for using your machine with a
Linux computer easily in UI based management tool.
1. Make sure that the machine is connected to your computer and powered on.
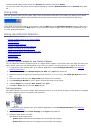
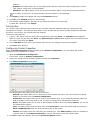
2. When the
Administrator Login
window appears, type in root in the
Login
field and enter the system
password.
You must log in as a super user (root) to install the machine software. If you are not a super user, ask
your system administrator.
3. Insert the supplied software CD into your CD/DVD drive.
The software CD will run automatically.
If the software CD does not run automatically, click the icon at the bottom of the desktop. When the
Terminal screen appears, type in the following:
If the software CD is secondary master and the location to mount is /mnt/cdrom,
[root@localhost root]#mount -t iso9660 /dev/hdc /mnt/cdrom
[root@localhost root]#cd /mnt/cdrom/Linux
[root@localhost Linux]#./install.sh
If you still failed to run the software CD type the followings in sequence:
[root@localhost root]#umount /dev/hdc
[root@localhost root]#mount -t iso9660 /dev/hdc /mnt/cdrom
The installation program runs automatically if you have an autorun software package installed and
configured.
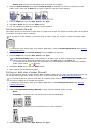
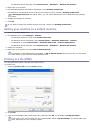
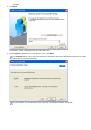
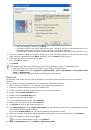
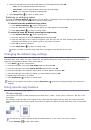
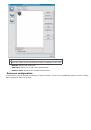
4. When the welcome screen appears, click
Next
.


Инструкции и руководства похожие на DELL 1133