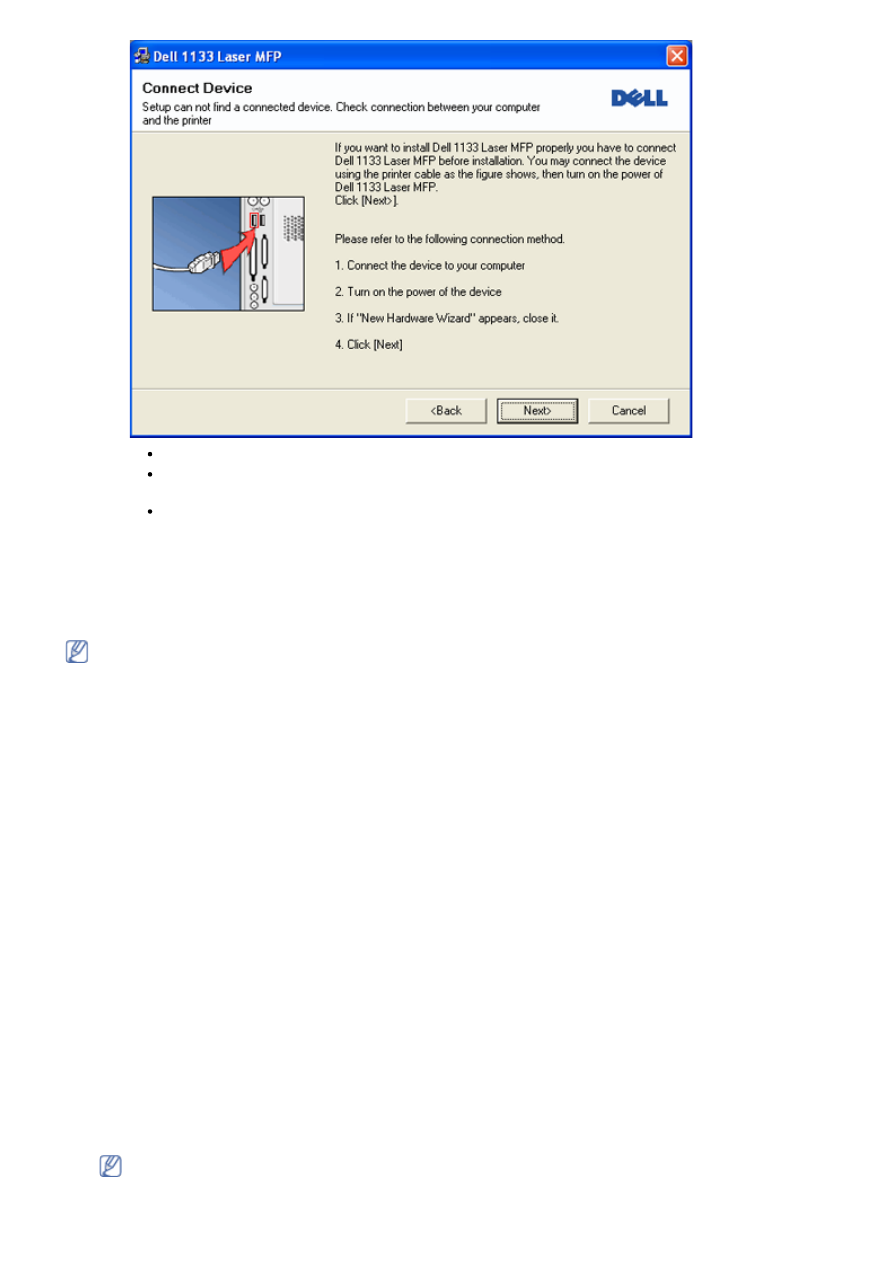
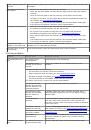
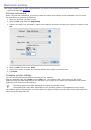
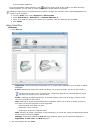
After connecting the machine, click
Next
.
If you don’t want to connect the printer at this time, click Next, and No on the following screen. The
installation starts and a test page will not print at the end of the installation.
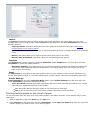
The installation window in this user guide may differ depending on the machine and interface in use.
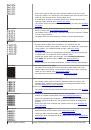
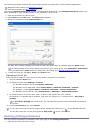
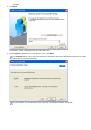
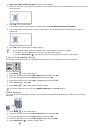
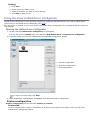
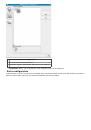
5. After the installation is finished, a window asking you to print a test page appears. If you choose to print a test
page, select the checkbox and click
Next
. Otherwise, just click
Next
and skip to step 7.
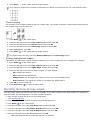
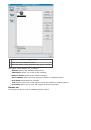
6. If the test page prints out correctly, click
Yes
.
If not, click
No
to reprint it.
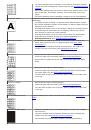
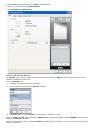
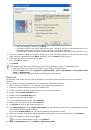
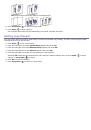
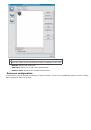
7. Click
Finish
.
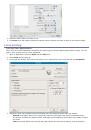
If the printer driver does not work properly, follow the steps below to repair or reinstall the driver.
a. Make sure that the machine is connected to your machine and powered on.
b. From the
Start
menu, select
Programs
or
All Programs
>
Dell
>
Dell Printers
>
your printer driver
name
>
Maintenance
.
c. Select the option as you wish, follow the instruction on the window.
Macintosh
The software CD provides the driver files that allow you to use the CUPS driver for printing on a Macintosh
computer.
Also, it provides you with the TWAIN driver for scanning on a Macintosh computer.
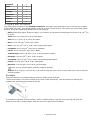
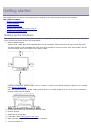
1. Make sure that the machine is connected to your computer and powered on.
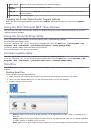
2. Insert the supplied software CD into your CD/DVD drive.
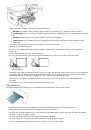
3. Double-click the CD-ROM icon that appears on your Macintosh desktop.
4. Double-click the
MAC_Installer
folder.
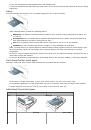
5. Double-click the
Installer OS X
icon.
6. Enter the password and click
OK
.
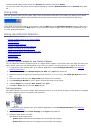
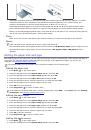
7. The Dell Installer window opens. Click
Continue
.
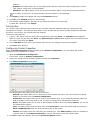
8. Read the license agreement and click
Continue
.
9. Click
Agree
to agree to the license agreement.
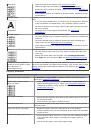
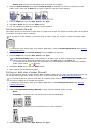
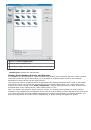
10. Select
Easy Install
and click
Install
.
Easy Install
is recommended for most users. All components necessary
for machine operations will be installed.
If you select
Custom Install
, you can choose individual components to install.
11. When the message which warns that all applications will close on your computer appears, click
Continue
.
12. After the installation is finished, click
Quit
.
If you have installed scanner driver, click
Restart
.
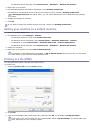
13. Open the
Applications
folder >
Utilities
>
Print Setup Utility
.


Инструкции и руководства похожие на DELL 1133