Installing upgrades > 55
5.
Lift the edge of the side cover slightly and pull the cover away from the printer at
the top. Lift the cover slightly to detach it from the printer. Place it safely to one
side.
6.
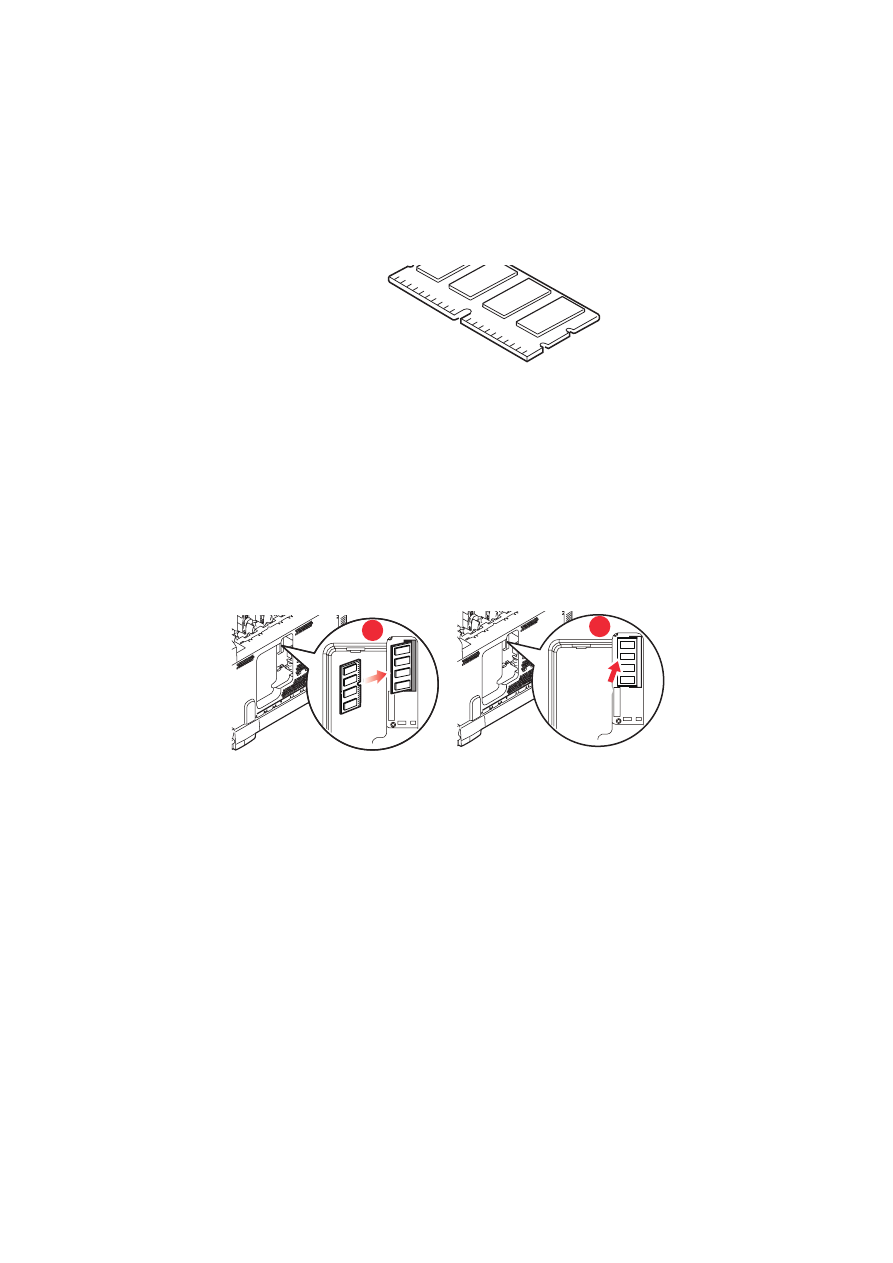
Carefully remove the new memory board from its wrapping. Try to handle the board
only by its short edges, avoiding contact with any metal parts as far as possible. In
particular, avoid touching the edge connector.
7.
Notice that the memory board has a small cutout in the edge connector, which is
closer to one end than the other.
8.
Identify the RAM expansion slot in the printer.
9.
If the RAM expansion slot already contains a memory upgrade board, that board will
have to be removed before you can install the new one. To remove it, proceed as
follows, otherwise skip to step
10
.
(a)
Grip the board firmly by its short edges and pull it out of the slot.
(b)
Place the removed memory board in the antistatic bag which originally
contained the new memory board.
10.
Hold the new memory board by its short edges, so that the edge connector faces in
towards the RAM expansion slot, and the small cutout is closer to the rear of the
printer.
11.
Gently push the board into the RAM expansion slot until it latches in and will not go
any further.
12.
Locate the three retaining clips at the bottom of the side cover into their rectangular
holes near the bottom of the printer.
10
11


