ML1120/ML1190 User’s Guide – Consumables and accessories > 72
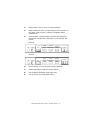
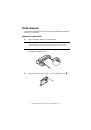
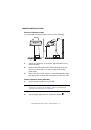
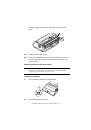
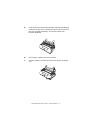
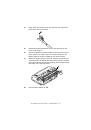
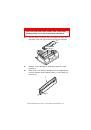
7.
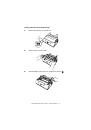
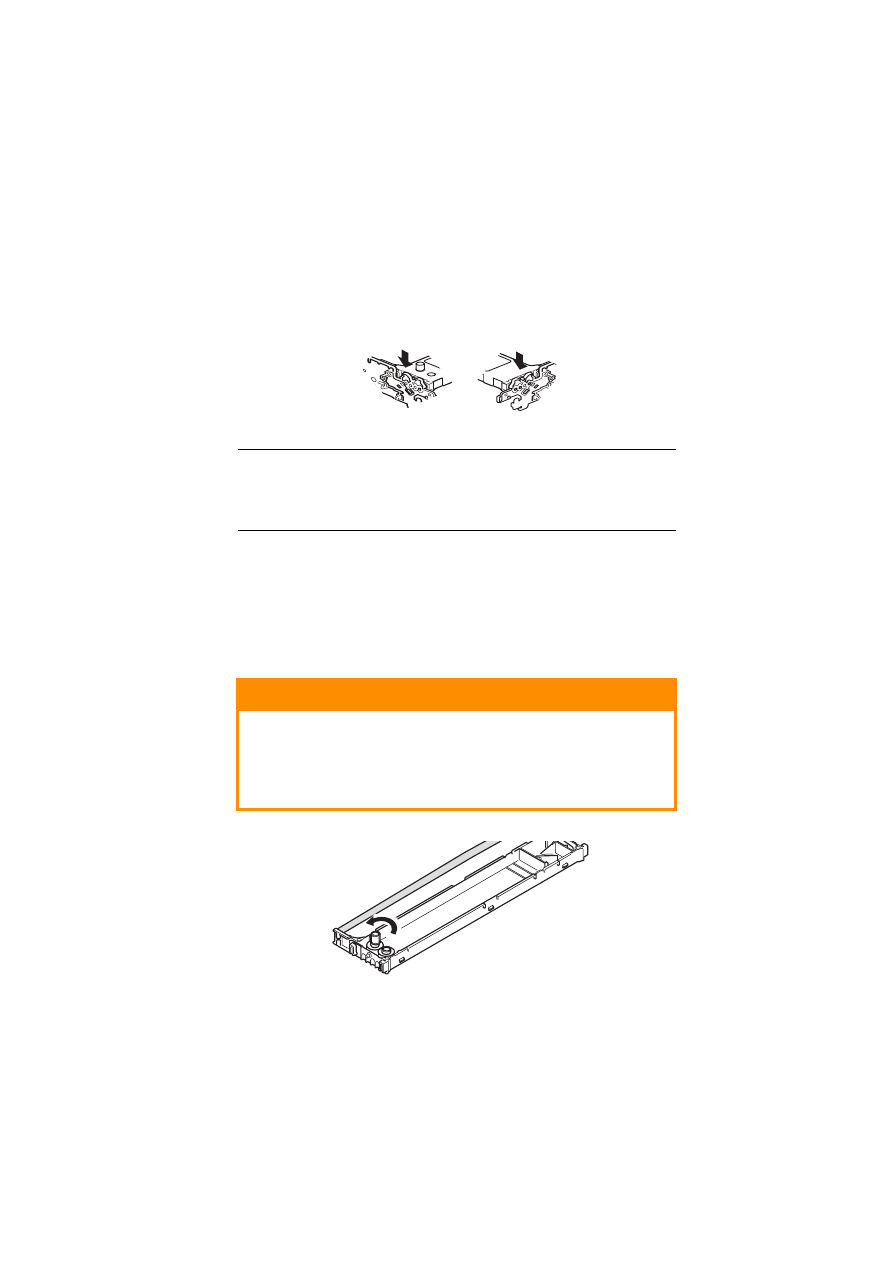
In the direction indicated by the arrows, insert the pins at
both ends of the ribbon cartridge into the U grooves in the
printer until the ribbon cartridge is fully locked.
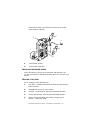
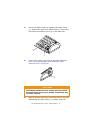
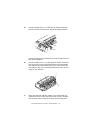
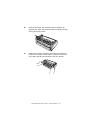
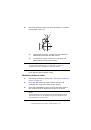
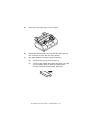
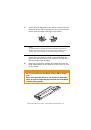
8.
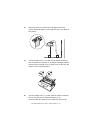
Hold the ribbon cartridge with your fingers pressing on its
ribbon guide and slope it upward and inward along the
guide rails until the ribbon guide comes in line with the U
slot at the top of the cartridge.
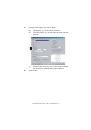
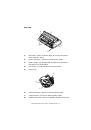
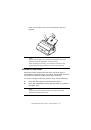
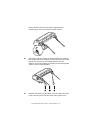
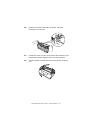
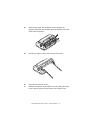
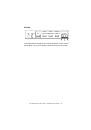
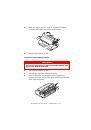
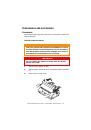
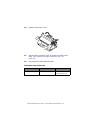
9.
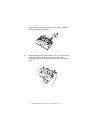
Move the print head to position the ribbon then turn the
knob anticlockwise (in the direction of the arrow) to wind
up the ribbon.
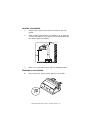
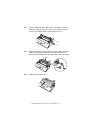
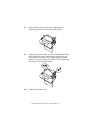
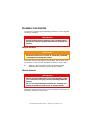
NOTE
It may be easier to mount the ribbon cartridge in place if you
align it with the topside of the grooves. Also, a slightly loose
ribbon may make it easier to mount the ribbon cartridge.
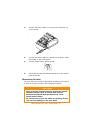
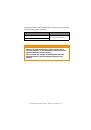
CAUTION!
Do not turn the knob clockwise as the ribbon might
jam.
Make sure that the ribbon is not twisted or damaged
when it goes through the gap between the Print Head
and the ribbon guide.