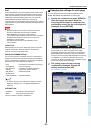
SENDING/RECEIVING A FAX
- 69 -
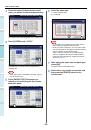
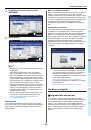
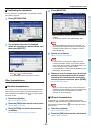
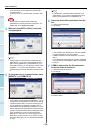
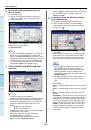
1
2
3
4
5
6
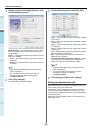
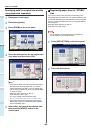
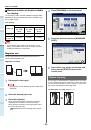
Receiving a Fax
Reception mode
This section describes how to receive a fax. Refer to the
appropriate section for your current reception mode. The
reception mode can be set on the ADMIN menu. For details of
the current setting, ask your administrator. Besides the
receiving methods described in this page, there are various
useful ways to receive a fax. These procedures are described
in the following Guide.
Advanced Guide
AUTO reception
Faxes are automatically received during an incoming call.
Users do not have to do anything when receiving a fax.
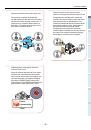
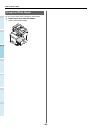
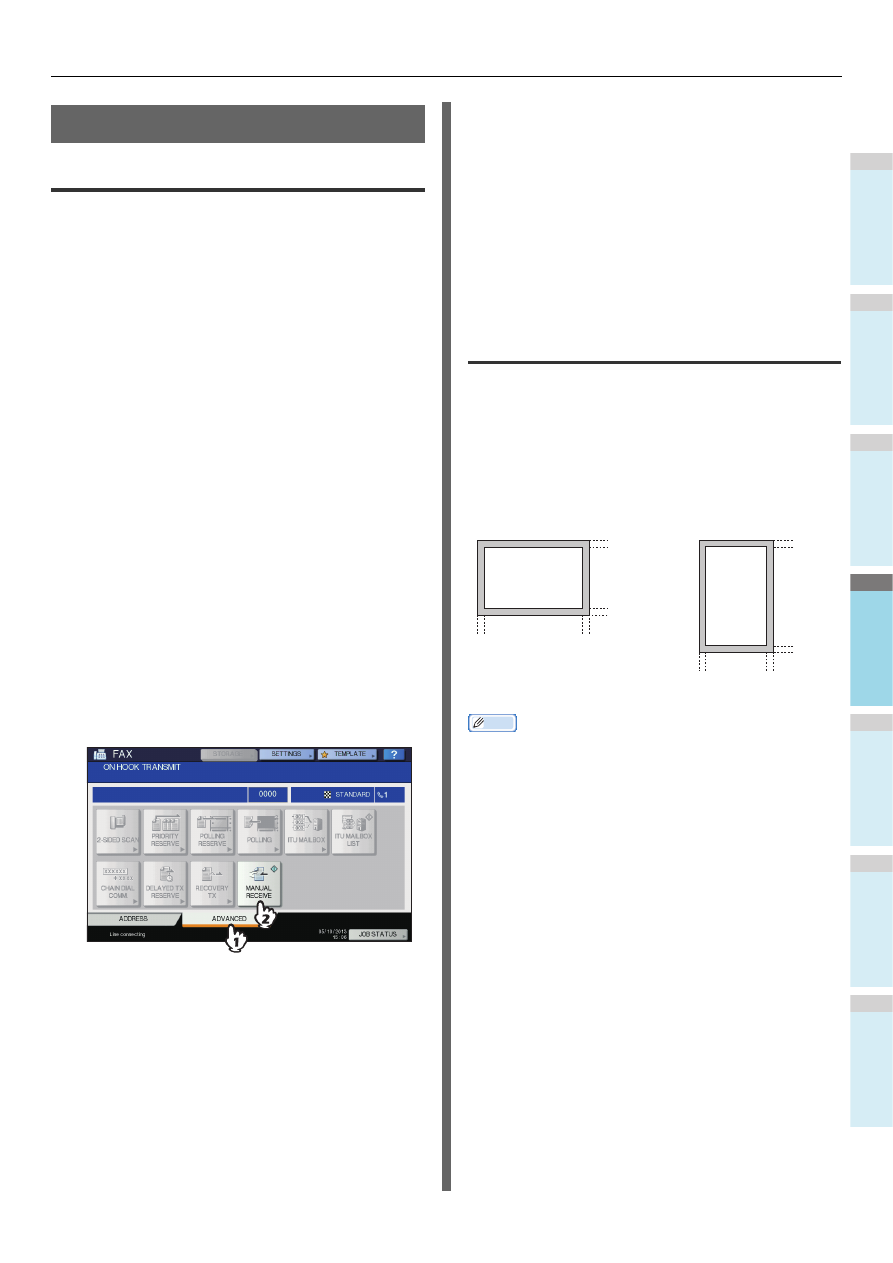
MANUAL reception
Faxes are manually received by using an external telephone
when you have an incoming call.
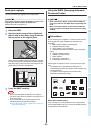
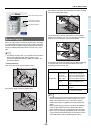
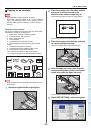
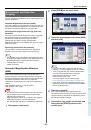
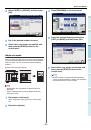
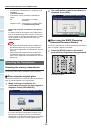
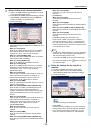
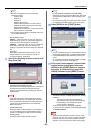
1
Pick up the handset of the external
telephone when you have an incoming call.
If the incoming call is a telephone call, you can start
talking.
2
If you hear a tone (fax signal) through the
handset of the external telephone, press
the [FAX] button on the control panel.
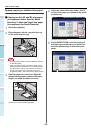
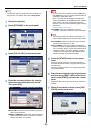
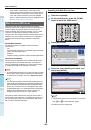
3
Press the [ADVANCED] tab, and then press
[MANUAL RECEIVE].
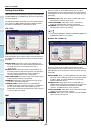
4
When a message appears indicating that
you can send a fax, press the [START]
button on the control panel and replace the
handset of the external telephone.
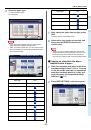
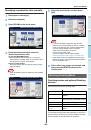
Memory reception
In the following conditions, faxes cannot be printed. If this
happens, received fax data are stored in the memory, and
printing is resumed as soon as this equipment is ready. As the
memory reception function is always enabled, you do not need
to make any setting.
• During copying or printing
• During printing of received copy of the originals
• During printing of lists and reports
• When paper has run out
• When a paper misfeed occurs
• When toner has run out
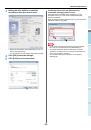
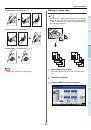
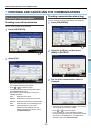
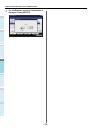
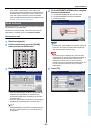
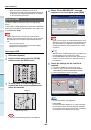
Originals and paper
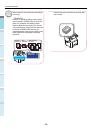
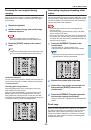
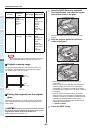
Acceptable size of paper
A4, B5, A5, FOLIO, Legal, Letter and ST sized paper are
available.
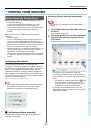
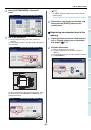
The printing range of each size of paper is as follows: As
shown in the figures below, if an original document contains
any information in the shaded area, it is not printed on the
paper.
Memo
• Set the paper in the trays. The multi-purpose tray is not
available.
• Regardless of whether or not the Finisher is installed, paper
exits on the receiving tray.
• Trays can be set for fax use only.
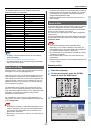
Default setting for RX printing
To print the received fax, the paper with the same width as the
original is used. Depending on the length of the original, “RX
reduction printing” or “Discard printing” (both of them are set to
ON by manufacturer default) are applied.
Advanced Guide
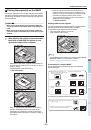
When an original is shorter or the same as the paper
printing area
It is printed in the original size.
5 mm
(0.2 inch)
5 mm
(0.2 inch)
5 mm
(0.2 inch)
5 mm
(0.2 inch)
5 mm
(0.2 inch)
5 mm
(0.2 inch)
5 mm
(0.2 inch)
5 mm
(0.2 inch)