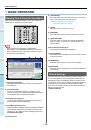
BASIC OPERATION
- 79 -
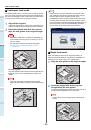
1
2
3
4
5
6
8
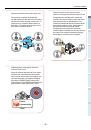
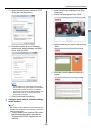
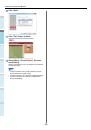
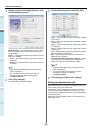
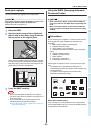
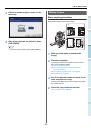
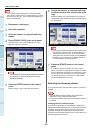
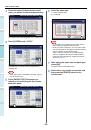
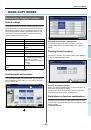
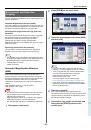
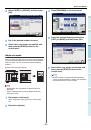
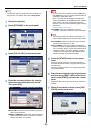
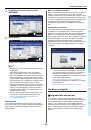
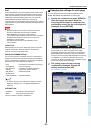
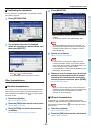
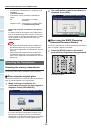
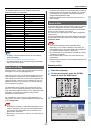
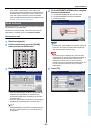
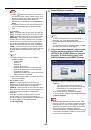
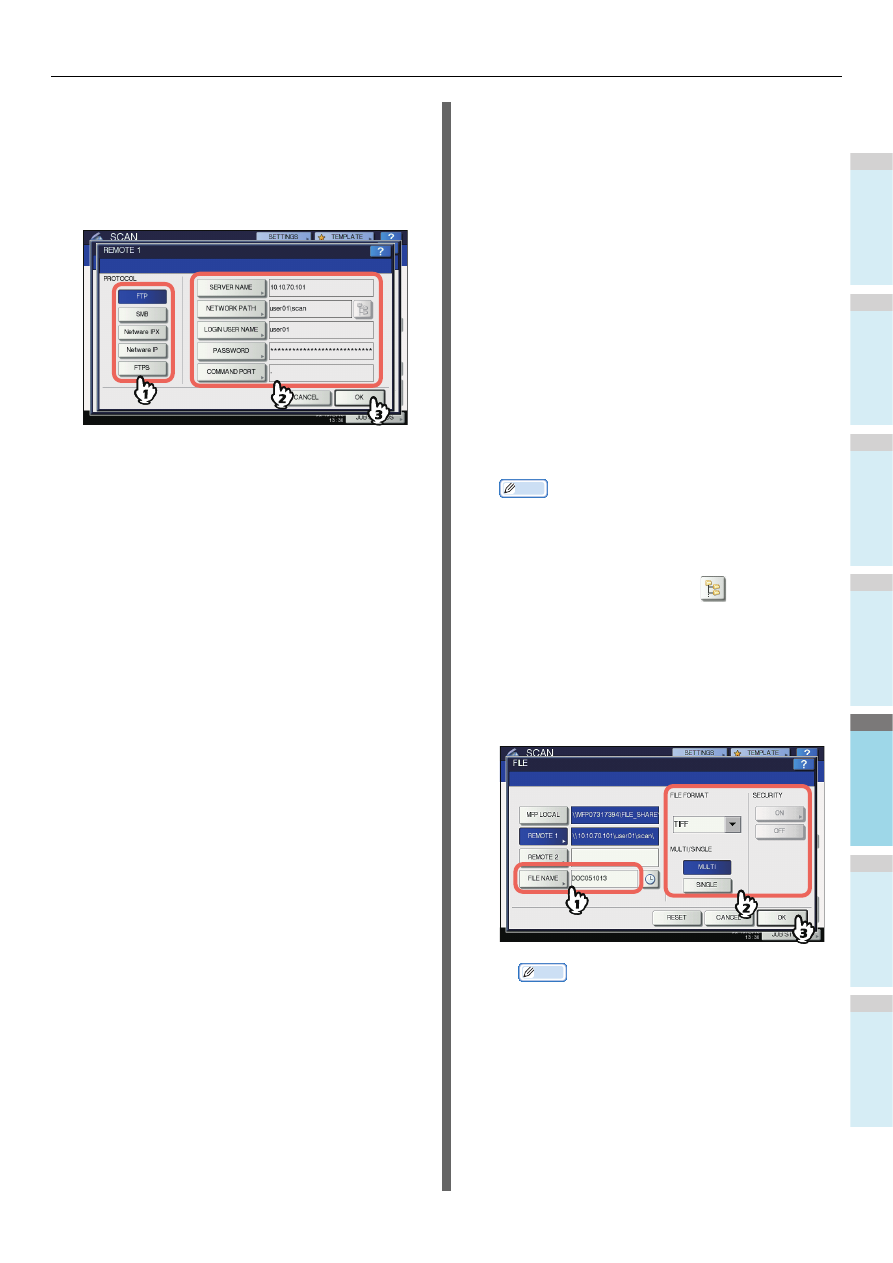
Select a folder for the remote destination.
1) Select FTP, SMB, NetWare IPX, NetWare IP, or FTPS
as a protocol to transfer the file.
2) Press [SERVER NAME], [NETWORK PATH], [LOGIN
USER NAME], [PASSWORD] and/or [COMMAND
PORT] and specify the file destination.
3) Finally, press [OK].
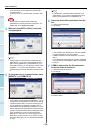
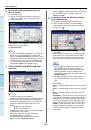
• [SERVER NAME] (FTP, NetWare IPX, NetWare IP, and
FTPS only)
When you select [FTP]:
Enter the IP address of the FTP server. For example,
to transfer the scanned data to “ftp://10.10.70.101/
user01/scan/,” enter “10.10.70.101” in this box.
When you select [NetWare IPX]:
Enter the name of the NetWare file server or the Tree/
Context (when NDS is available).
When you select [NetWare IP]:
Enter the IP address of the NetWare file server.
When you select [FTPS]:
Enter the IP address of the FTP server. For example,
to transfer the scanned data to “ftps://10.10.70.101/
user01/scan/,” enter “10.10.70.101” in this box.
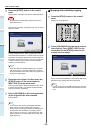
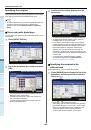
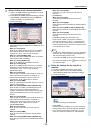
• [NETWORK PATH]
When you select [FTP]:
Enter the path to a folder in the FTP server where you
want to store the scanned data. For example, to
transfer the scanned data to “ftp://10.10.70.101/
user01/scan/,” enter “user01\scan” in this box.
When you select [SMB]:
Enter the network path to the folder where you want to
store the scanned data.
When you select [NetWare IPX] or [NetWare IP]:
Enter the path to a folder in the NetWare file server
where you want to store the scanned data. For
example, to transfer the scanned data to the “sys\scan”
folder in the NetWare file server, enter “\sys\scan” in
this box.
When you select [FTPS]:
Enter the path to a folder in the FTP server where you
want to store the scanned data. For example, to
transfer the scanned data to “ftps://10.10.70.101/
user01/scan/,” enter “user01\scan” in this box.
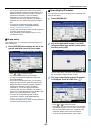
• [LOGIN USER NAME]
When you select [FTP]:
Enter the log-in user name for the FTP server if
required.
When you select [SMB]:
Enter the user name to access the network folder if
required.
When you select [NetWare IPX] or [NetWare IP]:
Enter the log-in user name for the NetWare file server if
required.
When you select [FTPS]:
Enter the log-in user name for the FTP server if
required.
• [PASSWORD]
When you select [FTP]:
Enter the log-in password for the FTP server if
required.
When you select [SMB]:
Enter the password for accessing the network folder if
required.
When you select [NetWare IPX] or [NetWare IP]:
Enter the log-in password for the NetWare file server if
required.
When you select [FTPS]:
Enter the log-in password for the FTP server if
required.
• [COMMAND PORT] (FTP and FTPS only)
Enter the port number to be used for command
execution. By default, a hyphen “-” is entered in this
box, and the port number set by the administrator is
used. Change the entry in this box only when you want
to use another port number.
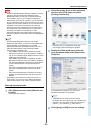
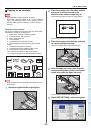
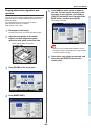
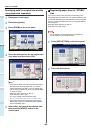
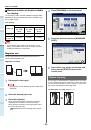
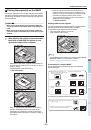
Memo
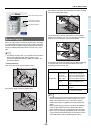
• Pressing each button displays an on-screen keyboard.
Enter each item using the keyboard and digital keys,
and then press [OK] to set the entry.
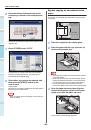
• To store files in [SMB], enter the network path, login
user name and password then
press, so that you
can select the folder.
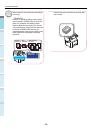
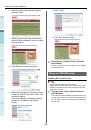
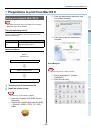
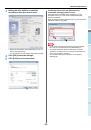
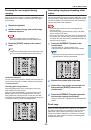
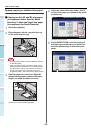
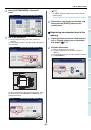
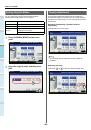
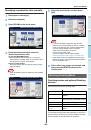
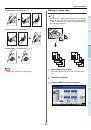
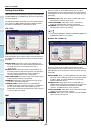
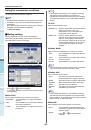
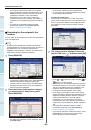
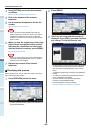
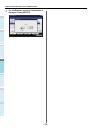
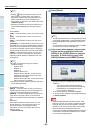
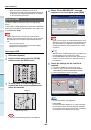
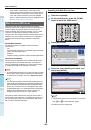
9
Define the settings for the new file as
required.
1) Press [FILE NAME] and change the file name.
2) Select an option for each of the FILE FORMAT,
MULTI/SINGLE PAGE and/or SECURITY settings.
3) Finally, press [OK].
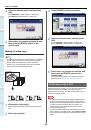
Memo
•To clear the settings, press [RESET].
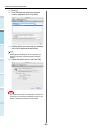
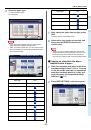
• [FILE NAME]
Pressing the button displays an on-screen keyboard.
Change the file name using the keyboard and digital
keys, and then press [OK] to set the entry. The file
name can consist of a maximum of 128 characters.