HOW TO MAKE COPIES
- 30 -
1
2
3
4
5
6
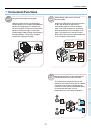
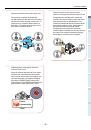
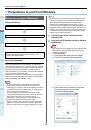
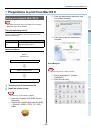
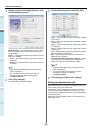
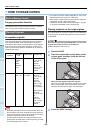
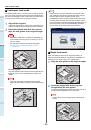
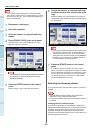
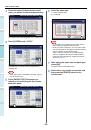
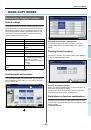
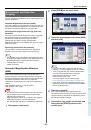
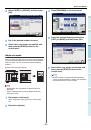
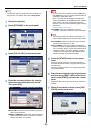
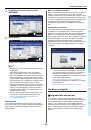
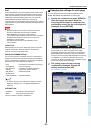
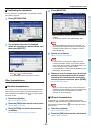
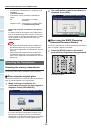
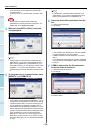
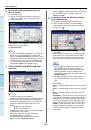
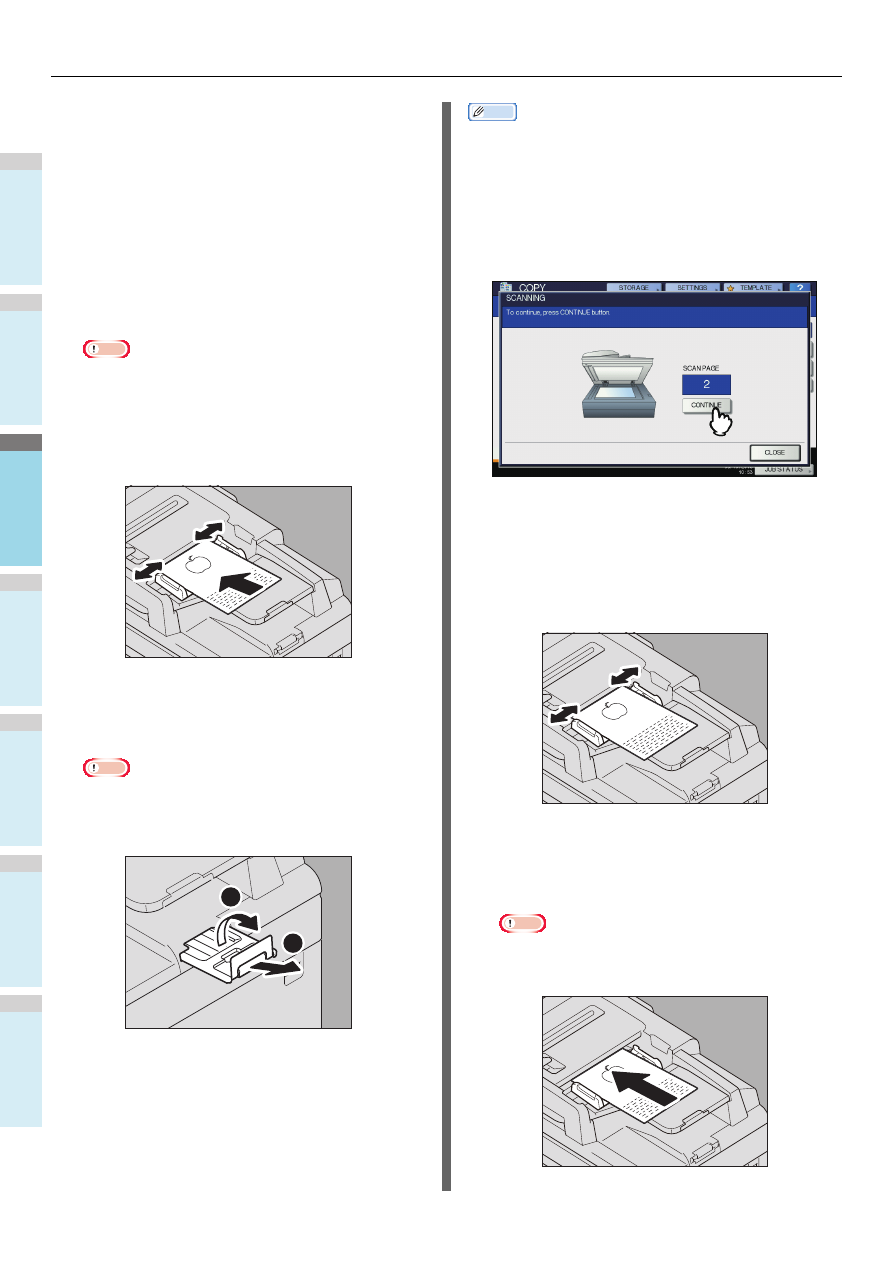
Continuous feed mode
The feeding mode is set at “continuous feed mode” by default.
Once you set the originals and then press the [START] button,
they are scanned page by page continuously. It is useful when
you want to copy more than one original at one time.
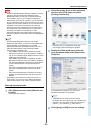
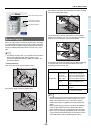
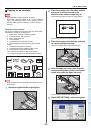
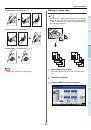
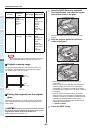
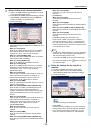
1
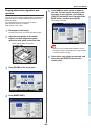
Align all the originals.
Collate the originals in the order that you want them to be
copied. The top sheet of the originals will be copied first.
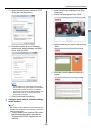
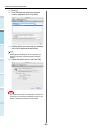
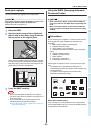
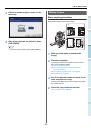
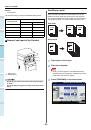
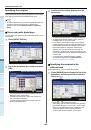
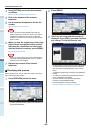
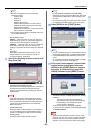
2
Place the originals with their face up and
align the side guides to the original length.
Note
• Regardless of their sizes, originals are acceptable up
to 100 sheets (35 to 80 g/m
2
(9.3 to 20 lb.)) or 16 mm
(0.62") in height.
• For mixed-size originals, see the following page:
P.45 "Copying mixed-size originals in one
operation"
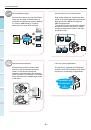
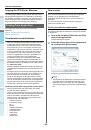
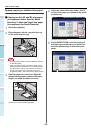
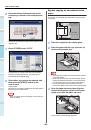
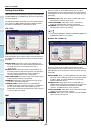
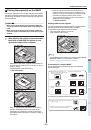
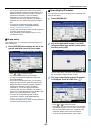
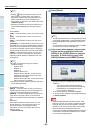
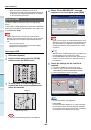
For long originals
The original stopper prevents the scanned originals from
falling off. Pull it out from the RADF and raise the sub-
stopper.
Note
• Lower the sub-stopper and slightly lift the original
stopper to push it back in after you have finished using
it.
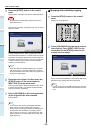
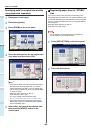
Memo
• When there are too many originals to be scanned at one
time, divide the originals into several sets before copying.
Place the first set of the originals and then press
[CONTINUE] on the touch panel while the data of this set
are being scanned. When this scanning is finished, place
the next set of the originals and press the [START] button on
the control panel. (If you press [CONTINUE], this button
may not work shortly before scanning is finished.)
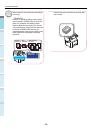
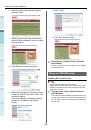
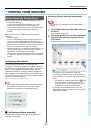
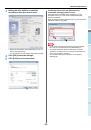
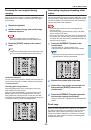
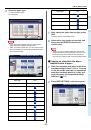
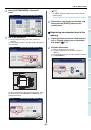
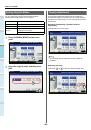
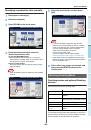
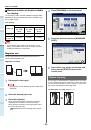
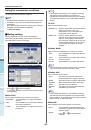
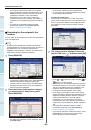
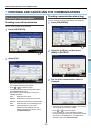
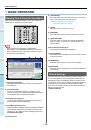
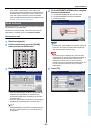
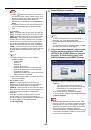
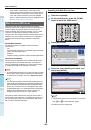
Single feed mode
When the feeding mode is set at “single feed mode”, an
original is fed automatically as it is placed on the RADF. It is
useful when you want to copy only 1 original sheet.
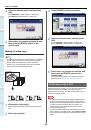
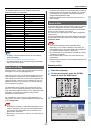
1
Align the side guides to the original length.
2
Insert the original with its face up and
straight along the side guides.
The original is automatically pulled in and then the menu
of step 3 will be displayed on the touch panel.
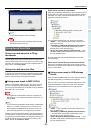
Note
• Be sure to let go of the original when it starts being
pulled.
2
1