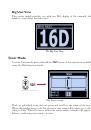
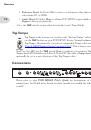
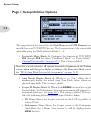
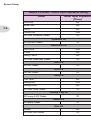
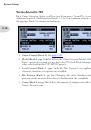
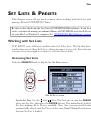
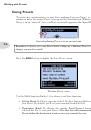
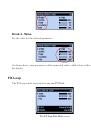
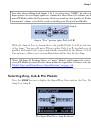
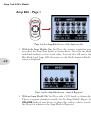
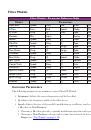
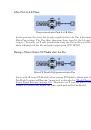
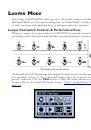
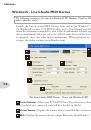
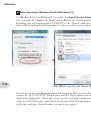
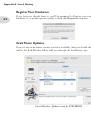
Using the Looper
8•3
•
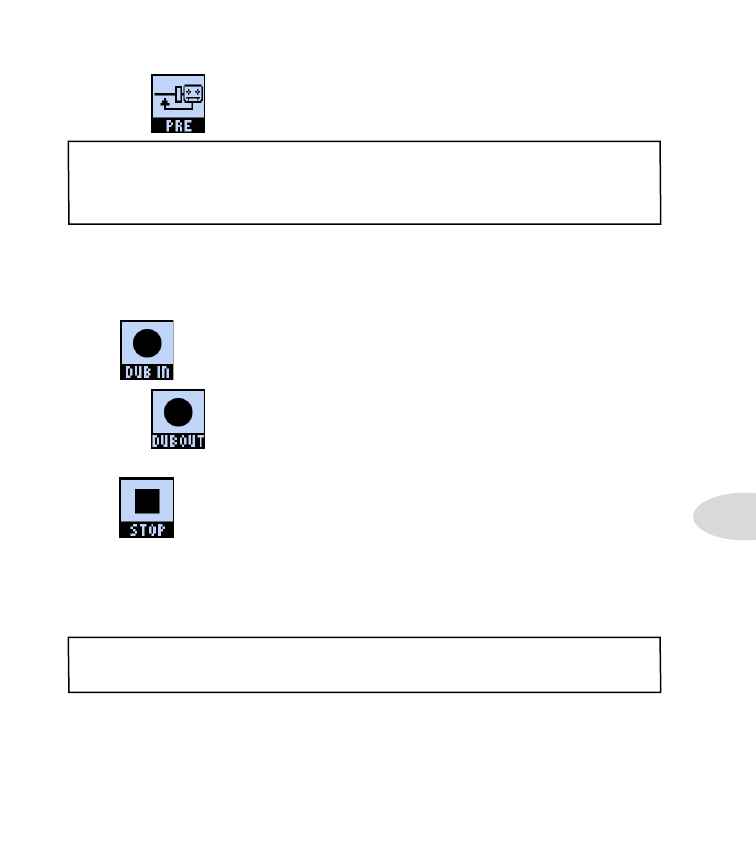
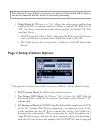
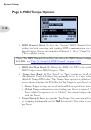
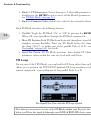
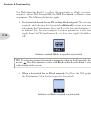
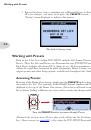
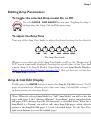
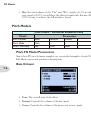
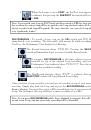
When the Looper is set to
POST
, the Pre/Post icon appears as “PRE,”
to indicate that pressing the
PRE/POST
footswitch will set the Looper
to
PRE
.
Note: If you record your Loop in POST mode and then switch to PRE for Loop playback,
this results in the current Amp+FX to be applied to the Loop playback (where the Loop was
already recorded with Amp+FX applied). Be aware that this can cause the Loop playback
to be significantly louder!
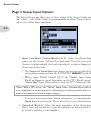
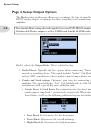
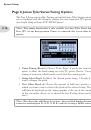
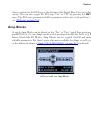
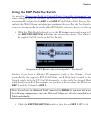
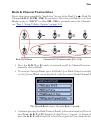
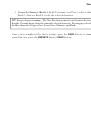
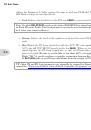
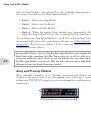
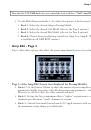
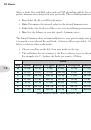
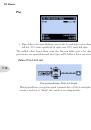
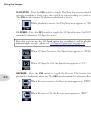
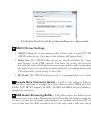
REC/OVERDUB -
To record a Loop, step on the
FS5
switch and POD HD500 will
immediately start recording. The footswitch will remain lit while recording is active.
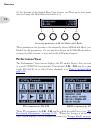
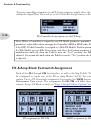
You’ll see the Performance View display the following:
•
The Record function shows “DUB IN.” Pressing the
REC/OVERDUB
switch will immediately put you into Overdub-Record mode.
•
If you press
REC/OVERDUB
at this time, whatever you play will be
recorded on top of the original Loop recording, and you’ll see the
Performance View indicator show “DUB OUT.” Press the switch again
to stop the overdub recording.
•
The Play/Record function shows “STOP” to indicate that pressing the
PLAY/STOP
switch will stop playback & recording.
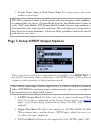
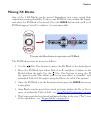
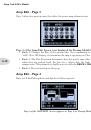
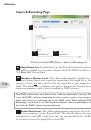
Once you have a Loop recorded, you can layer an overdub on top of your current Loop at
any time. Simply play back the Loop and step on the
REC/OVERDUB
switch
while the
Loop is playing. Your new live guitar will be recorded on top of your previously recorded
Loop. You can repeat this step and layer as many overdubs as you like!
Note:
If you press
REC/OVERDUB
while Loop playback is stopped, this will always
record a new Loop, and any previously recording will be discarded.
 1
1
 2
2
 3
3
 4
4
 5
5
 6
6
 7
7
 8
8
 9
9
 10
10
 11
11
 12
12
 13
13
 14
14
 15
15
 16
16
 17
17
 18
18
 19
19
 20
20
 21
21
 22
22
 23
23
 24
24
 25
25
 26
26
 27
27
 28
28
 29
29
 30
30
 31
31
 32
32
 33
33
 34
34
 35
35
 36
36
 37
37
 38
38
 39
39
 40
40
 41
41
 42
42
 43
43
 44
44
 45
45
 46
46
 47
47
 48
48
 49
49
 50
50
 51
51
 52
52
 53
53
 54
54
 55
55
 56
56
 57
57
 58
58
 59
59
 60
60
 61
61
 62
62
 63
63
 64
64
 65
65
 66
66
 67
67
 68
68
 69
69
 70
70
 71
71
 72
72
 73
73
 74
74
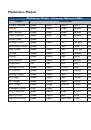 75
75
 76
76
 77
77
 78
78
 79
79
 80
80
 81
81
 82
82
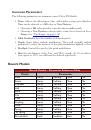 83
83
 84
84
 85
85
 86
86
 87
87
 88
88
 89
89
 90
90
 91
91
 92
92
 93
93
 94
94
 95
95
 96
96
 97
97
 98
98
 99
99
 100
100
 101
101
 102
102
 103
103
 104
104
 105
105
 106
106
 107
107
 108
108
 109
109
 110
110
 111
111
 112
112
 113
113
 114
114
 115
115
 116
116
 117
117
 118
118
 119
119