- 0
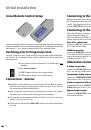
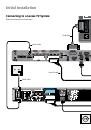
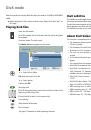
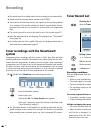
Connecting a digital camcorder
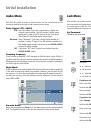
You can connect a digital camcorder (DV) or a digital DVD-R/RW recorder to the
DV IN socket and transfer contents of DV tapes or DVDs digitally.
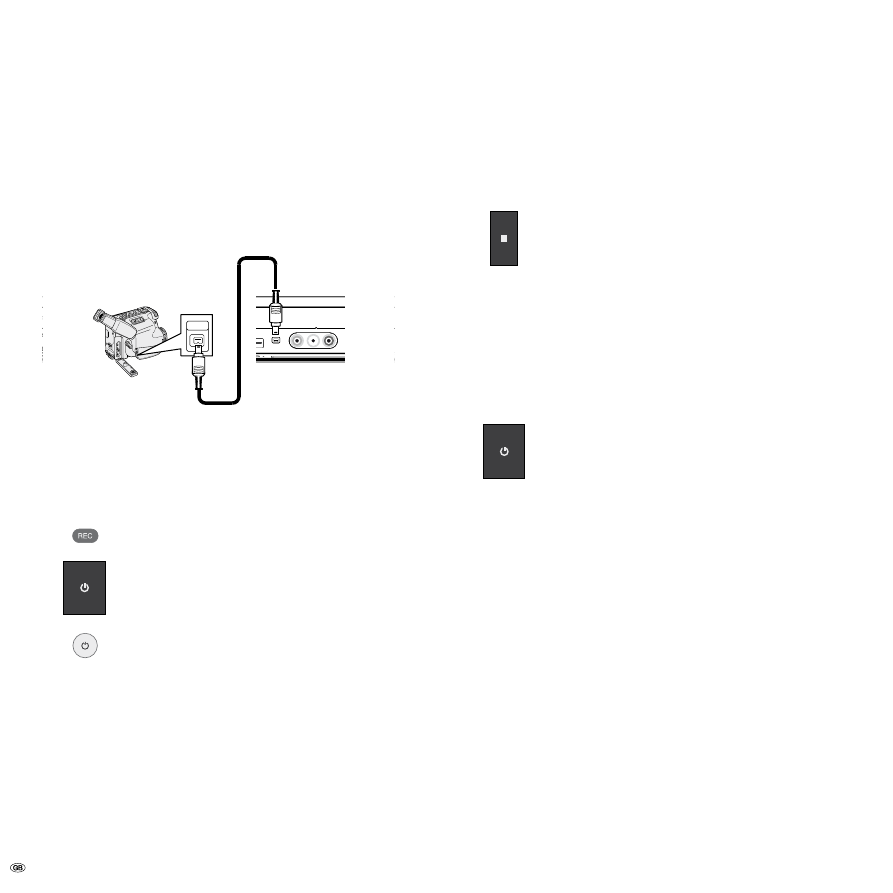
Use a DV cable (not included in delivery) to connect the DV IN-/OUT socket of
your DV-camcorder/video deck to the DV IN socket on the front control panel of
this recorder.
➠
Only DV units can be connected to this socket (the source signal must be in
the DV-5 format; see page 49). It is not compatible with digital satellite
tuners or S-VHS video decks.
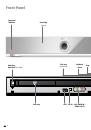
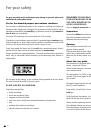
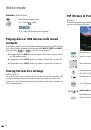
Front of the recorder
DV Digital Camcorder
P+
P-
AV
DV
IN/OUT
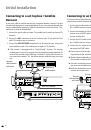
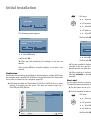
Connect to the mains
First plug the small plug on the power cable into the mains connection on the
back of the recorder then plug the large mains plug into a 110-40V/50-60Hz
mains socket.
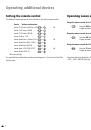
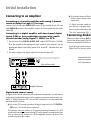
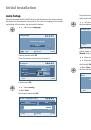
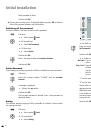
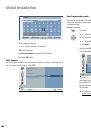
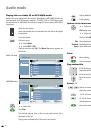
Basic Settings
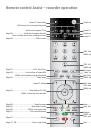
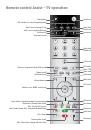
Set the remote control for recorder operation.
Push the On/Off button on the DVD recorder or
the On/Off switch on the remote control.
➠
If you aim the remote control at the recorder when switching over to
Recorder mode, the recorder will be switched on.
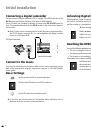
Activating Digital Link
With Digital Link, Loewe TV sets pass on the signals from the remote control through
the Euro-AV connection on the recorder. Digital Link is useful when you want to
put the recorder in a concealed place, e.g. in a closed rack.
➠
Your recorder must be switched on.
Button on the recorder for > 3 s
Digital Link on: LINK appears in the recorder display.
Digital Link off: FRONT appears in the recorder display.
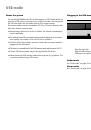
Resetting the DVD Recorder
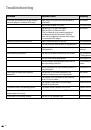
If any of the following problems occur.
The unit is plugged in but will not turn on or off.
The display panel does not work.
The recorder is not working properly, no picture is displayed,
the Recorder can be reset in the following way:
Hold down the button on the device for at least 10 seconds. The
device switches off or pull out the power cable, wait at least 0
seconds and reconnect the cable.
Press the button again to switch the device back on.
•
•
•
Initial Installation