33 -
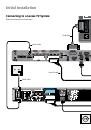
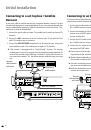
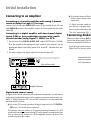
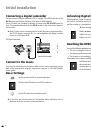
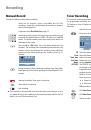
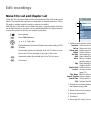
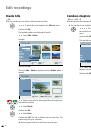
Initial Installation
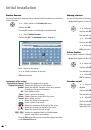
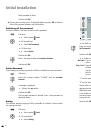
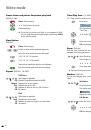
VR Mode
Video Mode
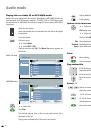
Select a Mode.
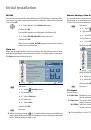
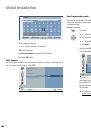
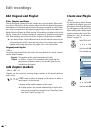
Initialisation
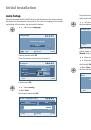
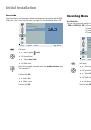
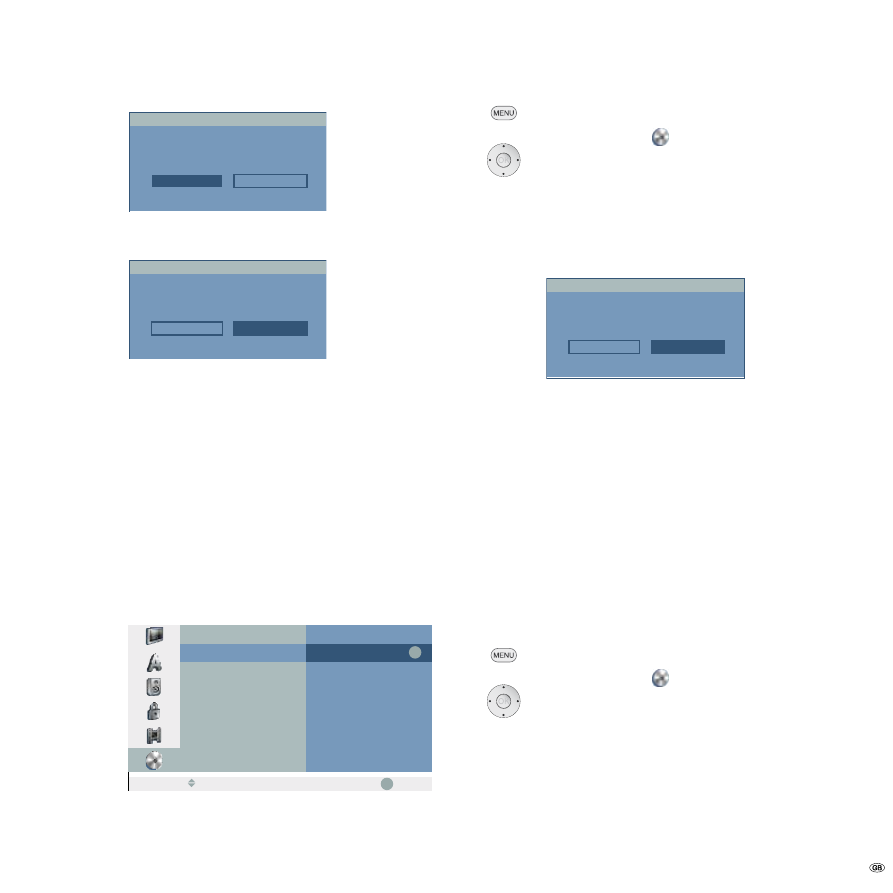
The following prompt appears:
OK
Cancel
All data on the disc will be deleted.
Proceed?
Initialisation
34
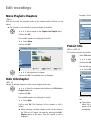
Select OK button.
Confirm with OK.
➠
When you start formatting all recordings on the disc are
deleted.
After pressing OK disc formatting begins. It can take a few
minutes.
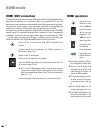
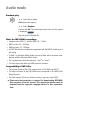
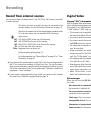
Finalisation
Finalisation fixes recordings so that the disc can be played on a regular DVD player
or a computer with a suitable DVD-ROM drive. During finalisation of a Video mode
disc a menu is created for disc navigation (page 58).
➠
Following recording and finalisation of DVD-R and DVD+R discs no other
editing or recording can take place. This does not however apply for a
DVD+RW and DVD-RW disc.
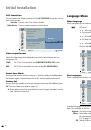
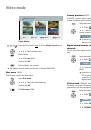
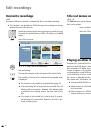
OK
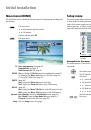
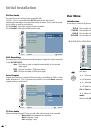
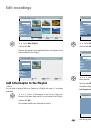
OK
Move
Initialise
Finalise
Disc Label
Disc Protect
Divx Reg. Code
Finalise
Unfinalise
Prev.
Select
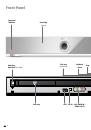
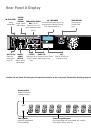
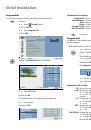
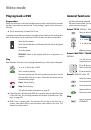
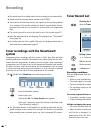
Call menu.
5
6
Select symbol
Disc.
4
Call second level.
5
6
Select Finalise.
4
Call third level.
5
6
Select Finalise.
Confirm with OK.
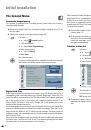
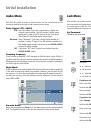
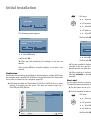
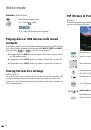
OK
Cancel
Do you want finalisation?
Finalise
34
Select OK button.
Confirm with OK to finalise the disc.
➠
The time needed for finalisation depends on the type of disc, how much is
recorded on the disc and the number of titles on the disc. Finalisation of a
prerecorded disc can take up to 8 minutes.
➠
When inserting a finalised DVD-RW, the finalisation can be cancelled by
selecting Unfinalise in the Finalise menu. Then the disc can be edited and
rewritten.
Disc Label
Use this option to enter a name for the disc. The name is displayed when the disc
is loaded and when you display disc information on the screen.
➠
The disc name can be up to 3 characters long.
➠
For discs formatted on other recorders you will only see a limited character set.
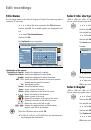
Call menu.
5
6
Select symbol
Disc.
4
Call second level.
5
6
Select Disc Label.
4
Call third level Edit.
Confirm with OK.