- 57 -
Connecting to a Computer
3
3.
Printing
●
●
Connecting to a Computer
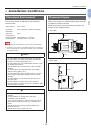
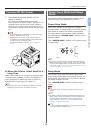
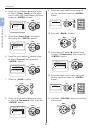
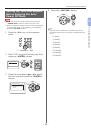
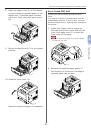
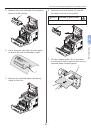
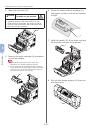
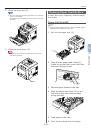
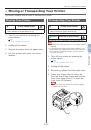
Connecting Using Wired LAN
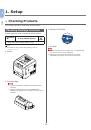
1
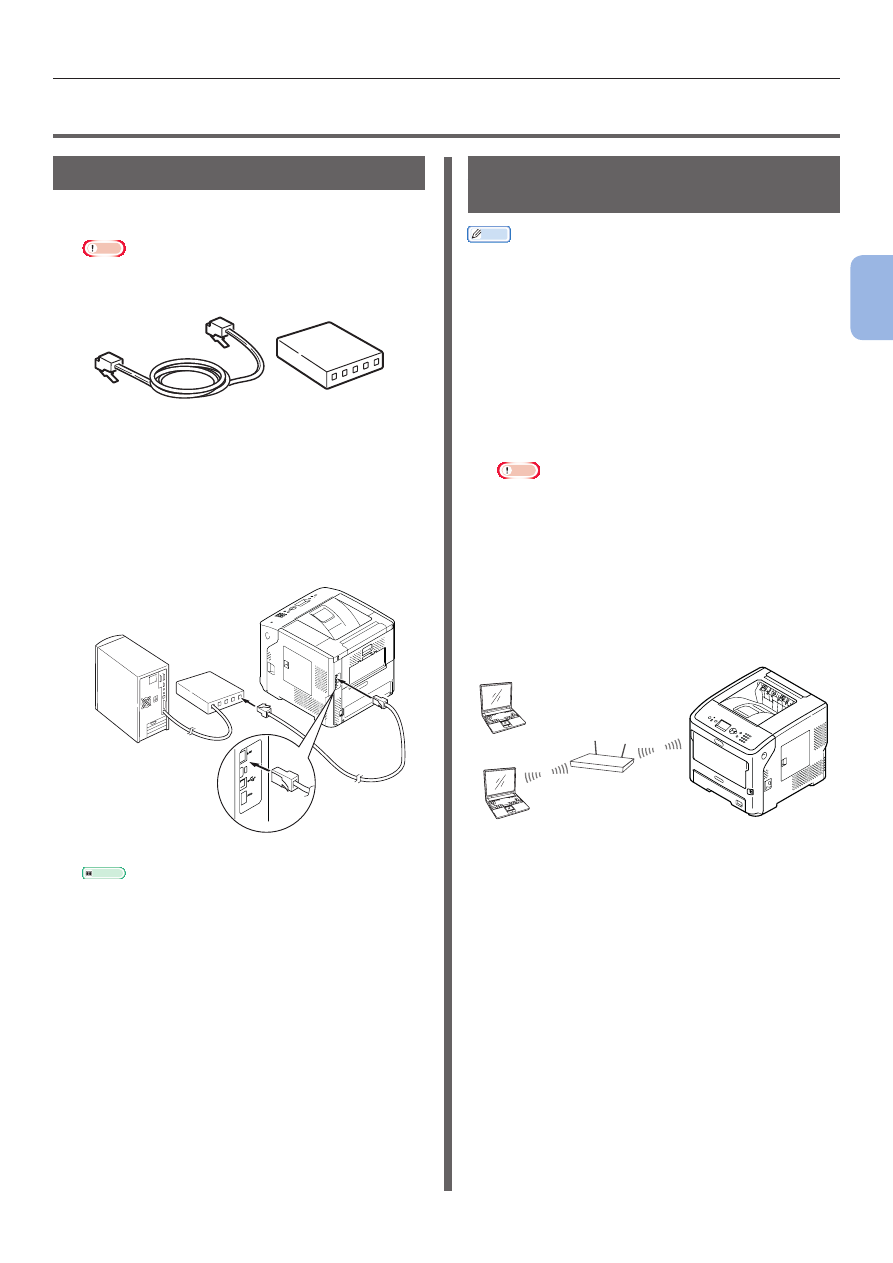
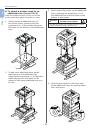
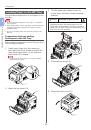
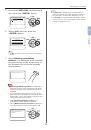
Prepare an Ethernet cable and a hub.
Note
● An Ethernet cable and a hub are not supplied with
this printer. Prepare an Ethernet cable (category 5e,
twisted pair, straight) and a hub separately.
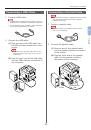
2
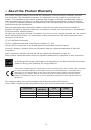
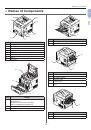
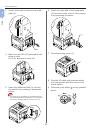
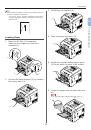
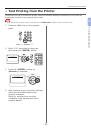
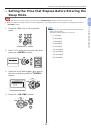
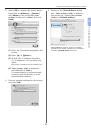
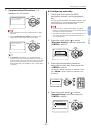
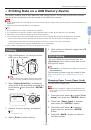
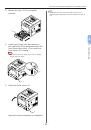
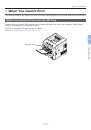
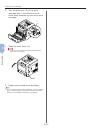
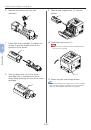
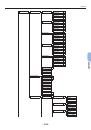
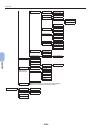
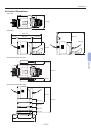
Connect this printer to Network.
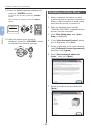
(1)
Plug one end of the Ethernet cable
into the network interface connection
of the printer.
(2)
Plug the other end of the Ethernet
cable into the hub.
Reference
●
If there is DHCP server on the network to which
this printer is to be connected, the IP address will
be automatically obtained on the printer each time
it is turned on. If the IP address of this printer
is changed, perform the network setting again.
With OKI LPR utility, the network setting will be
automatically performed if the IP address of this
printer is changed. For details, refer to “User’s
Manual (Advanced).”
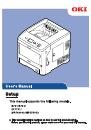
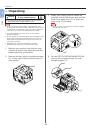
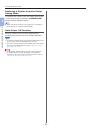
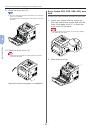
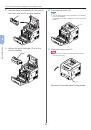
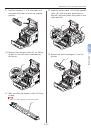
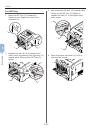
Connecting Using Wireless
LAN (Wireless Model Only)
Memo
● On some models, this function cannot be used.
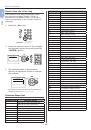
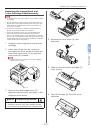
1
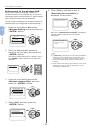
Check the Wireless LAN environment.
Check whether the access point of the wireless
LAN supports WPS or not by referring to the
instruction manual for the access point of the
Wireless LAN.
●
If it supports WPS: The printer is automatically
connected.
●
If it does not support WPS: The setting data for
the wireless LAN must be entered on the printer
manually.
Note
●
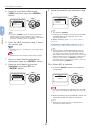
This product supports infrastructure mode. Ad-hoc
mode is not supported. Be sure to prepare the access
point.
● This printer supports Wireless LAN Standard IEEE
802.1b/g/n. It does not support IEEE 802.11a. The
access point must operate with the Wireless LAN
Standard supported by this printer.
●
This product cannot connect to a wired LAN and
wireless LAN at the same time. To connect to the
wireless LAN, remove the network cable from this
product.
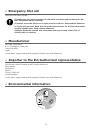
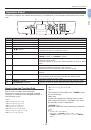
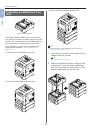
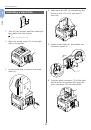
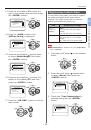
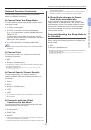
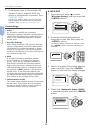
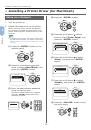
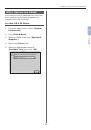
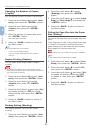
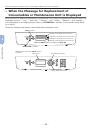
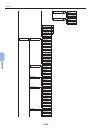
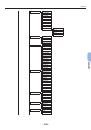
Wireless access point
PC
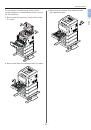
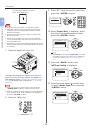
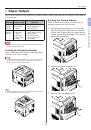
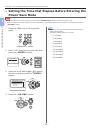
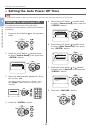
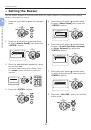
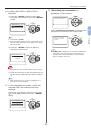
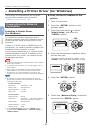
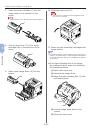
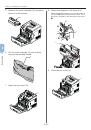
2
Check that the access point of the
wireless LAN is turned on and is
operating normally.
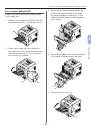
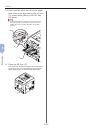
3
Place the printer near the access point of
the wireless LAN.
For the accessible distance between the printer
and the access point of the wireless LAN, refer to
the operation manual for the access point of the
wireless LAN.
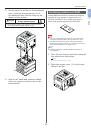
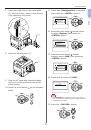
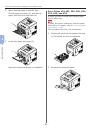
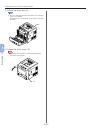
4
Turn on the printer.
 1
1
 2
2
 3
3
 4
4
 5
5
 6
6
 7
7
 8
8
 9
9
 10
10
 11
11
 12
12
 13
13
 14
14
 15
15
 16
16
 17
17
 18
18
 19
19
 20
20
 21
21
 22
22
 23
23
 24
24
 25
25
 26
26
 27
27
 28
28
 29
29
 30
30
 31
31
 32
32
 33
33
 34
34
 35
35
 36
36
 37
37
 38
38
 39
39
 40
40
 41
41
 42
42
 43
43
 44
44
 45
45
 46
46
 47
47
 48
48
 49
49
 50
50
 51
51
 52
52
 53
53
 54
54
 55
55
 56
56
 57
57
 58
58
 59
59
 60
60
 61
61
 62
62
 63
63
 64
64
 65
65
 66
66
 67
67
 68
68
 69
69
 70
70
 71
71
 72
72
 73
73
 74
74
 75
75
 76
76
 77
77
 78
78
 79
79
 80
80
 81
81
 82
82
 83
83
 84
84
 85
85
 86
86
 87
87
 88
88
 89
89
 90
90
 91
91
 92
92
 93
93
 94
94
 95
95
 96
96
 97
97
 98
98
 99
99
 100
100
 101
101
 102
102
 103
103
 104
104
 105
105
 106
106
 107
107
 108
108
 109
109
 110
110
 111
111
 112
112
 113
113
 114
114
 115
115
 116
116
 117
117
 118
118
 119
119
 120
120
 121
121
 122
122
 123
123
 124
124
 125
125
 126
126
 127
127
 128
128
 129
129
 130
130
 131
131
 132
132
 133
133
 134
134
 135
135
 136
136
 137
137
 138
138
 139
139
 140
140
 141
141
 142
142
 143
143
 144
144
 145
145
 146
146
 147
147
 148
148
 149
149
 150
150
 151
151
 152
152
 153
153
 154
154
 155
155
 156
156