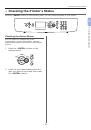
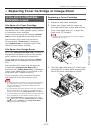
- 62 -
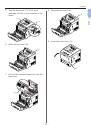
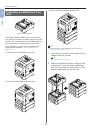
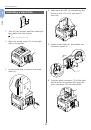
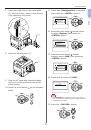
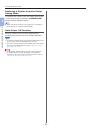
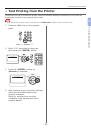
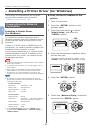
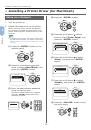
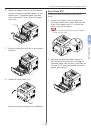
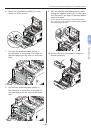
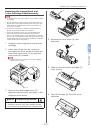
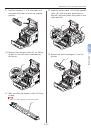
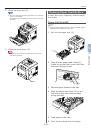
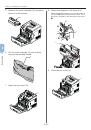
Connecting to a Computer
3
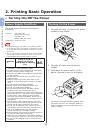
3.
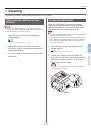
Printing
5
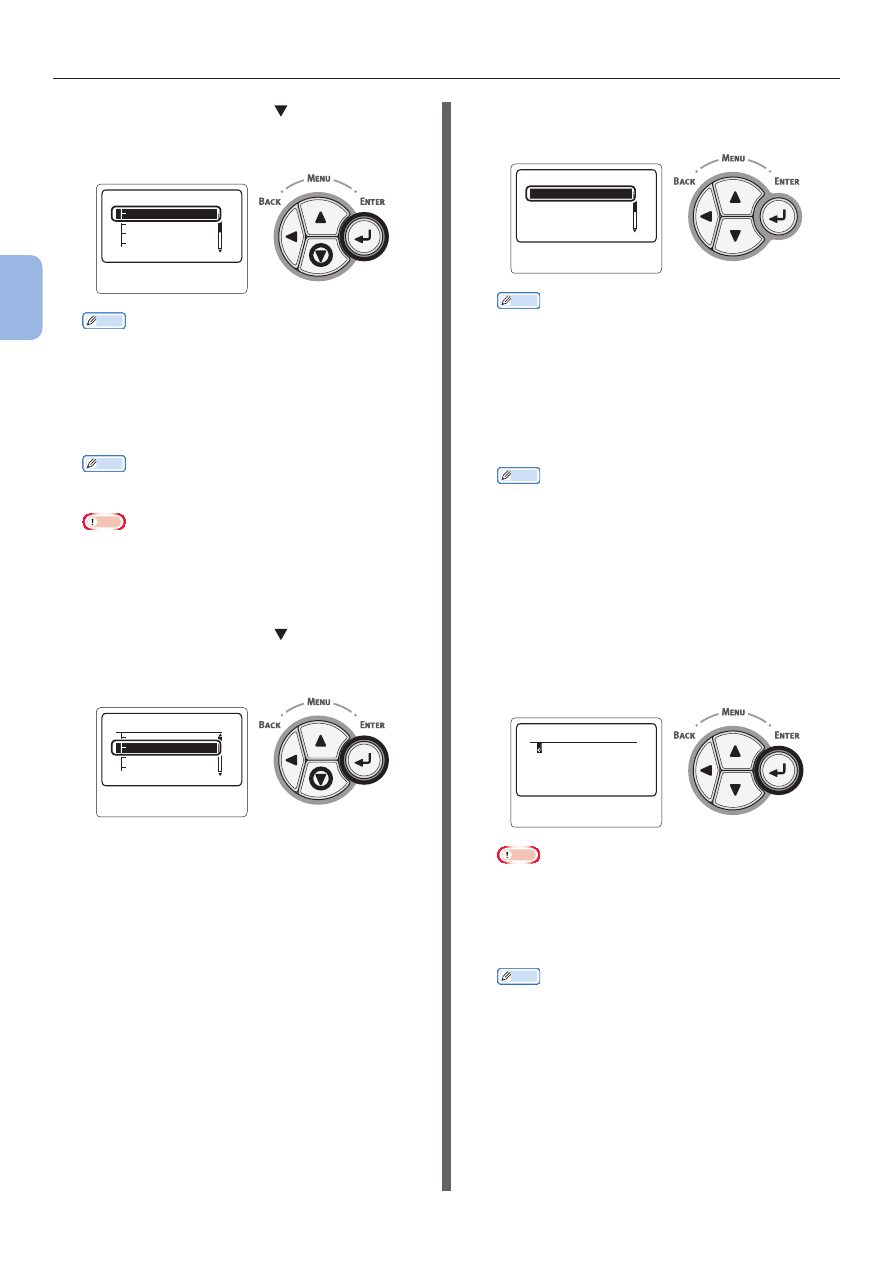
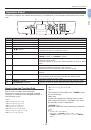
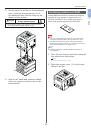
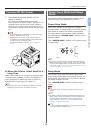
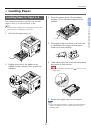
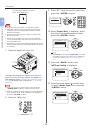
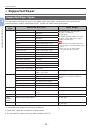
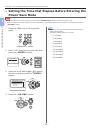
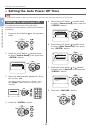
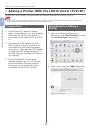
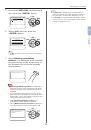
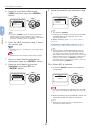
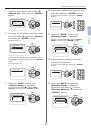
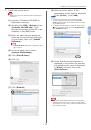
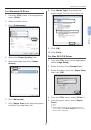
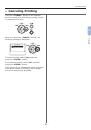
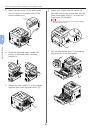
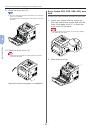
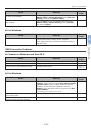
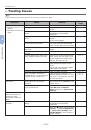
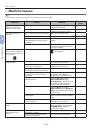
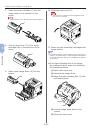
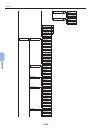
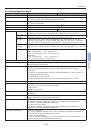
Press the scroll button
to select
[
SSID
] and then press the <
ENTER
>
button.
䣕䣧䣥䣷䣴䣫䣶䣻
䣙䣇䣒䢢䣍䣧䣻
䣙䣒䣃䢢䣇䣰䣥䣴䣻䣲䣶䣫䣱䣰䢢䣖䣻䢰䢰䢰
䣕䣕䣋䣆
䣏䣣䣰䣷䣣䣮䢢䣕䣧䣶䣷䣲䢢䢢䢢
䢢䢢䢢
䢳䢱䢴
Memo
●
When the <
ENTER
> button is pressed, the screen
switches to the security settings screen in step 3
without switching to the screen in step 4. If the SSID
is not set, a warning screen is displayed.
6
Enter the SSID checked in step 1, using
the ten-key pad.
Memo
● Symbols such as “_ (underscore)” are entered using
the * key.
Note
● Characters are case sensitive. Enter them correctly.
7
Once you have finished entering the
characters, press the <
ENTER
> button.
8
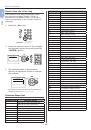
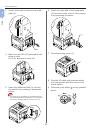
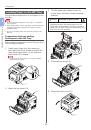
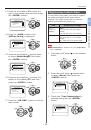
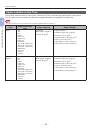
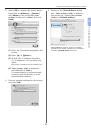
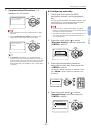
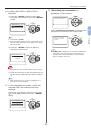
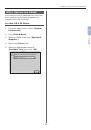
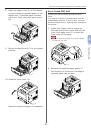
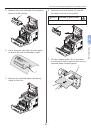
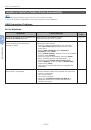
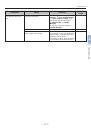
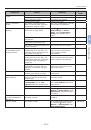
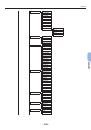
Press the scroll button
to select
[
Security
] and then press the
<
ENTER
> button.
䣕䣧䣥䣷䣴䣫䣶䣻
䣙䣇䣒䢢䣍䣧䣻
䣙䣒䣃䢢䣇䣰䣥䣴䣻䣲䣶䣫䣱䣰䢢䣖䣻䢰䢰䢰
䣕䣕䣋䣆
䣏䣣䣰䣷䣣䣮䢢䣕䣧䣶䣷䣲䢢䢢䢢
䢢䢢䢢
䢳䢱䢴
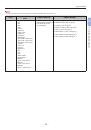
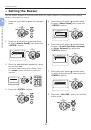
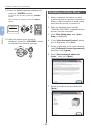
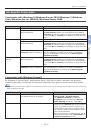
9
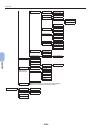
Select the security type checked in step
1.
䣙䣇䣒
䣙䣒䣃䢢䣒䣕䣍
䣙䣒䣃䢴䢢䣒䣕䣍
䢬䢢䣆䣫䣵䣣䣤䣮䣧
䣕䣧䣥䣷䣴䣫䣶䣻䢢䢢䢢䢢䢢䢢
䢢䢢䢢
䢳䢱䢴
Memo
● The default is [
Disable
]
●
Depending on the model of access point mixed WPA-
PSK/WPA2-PSK may be supported. In this case,
select the WPA2-PSK.
If WEP is selected, go to
.
If WPA-PSK or WPA2-PSK is selected, go to
(2) When WPA-PSK or WPA2-PSK is selected:”
.
Memo
● Security settings (WPA-EAP/WPA2-EAP) using an
authentication server are also supported, but this
can only be set from the Web. For details, refer to
User’s Manual (Advanced). Depending on the security
setting selected in step 7, execute the settings from
either (1) or (2) below. If [
Disable
] is selected,
proceed to step 11. (For security reasons, we do not
recommend setting [
Disable
].)
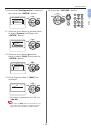
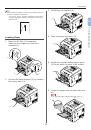
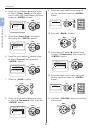
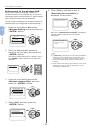
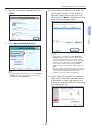
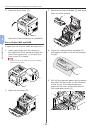
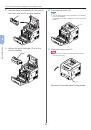
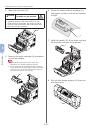
10
-(1)
When WEP is selected:
a) Press the <
ENTER
> button on the WEP Key
input screen.
䣙䣇䣒䢢䣭䣧䣻
䢪䢷䢯䢴䢸䣦䣫䣩䣫䣶䣵䢫
Note
● There is not setting for the WEP Key index. The WEP
Key index communications with the access point as
1.
b) Enter the same Key as the WEP Key set for the
access point that you want to connect to.
Memo
● After entering the Key, the key is displayed as “*”
symbols for security reasons.
 1
1
 2
2
 3
3
 4
4
 5
5
 6
6
 7
7
 8
8
 9
9
 10
10
 11
11
 12
12
 13
13
 14
14
 15
15
 16
16
 17
17
 18
18
 19
19
 20
20
 21
21
 22
22
 23
23
 24
24
 25
25
 26
26
 27
27
 28
28
 29
29
 30
30
 31
31
 32
32
 33
33
 34
34
 35
35
 36
36
 37
37
 38
38
 39
39
 40
40
 41
41
 42
42
 43
43
 44
44
 45
45
 46
46
 47
47
 48
48
 49
49
 50
50
 51
51
 52
52
 53
53
 54
54
 55
55
 56
56
 57
57
 58
58
 59
59
 60
60
 61
61
 62
62
 63
63
 64
64
 65
65
 66
66
 67
67
 68
68
 69
69
 70
70
 71
71
 72
72
 73
73
 74
74
 75
75
 76
76
 77
77
 78
78
 79
79
 80
80
 81
81
 82
82
 83
83
 84
84
 85
85
 86
86
 87
87
 88
88
 89
89
 90
90
 91
91
 92
92
 93
93
 94
94
 95
95
 96
96
 97
97
 98
98
 99
99
 100
100
 101
101
 102
102
 103
103
 104
104
 105
105
 106
106
 107
107
 108
108
 109
109
 110
110
 111
111
 112
112
 113
113
 114
114
 115
115
 116
116
 117
117
 118
118
 119
119
 120
120
 121
121
 122
122
 123
123
 124
124
 125
125
 126
126
 127
127
 128
128
 129
129
 130
130
 131
131
 132
132
 133
133
 134
134
 135
135
 136
136
 137
137
 138
138
 139
139
 140
140
 141
141
 142
142
 143
143
 144
144
 145
145
 146
146
 147
147
 148
148
 149
149
 150
150
 151
151
 152
152
 153
153
 154
154
 155
155
 156
156