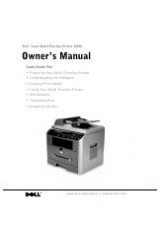
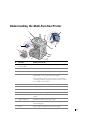
Pr e p a r i n g Yo u r M u l t i - Fu n c t i o n Pr i n t e r
1 1
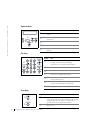
OR
If you do not want to assign a name,
skip this step.
10
Press <Select> when the name appears correctly or without entering a name.
11
If you want to assign another group,
repeat from step 4.
OR
To return to Standby mode, press <Cancel>.
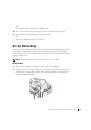
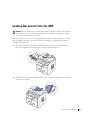
Set Up Networking
A print server is any designated computer that centrally manages all client print jobs. If you
are sharing your multi-function printer in a small workgroup environment and want to
control all print jobs on the network, follow these instructions to attach the multi-function
printer to a print server.
NOTE:
For additional network set-up configurations, see your
User’s Guide
.
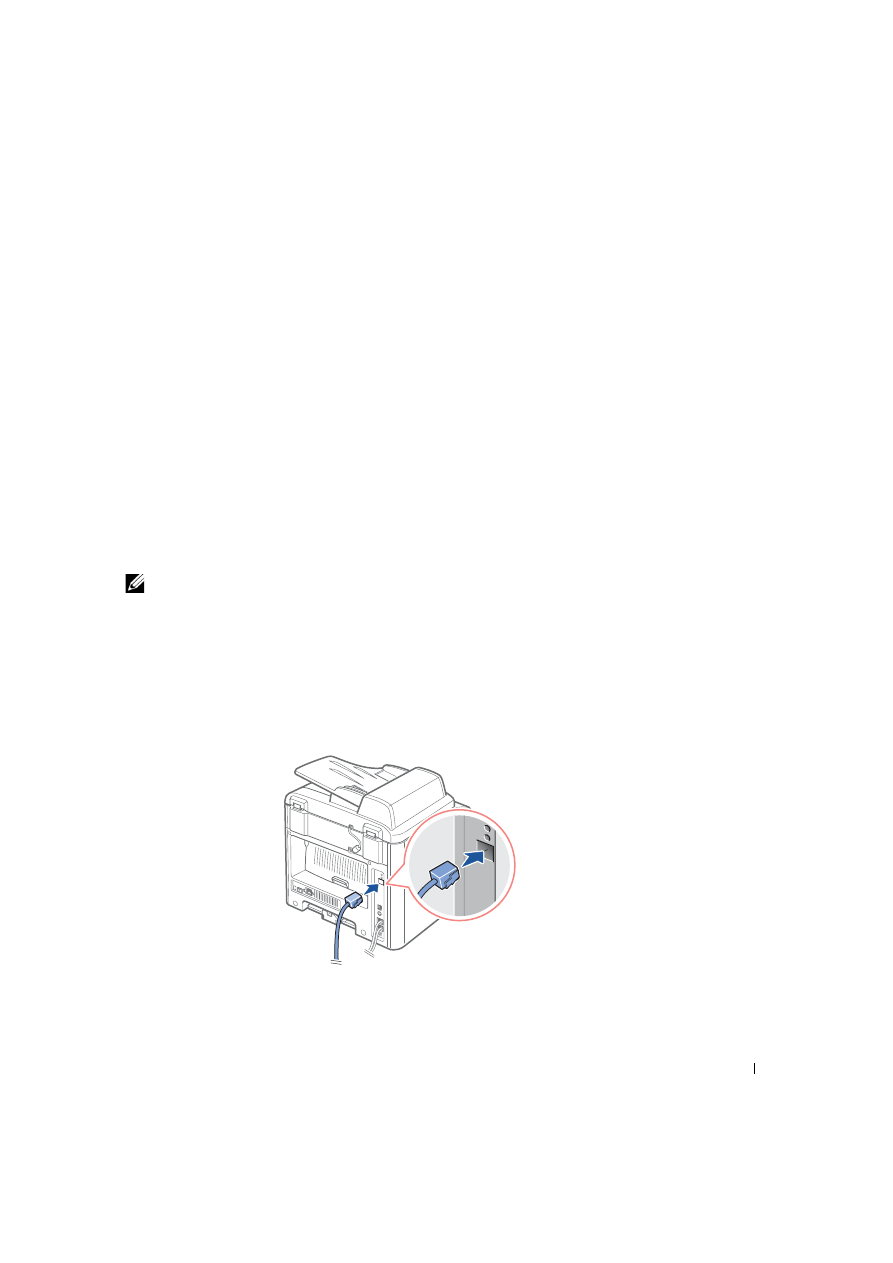
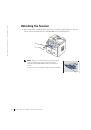
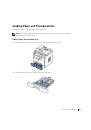
Attach Cables
1
Make sure the multi-function printer is powered off and unplugged.
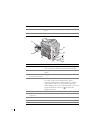
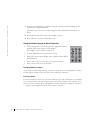
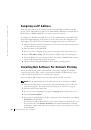
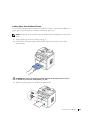
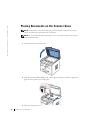
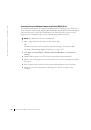
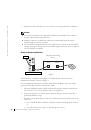
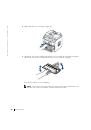
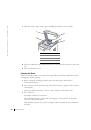
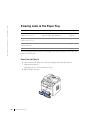
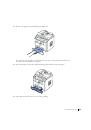
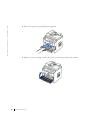
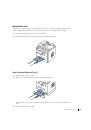
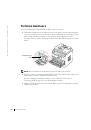
2
Connect one end of a standard category 5 Unshielded Twisted Pair (UTP) network
cable into a LAN drop or hub, and the other end into the Ethernet network port on
the back of the multi-function printer. The multi-function printer automatically
adjusts for the
network speed.
 1
1
 2
2
 3
3
 4
4
 5
5
 6
6
 7
7
 8
8
 9
9
 10
10
 11
11
 12
12
 13
13
 14
14
 15
15
 16
16
 17
17
 18
18
 19
19
 20
20
 21
21
 22
22
 23
23
 24
24
 25
25
 26
26
 27
27
 28
28
 29
29
 30
30
 31
31
 32
32
 33
33
 34
34
 35
35
 36
36
 37
37
 38
38
 39
39
 40
40
 41
41
 42
42
 43
43
 44
44
 45
45
 46
46
 47
47
 48
48
 49
49
 50
50
 51
51
 52
52
 53
53
 54
54
 55
55
 56
56
 57
57
 58
58
 59
59
 60
60
 61
61
 62
62
 63
63
 64
64
 65
65
 66
66
 67
67
 68
68
 69
69
 70
70
 71
71
 72
72
 73
73
 74
74
 75
75
 76
76
 77
77
 78
78
 79
79
 80
80
 81
81
 82
82
 83
83
 84
84
 85
85
 86
86
 87
87
 88
88
 89
89
 90
90
 91
91
 92
92
 93
93
 94
94
 95
95
 96
96
 97
97
 98
98
 99
99
 100
100
 101
101
 102
102
 103
103
 104
104
 105
105
 106
106
 107
107
 108
108
 109
109
 110
110
 111
111
 112
112
 113
113
 114
114
 115
115
 116
116
 117
117
 118
118
 119
119
 120
120
 121
121
 122
122
 123
123
 124
124
 125
125
 126
126
 127
127
 128
128
 129
129
 130
130
 131
131
 132
132
 133
133
 134
134
Инструкции и руководства похожие на DELL 1600n