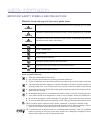
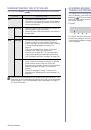
Installing Printer Software in Windows
6
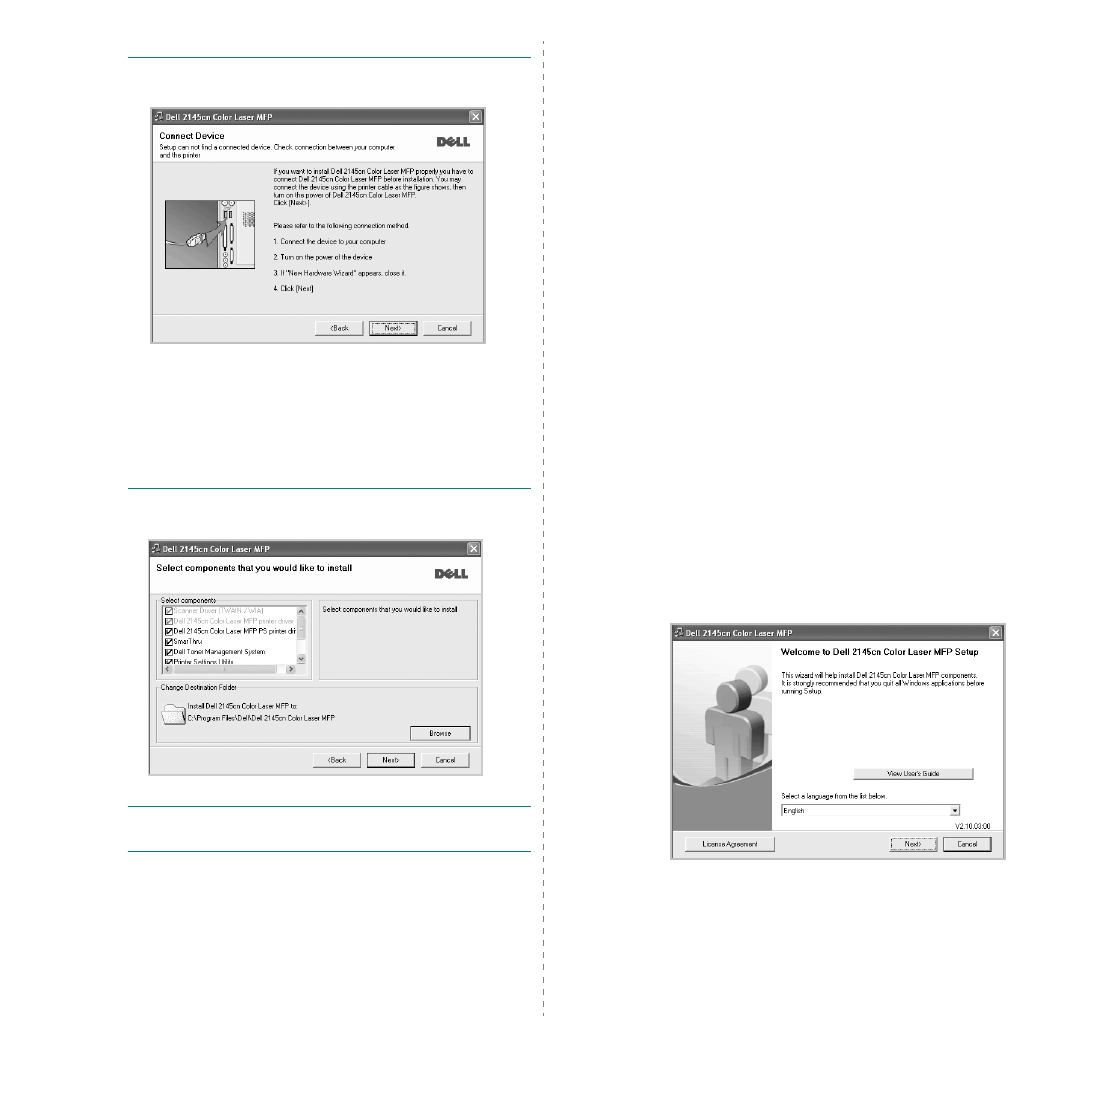
N
OTE
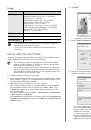
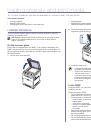
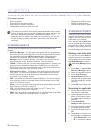
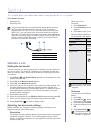
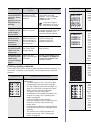
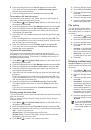
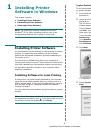
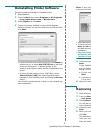
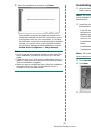
: If your printer is not already connected to the
computer, the following window will appear.
• After connecting the printer, click
Next
.
• If you do not want to connect the printer at this time, click
Next
, and
No
on the following screen. Then the installation
will start and a test page will not be printed at the end of the
installation.
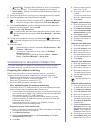
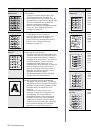
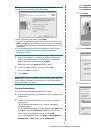
• The installation window that appears in this User’s
Guide may differ depending on the printer and
interface in use.
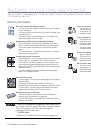
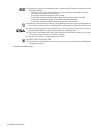
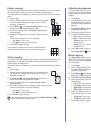
6
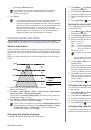
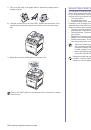
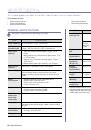
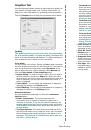
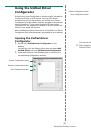
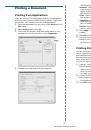
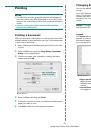
Select the components to be installed and click
Next
.
N
OTE
: You can change the desired installation folder by
clicking [
Browse
].
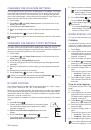
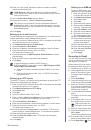
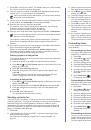
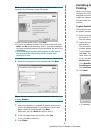
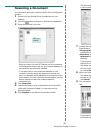
7
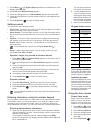
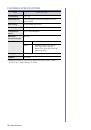
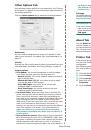
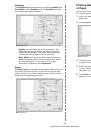
After the installation is finished, a window asking you to
print a test page appears. If you choose to print a test
page, select the checkbox and click
Next
.
Otherwise, just click
Next
8
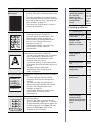
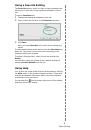
If the test page prints out correctly, click
Yes
.
If not, click
No
to reprint it.
9
Click
Finish
.
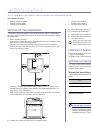
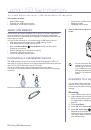
Installing Software for Network
Printing
When you connect your printer to a network, you must first
configure the TCP/IP settings for the printer. After you have
assigned and verified the TCP/IP settings, you are ready to
install the software on each computer on the network.
You can install the printer software using the typical or custom
method.
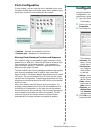
Typical Installation
This is recommended for most users. All components necessary
for printer operations will be installed.
1
Ensure that the printer is connected to your network and
powered on. For details about connecting to the network,
see the Getting started chapter.
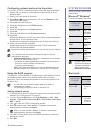
2
Insert the
Drivers and Utilities
CD into your computer’s
optical drive.
The CD should automatically run, and an installation
window appears.
If the installation window does not appear, click
Start
and
then
Run
. Type
X:\Setup.exe
, replacing “
X
” with the
letter which represents your drive and click
OK
.
If you use Windows Vista
®
, click
Start
→
All programs
→
Accessories
→
Run
, and type
X:\Setup.exe
.
If the
AutoPlay
window appears in Windows Vista
®
, click
Run
Setup.exe
in
Install or run program
field, and
click
Continue
in the
User Account Control
window.
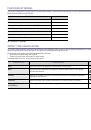
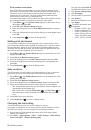
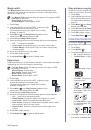
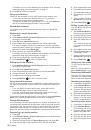
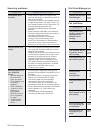
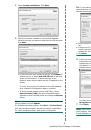
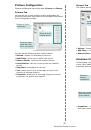
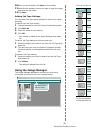
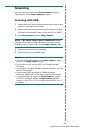
3
Click
Next
.
• If necessary, select a language from the drop-down list.
 1
1
 2
2
 3
3
 4
4
 5
5
 6
6
 7
7
 8
8
 9
9
 10
10
 11
11
 12
12
 13
13
 14
14
 15
15
 16
16
 17
17
 18
18
 19
19
 20
20
 21
21
 22
22
 23
23
 24
24
 25
25
 26
26
 27
27
 28
28
 29
29
 30
30
 31
31
 32
32
 33
33
 34
34
 35
35
 36
36
 37
37
 38
38
 39
39
 40
40
 41
41
 42
42
 43
43
 44
44
 45
45
 46
46
 47
47
 48
48
 49
49
 50
50
 51
51
 52
52
 53
53
 54
54
 55
55
 56
56
 57
57
 58
58
 59
59
 60
60
 61
61
 62
62
 63
63
 64
64
 65
65
 66
66
 67
67
 68
68
 69
69
 70
70
 71
71
 72
72
 73
73
 74
74
 75
75
 76
76
 77
77
 78
78
 79
79
 80
80
 81
81
 82
82
 83
83
 84
84
 85
85
 86
86
 87
87
 88
88
 89
89
 90
90
 91
91
 92
92
 93
93
 94
94
 95
95
 96
96
 97
97
 98
98
 99
99
 100
100
 101
101
 102
102
 103
103
 104
104
 105
105
 106
106
 107
107
 108
108
 109
109
 110
110
 111
111
 112
112
 113
113
 114
114
 115
115
 116
116
 117
117
 118
118
 119
119
 120
120
 121
121
 122
122
 123
123
 124
124
 125
125
 126
126
 127
127
 128
128
 129
129
 130
130
 131
131
 132
132
 133
133
 134
134
 135
135
 136
136
 137
137
 138
138
 139
139
 140
140
 141
141
Инструкции и руководства похожие на DELL 2145cn