62
|
Maintenance
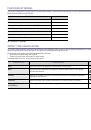
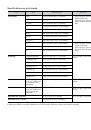
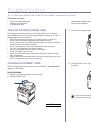
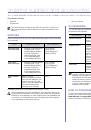
MAINTENANCE PARTS
To avoid print quality and paper feed problems resulting from worn parts,
and to maintain your printer in top working condition the following condition,
the following items will need to be replaced after the specified number of
pages, or when the life span of each item has expired.
It is highly recommend that this maintenance be performed by an authorized
service provider, dealer or the retailer where you bought the printer. The
warranty does not cover the replacement of the maintenance parts after
their lifespan.
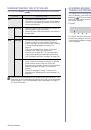
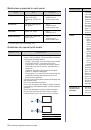
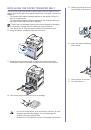
Checking replaceables
If you experience frequent paper jams or printing problems, check the
number of pages the printer has printed or scanned. Replace the
corresponding parts, if necessary.
1.
Press
Menu
(
)
until
System Setup
appears on the bottom line of the
display and press
OK
.
2.
Press the left/right arrow until
Maintenance
appears and press
OK
.
3.
Press the left/right arrow until
Supplies Life
appears and press
OK
.
4.
Press the left/right arrow until the item you want appears and press
OK
.
•
Supplies Info:
Prints the supply information page.
•
Total:
Displays the total number of pages printed.
•
ADF Scan:
Displays the number of pages scanned using the ADF.
•
Platen Scan:
Displays the number of pages scanned using the
scanner glass.
•
Transfer Belt, Fuser, Tray1 Roller, Tray2 Roller, MP Tray
Roller:
Displays the number of pages printed each item.
5.
If you selected to print a supply information page, press
OK
to confirm.
6.
Press
Stop/Clear
(
)
to return to Ready mode.
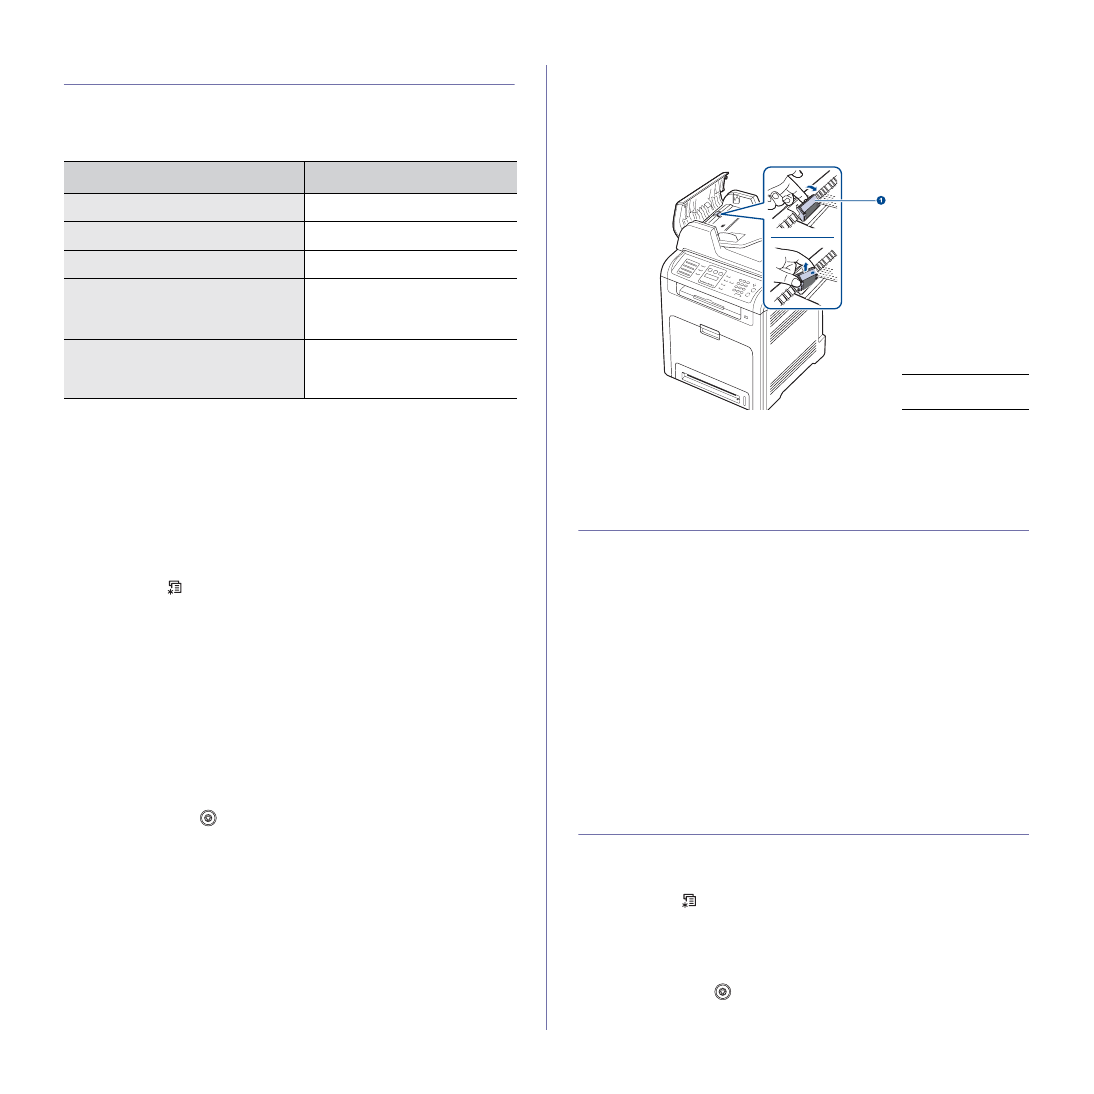
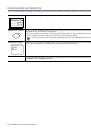
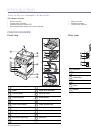
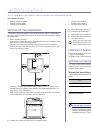
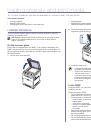
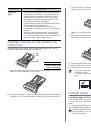
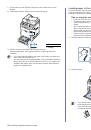
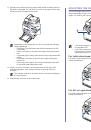
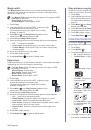
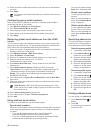
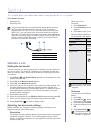
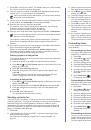
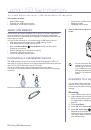
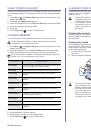
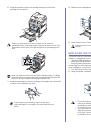
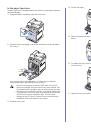
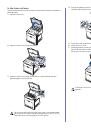
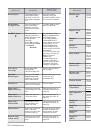
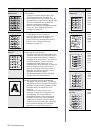
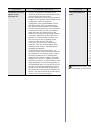
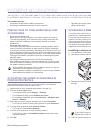
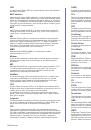
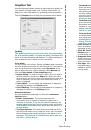
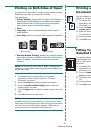
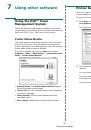
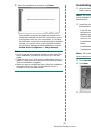
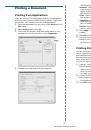
Replacing the DADF rubber pad
You will need to replace the DADF rubber pad when there seems to be a
consistent problem with paper pickup or when its specified yield is reached.
1.
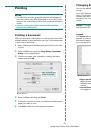
Open the DADF cover.
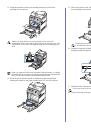
2.
Remove the DADF rubber pad from the DADF, as shown.
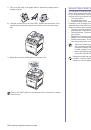
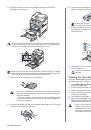
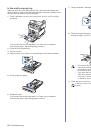
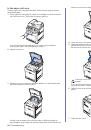
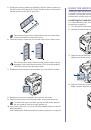
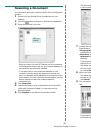
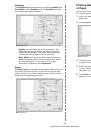
3.
Insert a new DADF rubber pad into place.
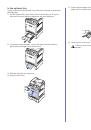
4.
Close the DADF cover.
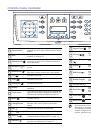
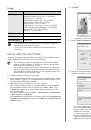
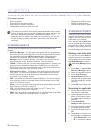
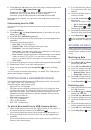
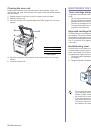
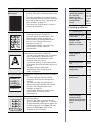
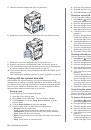
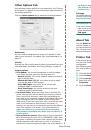
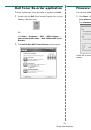
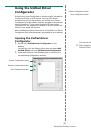
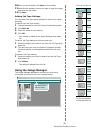
MANAGING YOUR PRINTER FROM THE
WEBSITE
If you have connected your printer to a network and set up TCP/IP network
parameters correctly, you can manage the printer via Dell’s
Embedded
Web Service
, an Embedded Web Service. Use
Embedded Web Service
to:
•
View the printer’s device information and check its current status.
•
Change TCP/IP parameters and set up other network parameters.
•
Change the printer properties.
•
Set the printer to send email notifications to let you know the printer’s
status.
•
Get support for using the printer.
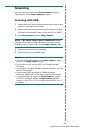
To access Embedded Web Service:
1.
Start a web browser, such as Internet Explorer, from Windows.
2.
Enter the printer IP address (http://xxx.xxx.xxx.xxx) in the address field
and press the
Enter
key or click
Go
.
Your printer’s embedded website opens.
CHECKING THE PRINTER’S SERIAL NUMBER
When you call for service or register as a user on the Dell website, the
printer’s serial number may be required.
You can check the serial number by taking the following steps:
1.
Press
Menu
(
)
until
System Setup
appears on the bottom line of the
display and press
OK
.
2.
Press the left/right arrow until
Maintenance
appears and press
OK
.
3.
Press the left/right arrow until
Serial Number
appears and press
OK
.
4.
Check your printer’s serial number.
5.
Press
Stop/Clear
(
)
to return to Ready mode.
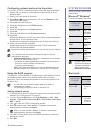
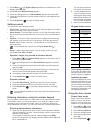
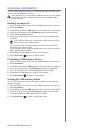
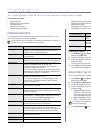
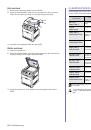
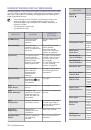
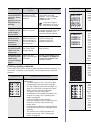
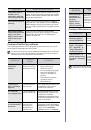
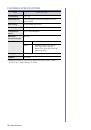
ITEMS
YIELD (AVERAGE)
Fuser unit
Approx. 100,000 pages
DADF friction pad
Approx. 20,000 pages
DADF pick-up roller
Approx. 80,000 pages
Pick-up roller
(Multi-purpose tray, FCF
a
, Optional
tray 2)
a. First cassette feeder (Tray1)
Approx. 70,000 pages
Friction pad
(Multi-purpose tray, FCF, Optional
tray 2)
Approx. 70,000 pages
1
DADF rubber
pad
 1
1
 2
2
 3
3
 4
4
 5
5
 6
6
 7
7
 8
8
 9
9
 10
10
 11
11
 12
12
 13
13
 14
14
 15
15
 16
16
 17
17
 18
18
 19
19
 20
20
 21
21
 22
22
 23
23
 24
24
 25
25
 26
26
 27
27
 28
28
 29
29
 30
30
 31
31
 32
32
 33
33
 34
34
 35
35
 36
36
 37
37
 38
38
 39
39
 40
40
 41
41
 42
42
 43
43
 44
44
 45
45
 46
46
 47
47
 48
48
 49
49
 50
50
 51
51
 52
52
 53
53
 54
54
 55
55
 56
56
 57
57
 58
58
 59
59
 60
60
 61
61
 62
62
 63
63
 64
64
 65
65
 66
66
 67
67
 68
68
 69
69
 70
70
 71
71
 72
72
 73
73
 74
74
 75
75
 76
76
 77
77
 78
78
 79
79
 80
80
 81
81
 82
82
 83
83
 84
84
 85
85
 86
86
 87
87
 88
88
 89
89
 90
90
 91
91
 92
92
 93
93
 94
94
 95
95
 96
96
 97
97
 98
98
 99
99
 100
100
 101
101
 102
102
 103
103
 104
104
 105
105
 106
106
 107
107
 108
108
 109
109
 110
110
 111
111
 112
112
 113
113
 114
114
 115
115
 116
116
 117
117
 118
118
 119
119
 120
120
 121
121
 122
122
 123
123
 124
124
 125
125
 126
126
 127
127
 128
128
 129
129
 130
130
 131
131
 132
132
 133
133
 134
134
 135
135
 136
136
 137
137
 138
138
 139
139
 140
140
 141
141
Инструкции и руководства похожие на DELL 2145cn